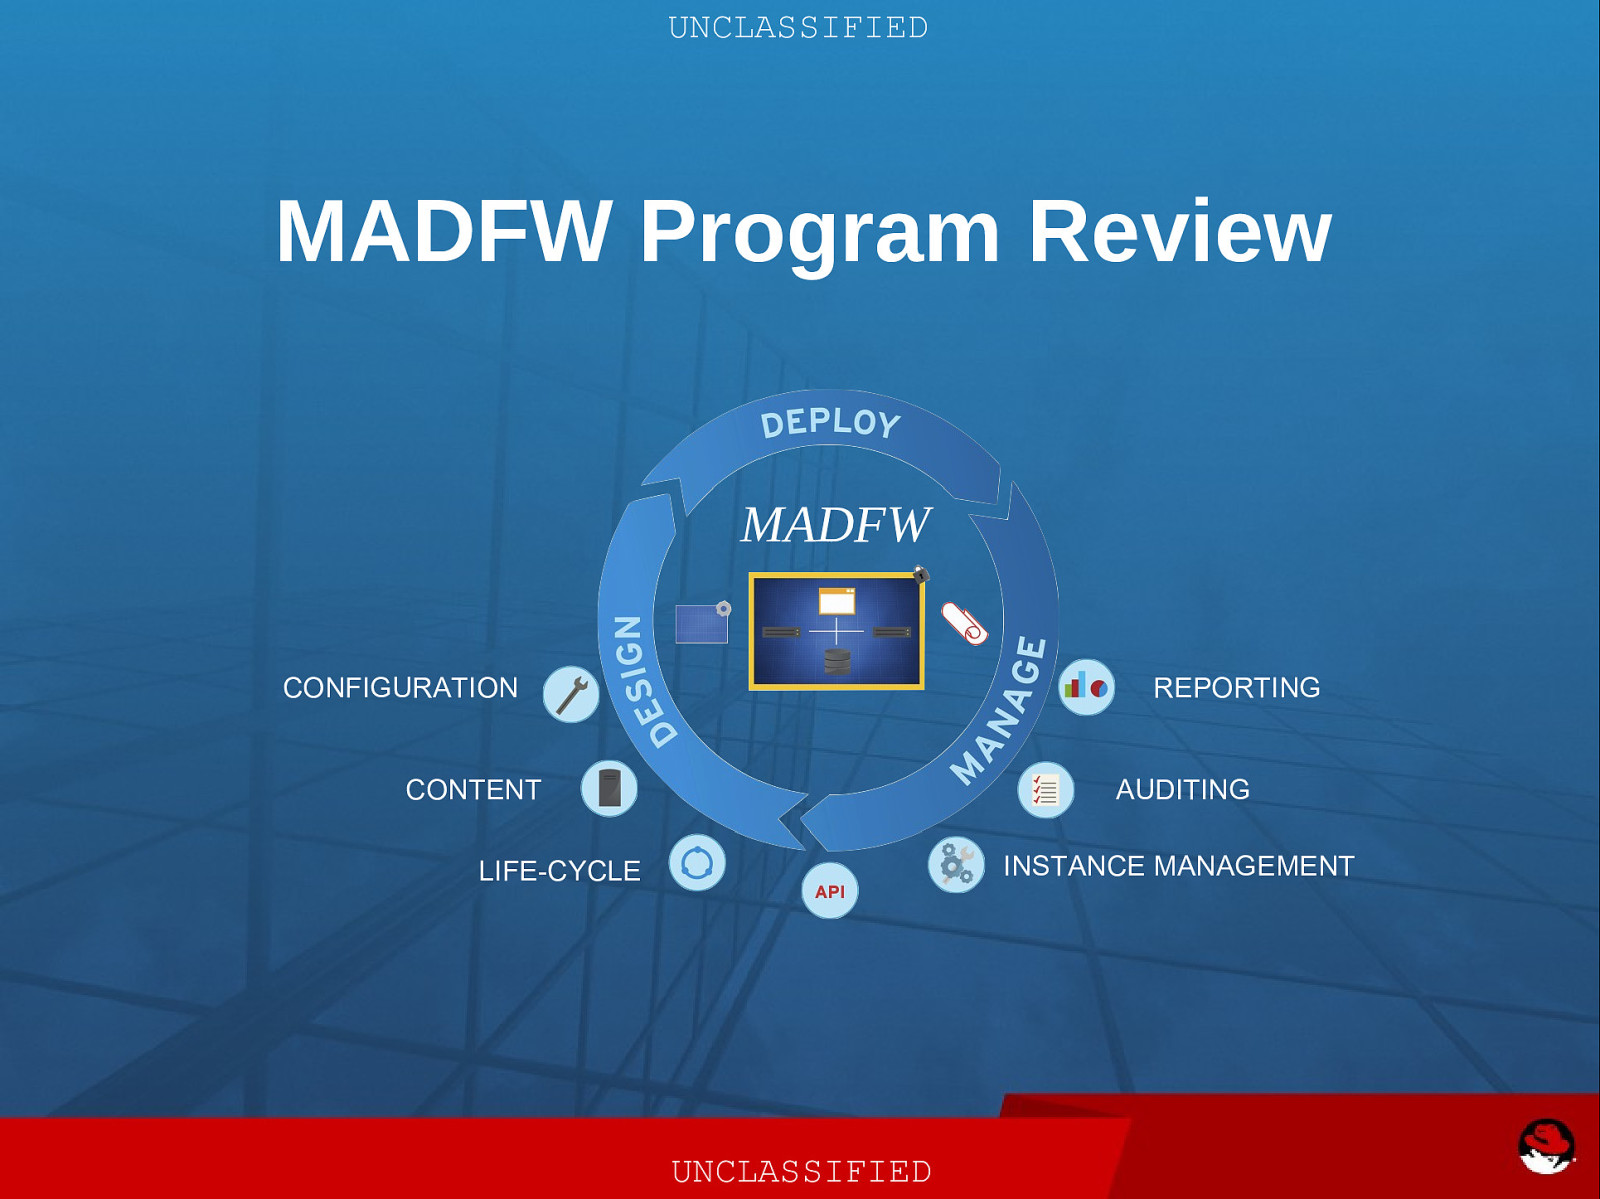
UNCLASSIFIED MADFW Program Review MADFW CONFIGURATION REPORTING CONTENT AUDITING INSTANCE MANAGEMENT LIFE-CYCLE UNCLASSIFIED
Slide 1
Slide 2
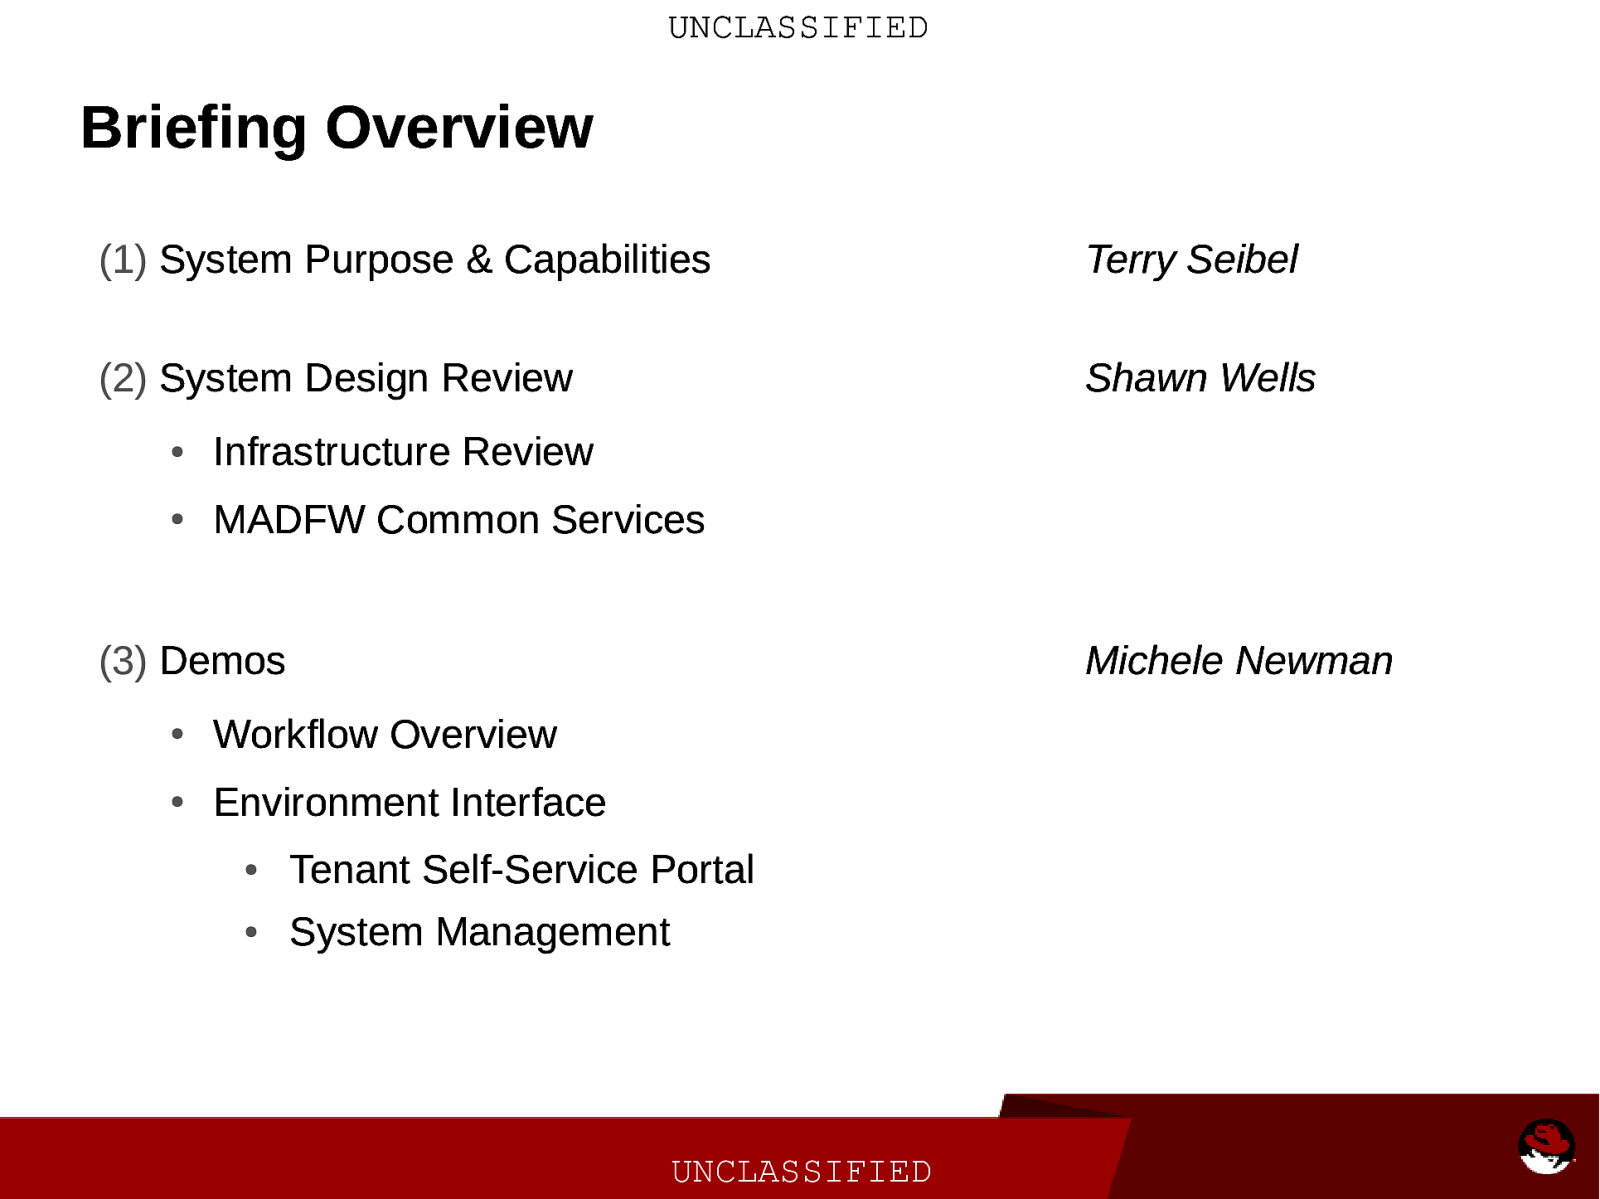
UNCLASSIFIED Briefing Overview (1) System Purpose & Capabilities Terry Seibel (2) System Design Review Shawn Wells ● Infrastructure Review ● MADFW Common Services (3) Demos Michele Newman ● Workflow Overview ● Environment Interface ● Tenant Self-Service Portal ● System Management UNCLASSIFIED
Slide 3
UNCLASSIFIED System Purpose & Capabilities UNCLASSIFIED
Slide 4
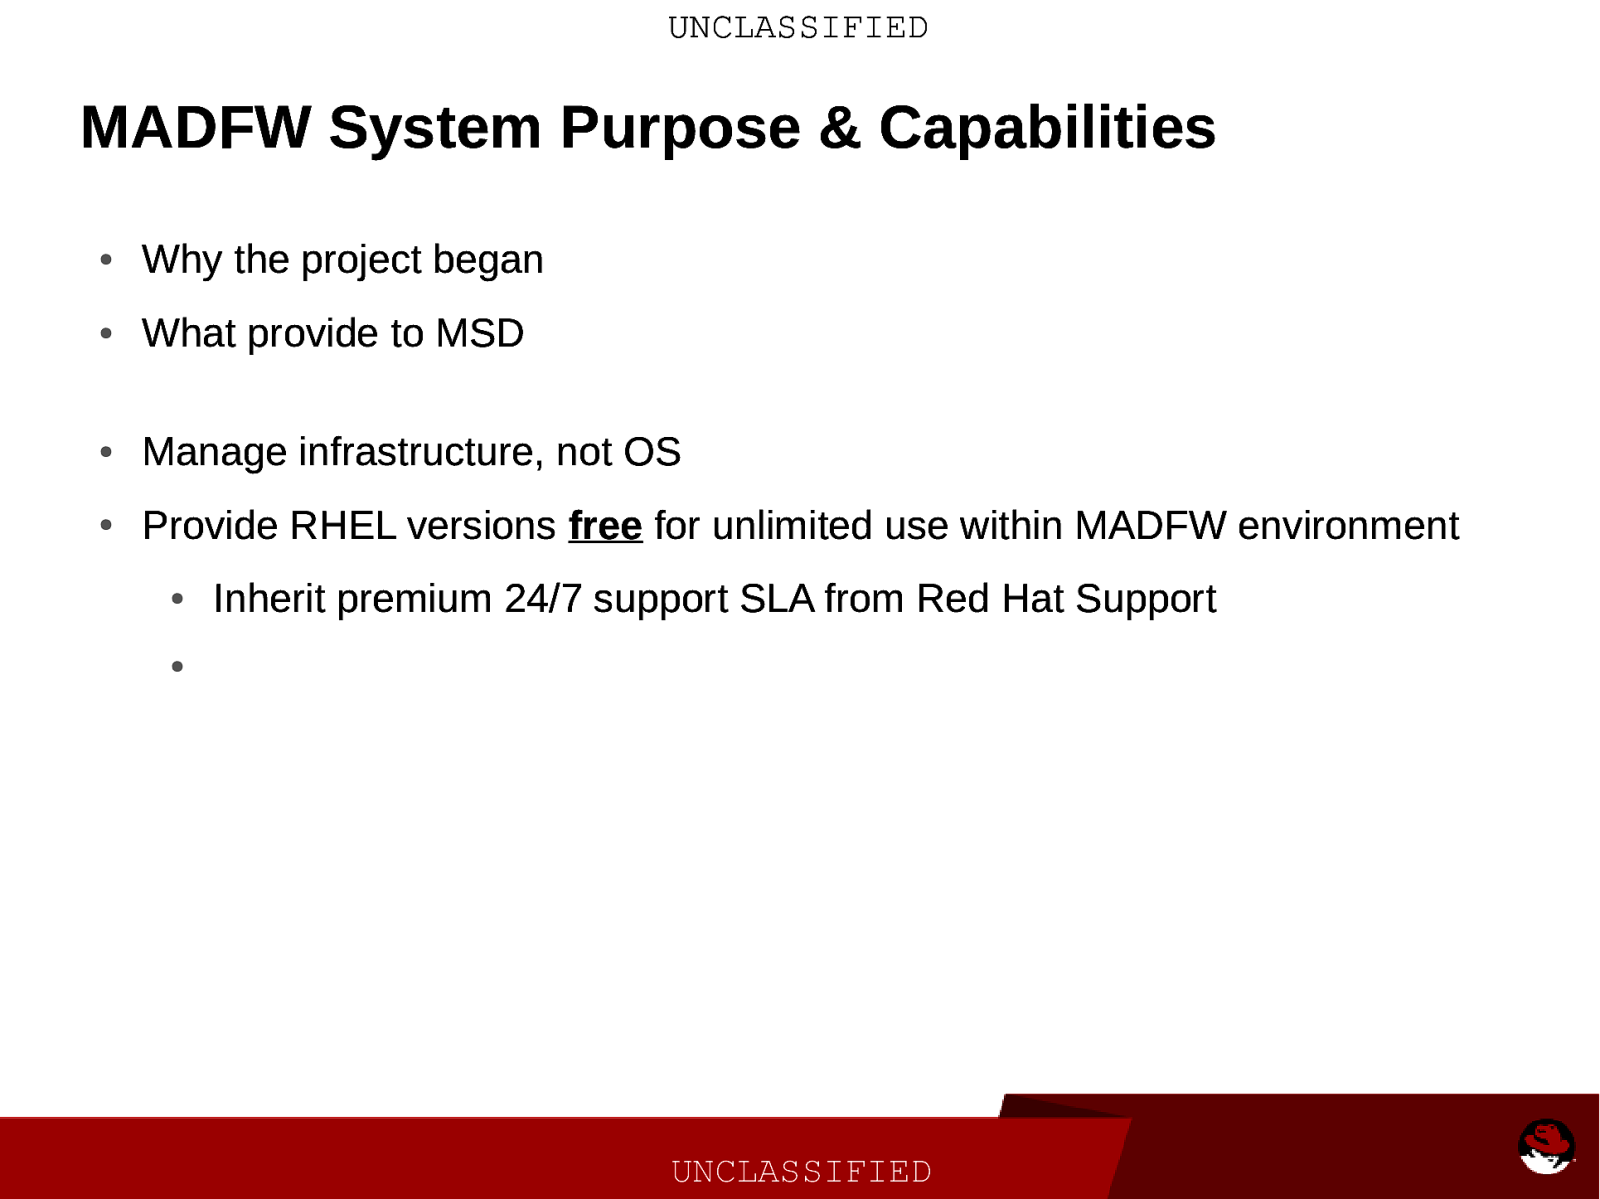
UNCLASSIFIED MADFW System Purpose & Capabilities ● Why the project began ● What provide to MSD ● Manage infrastructure, not OS ● Provide RHEL versions free for unlimited use within MADFW environment ● Inherit premium 24/7 support SLA from Red Hat Support ● UNCLASSIFIED
Slide 5
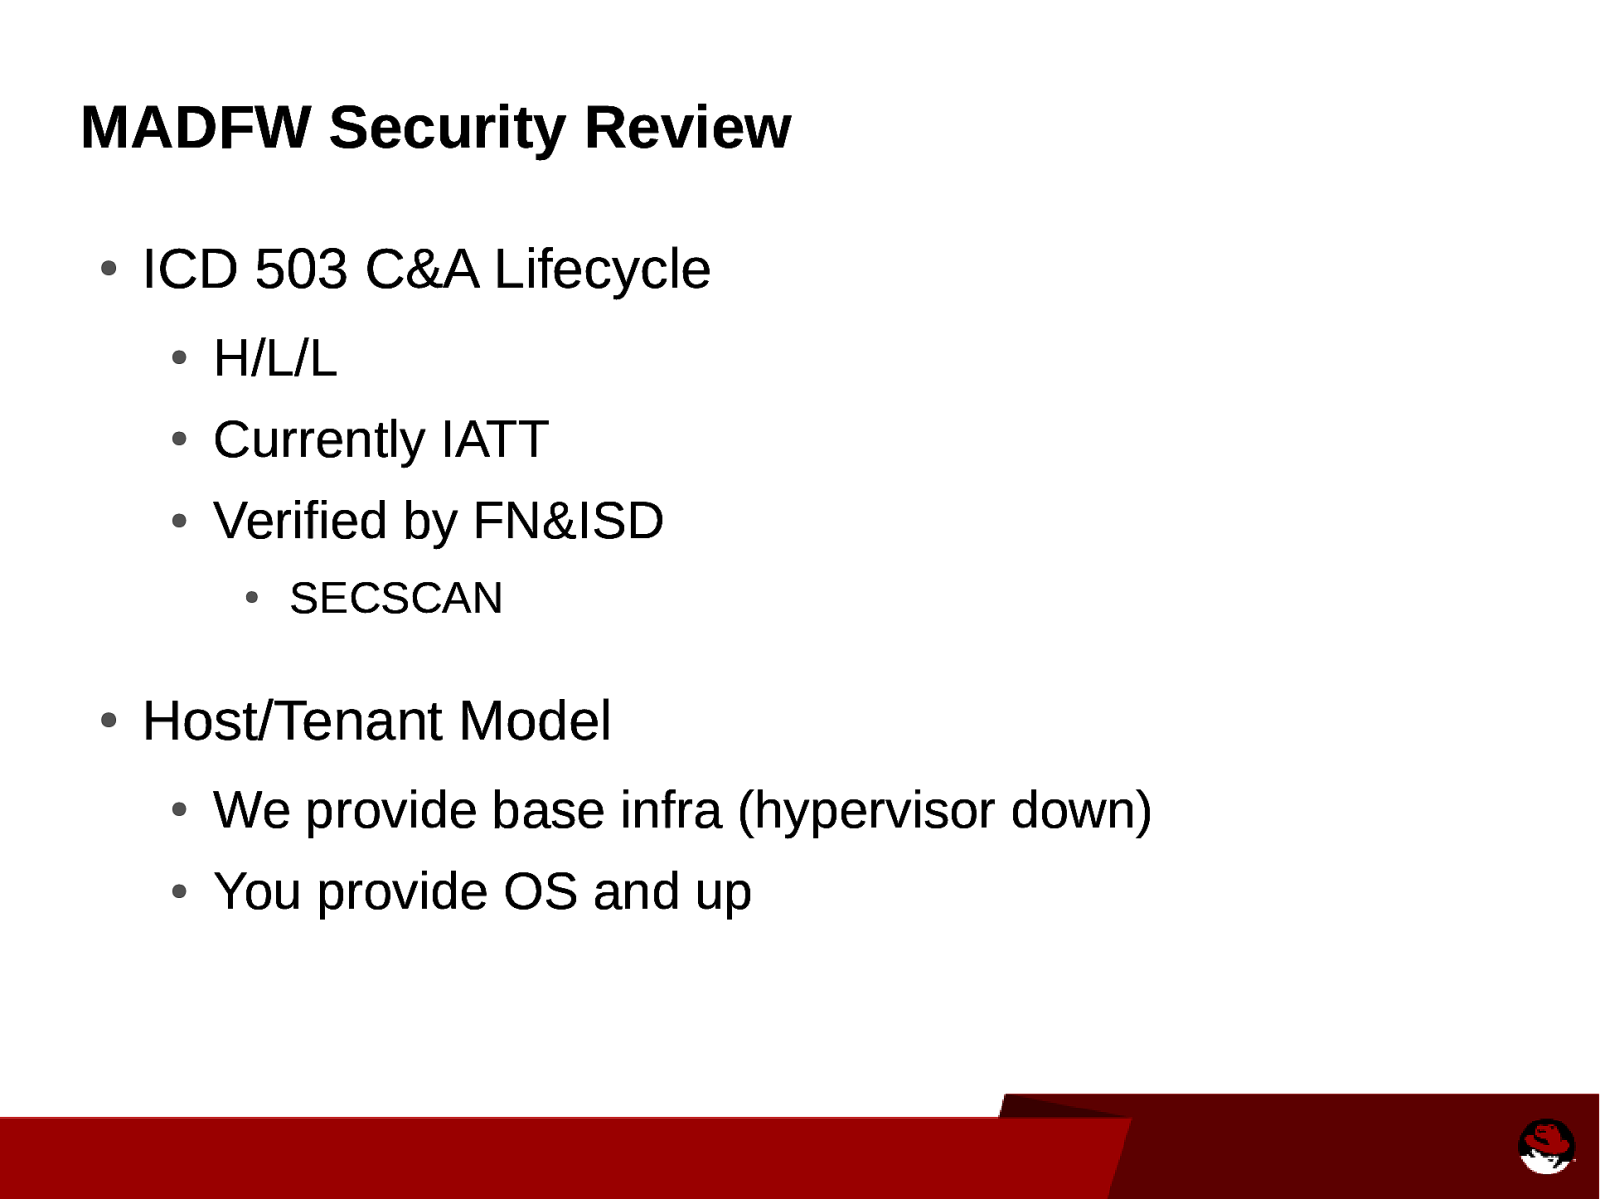
MADFW Security Review ● ICD 503 C&A Lifecycle ● H/L/L ● Currently IATT ● Verified by FN&ISD ● ● SECSCAN Host/Tenant Model ● We provide base infra (hypervisor down) ● You provide OS and up
Slide 6
UNCLASSIFIED MADFW Architecture Review UNCLASSIFIED
Slide 7
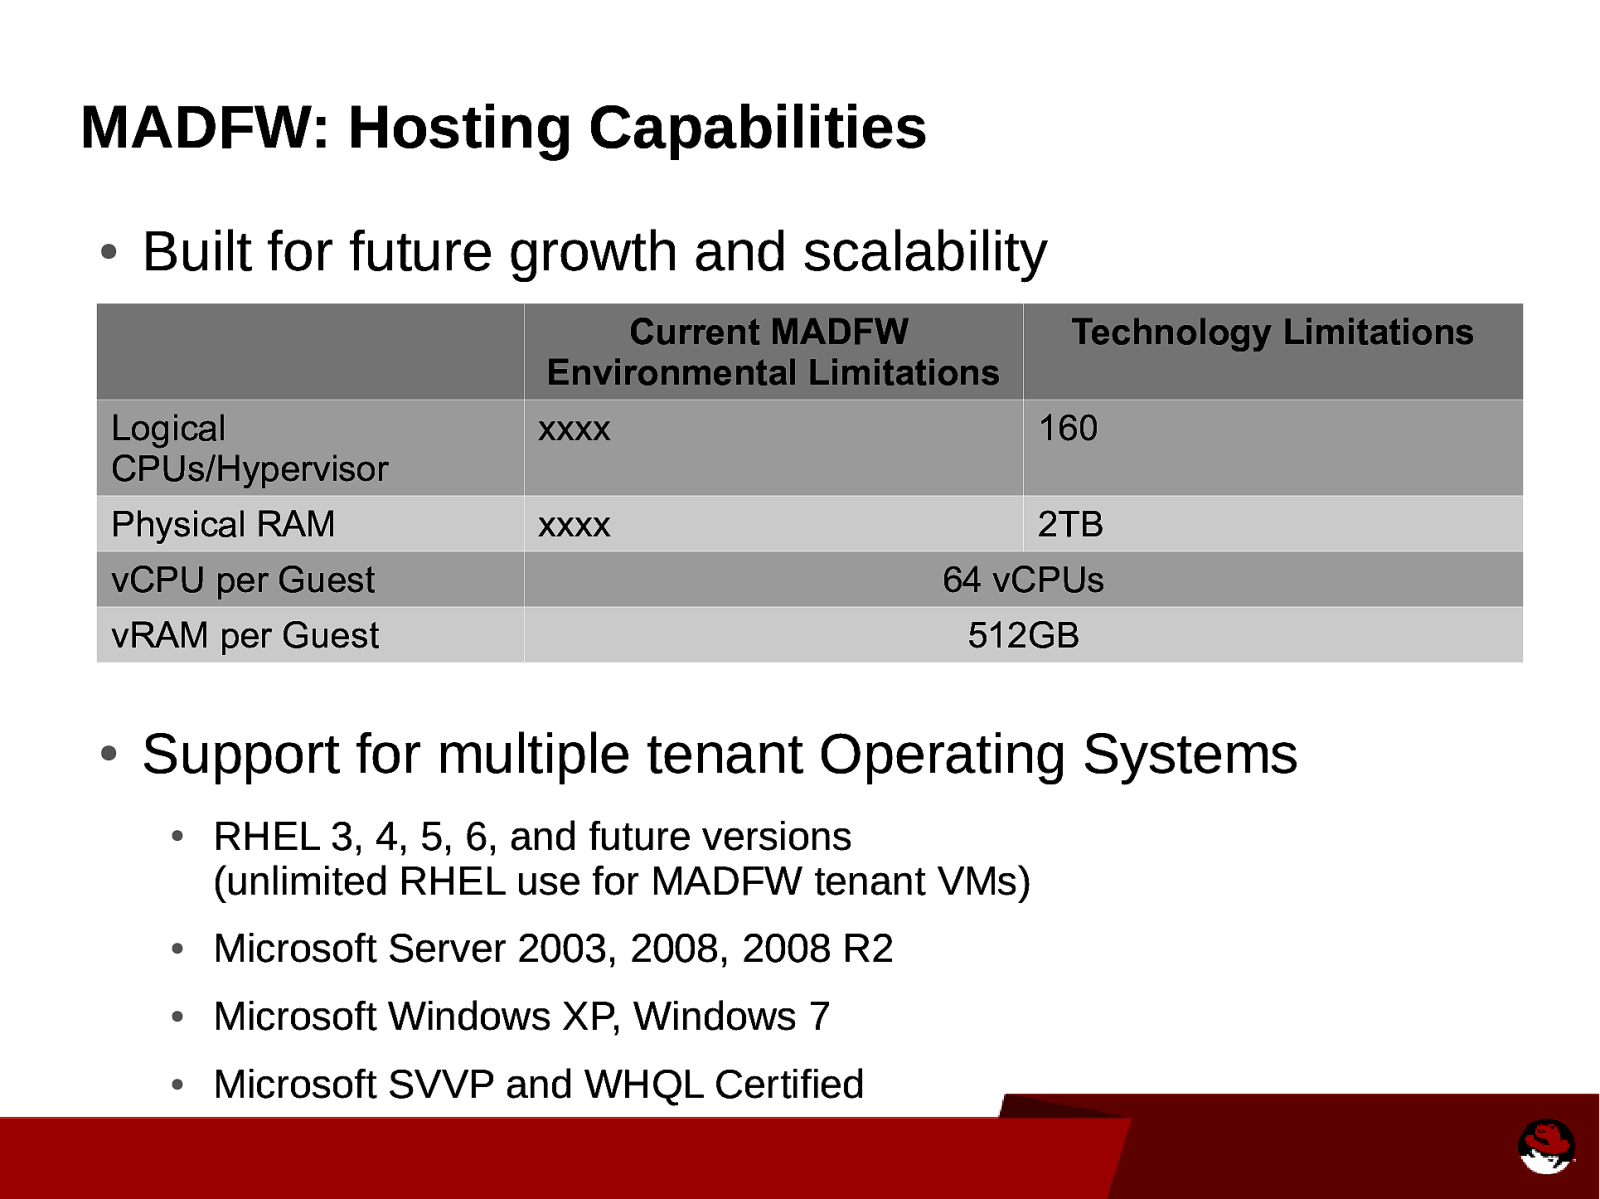
MADFW: Hosting Capabilities ● Built for future growth and scalability Current MADFW Environmental Limitations Technology Limitations Logical CPUs/Hypervisor xxxx 160 Physical RAM xxxx 2TB vCPU per Guest 64 vCPUs vRAM per Guest 512GB ● Support for multiple tenant Operating Systems ● RHEL 3, 4, 5, 6, and future versions (unlimited RHEL use for MADFW tenant VMs) ● Microsoft Server 2003, 2008, 2008 R2 ● Microsoft Windows XP, Windows 7 ● Microsoft SVVP and WHQL Certified
Slide 8
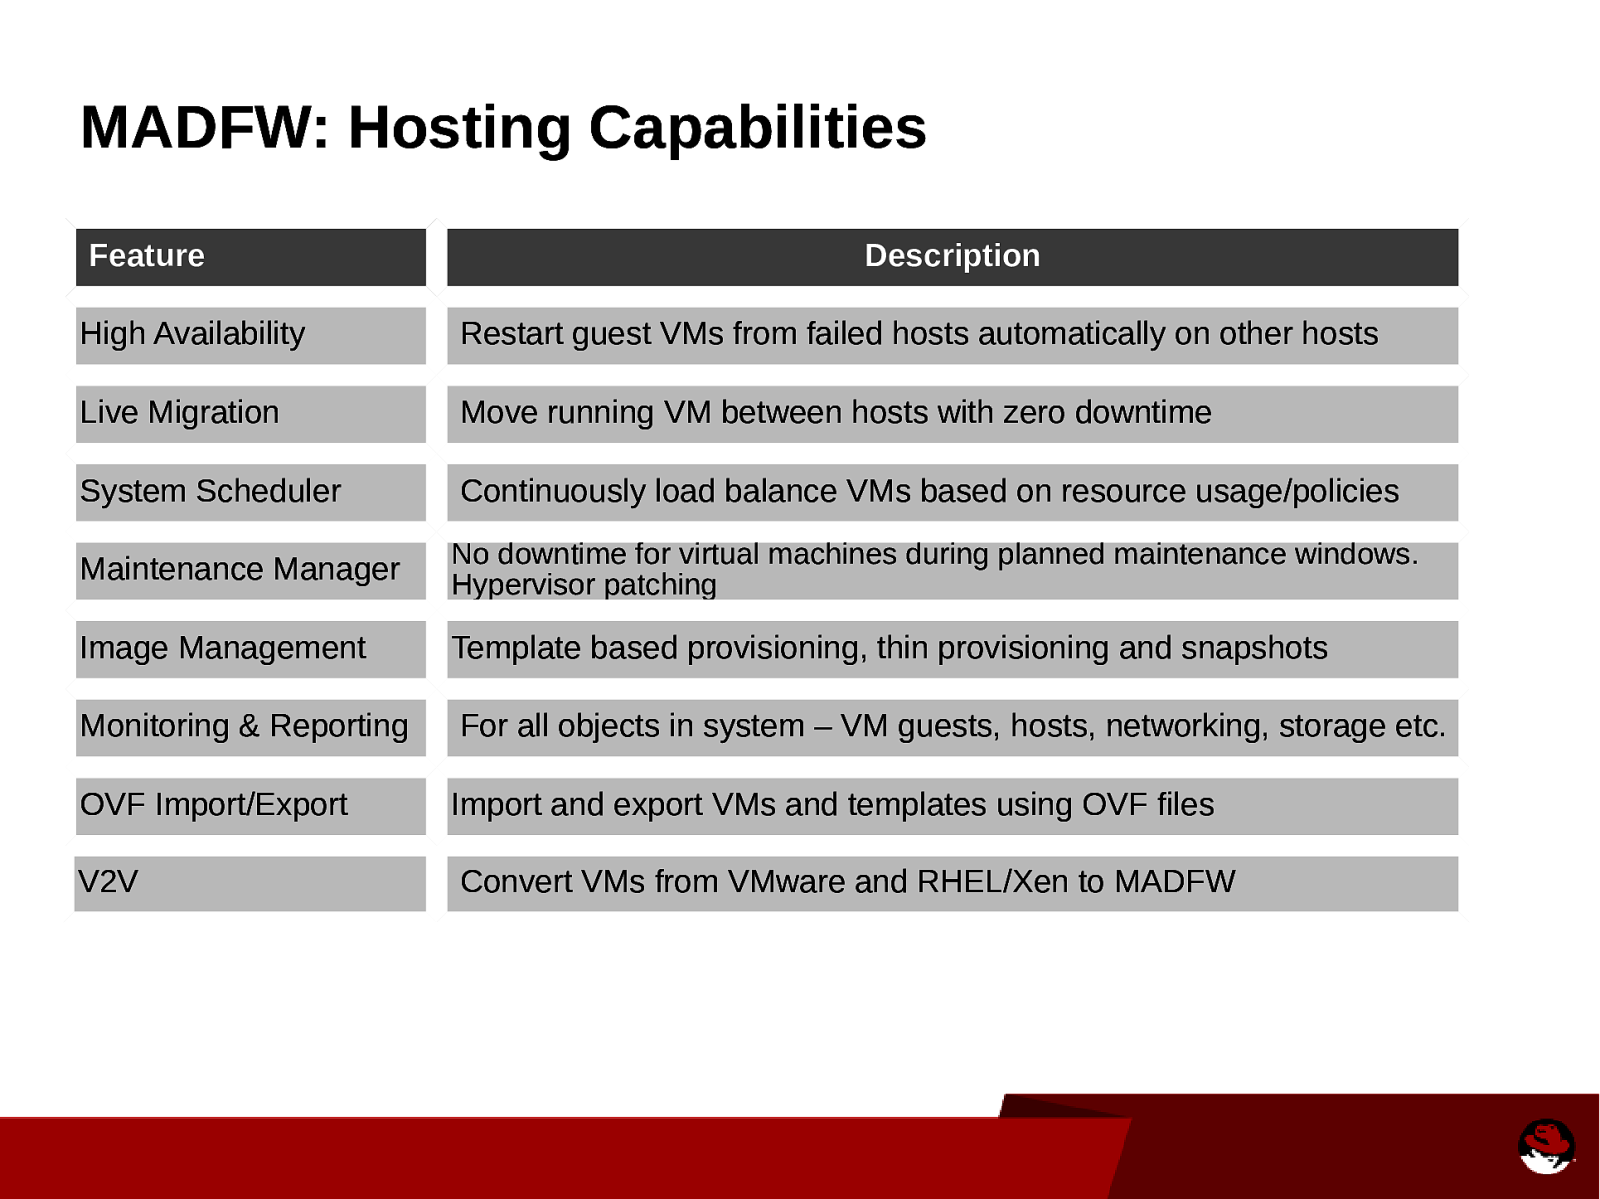
MADFW: Hosting Capabilities Feature Description High Availability Restart guest VMs from failed hosts automatically on other hosts Live Migration Move running VM between hosts with zero downtime System Scheduler Continuously load balance VMs based on resource usage/policies Maintenance Manager No downtime for virtual machines during planned maintenance windows. Hypervisor patching Image Management Template based provisioning, thin provisioning and snapshots Monitoring & Reporting For all objects in system – VM guests, hosts, networking, storage etc. OVF Import/Export Import and export VMs and templates using OVF files V2V Convert VMs from VMware and RHEL/Xen to MADFW
Slide 9
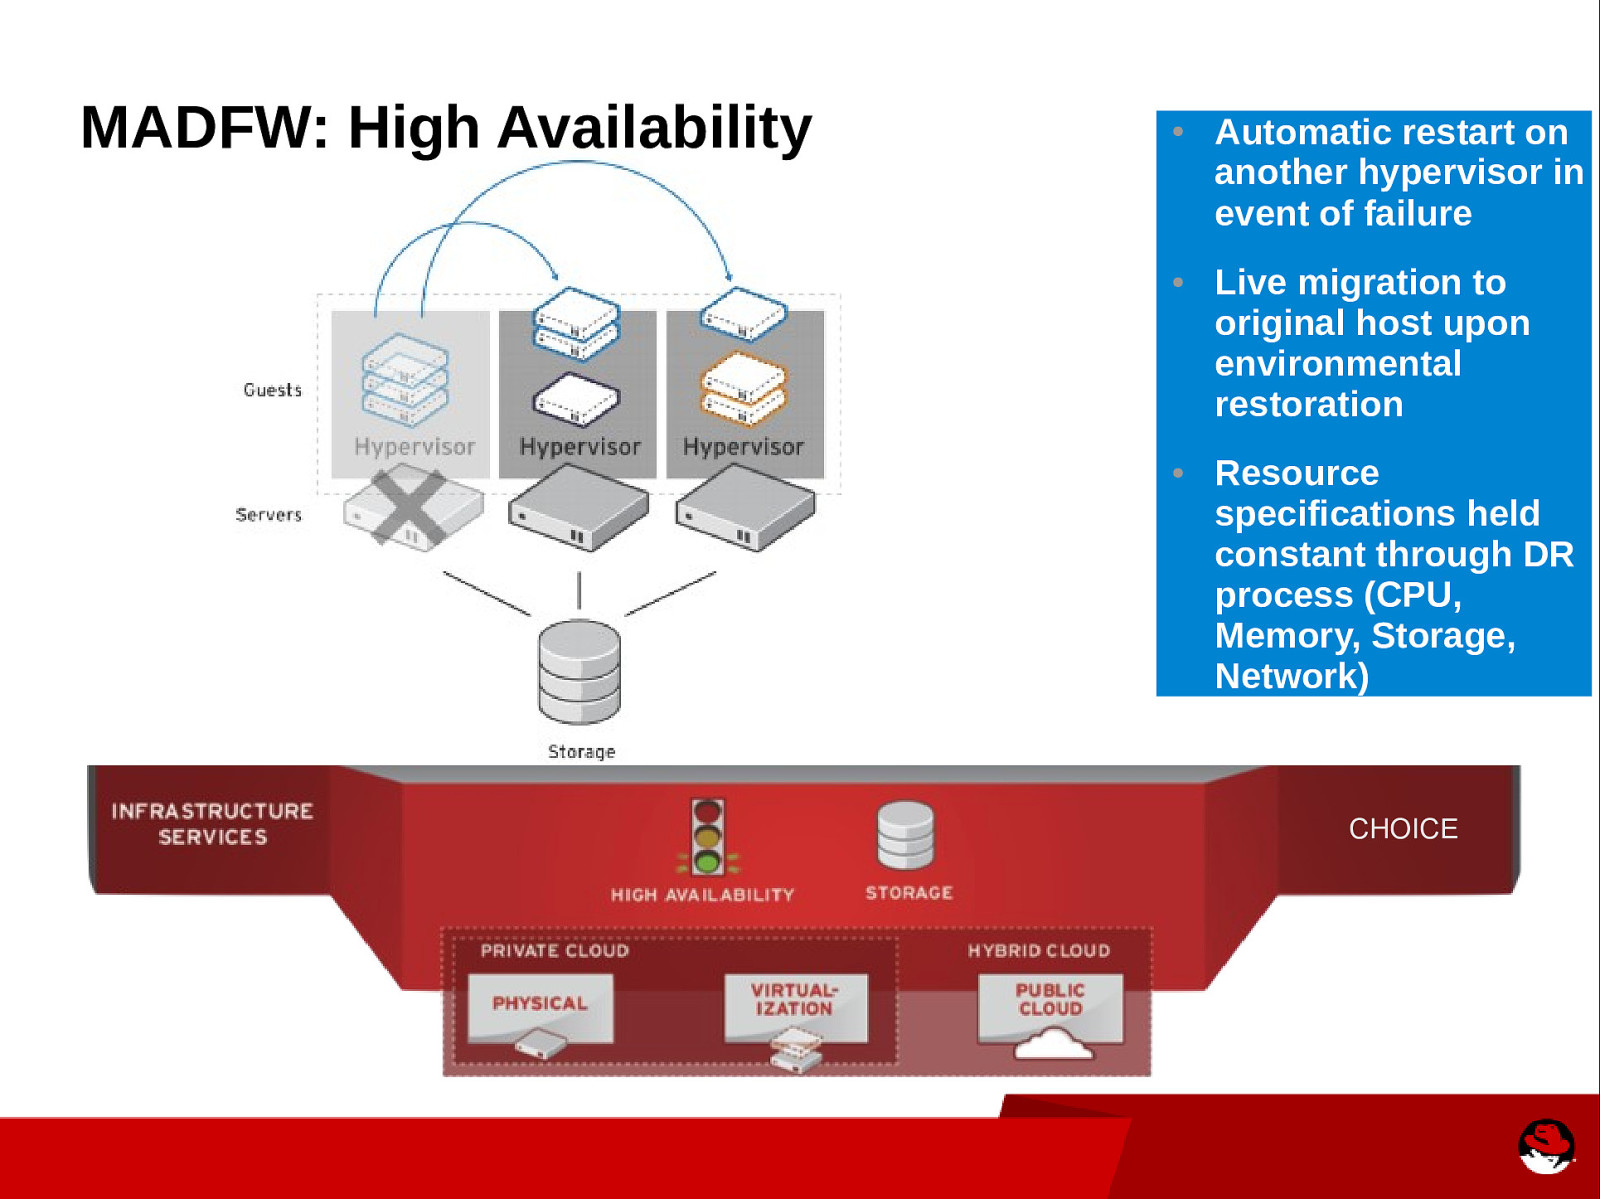
MADFW: High Availability ● ● ● Automatic restart on another hypervisor in event of failure Live migration to original host upon environmental restoration Resource specifications held constant through DR process (CPU, Memory, Storage, Network) CHOICE
Slide 10
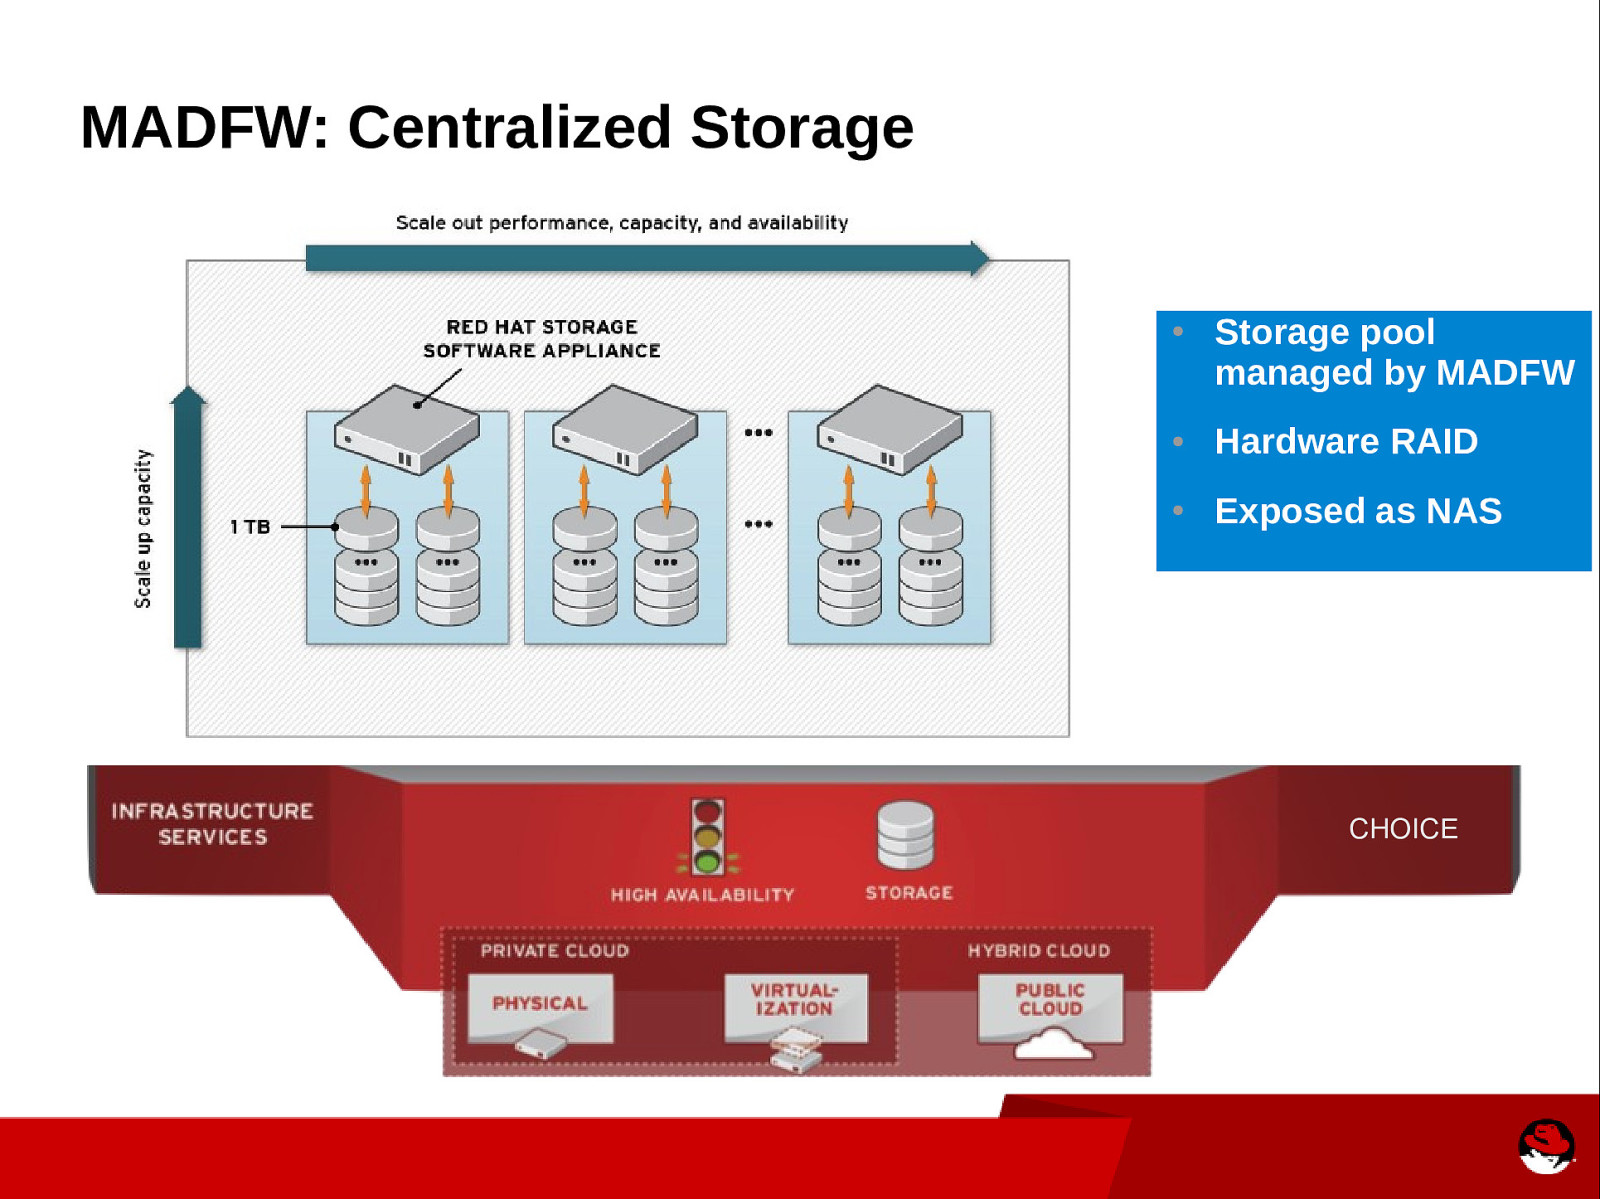
MADFW: Centralized Storage ● Storage pool managed by MADFW ● Hardware RAID ● Exposed as NAS CHOICE
Slide 11
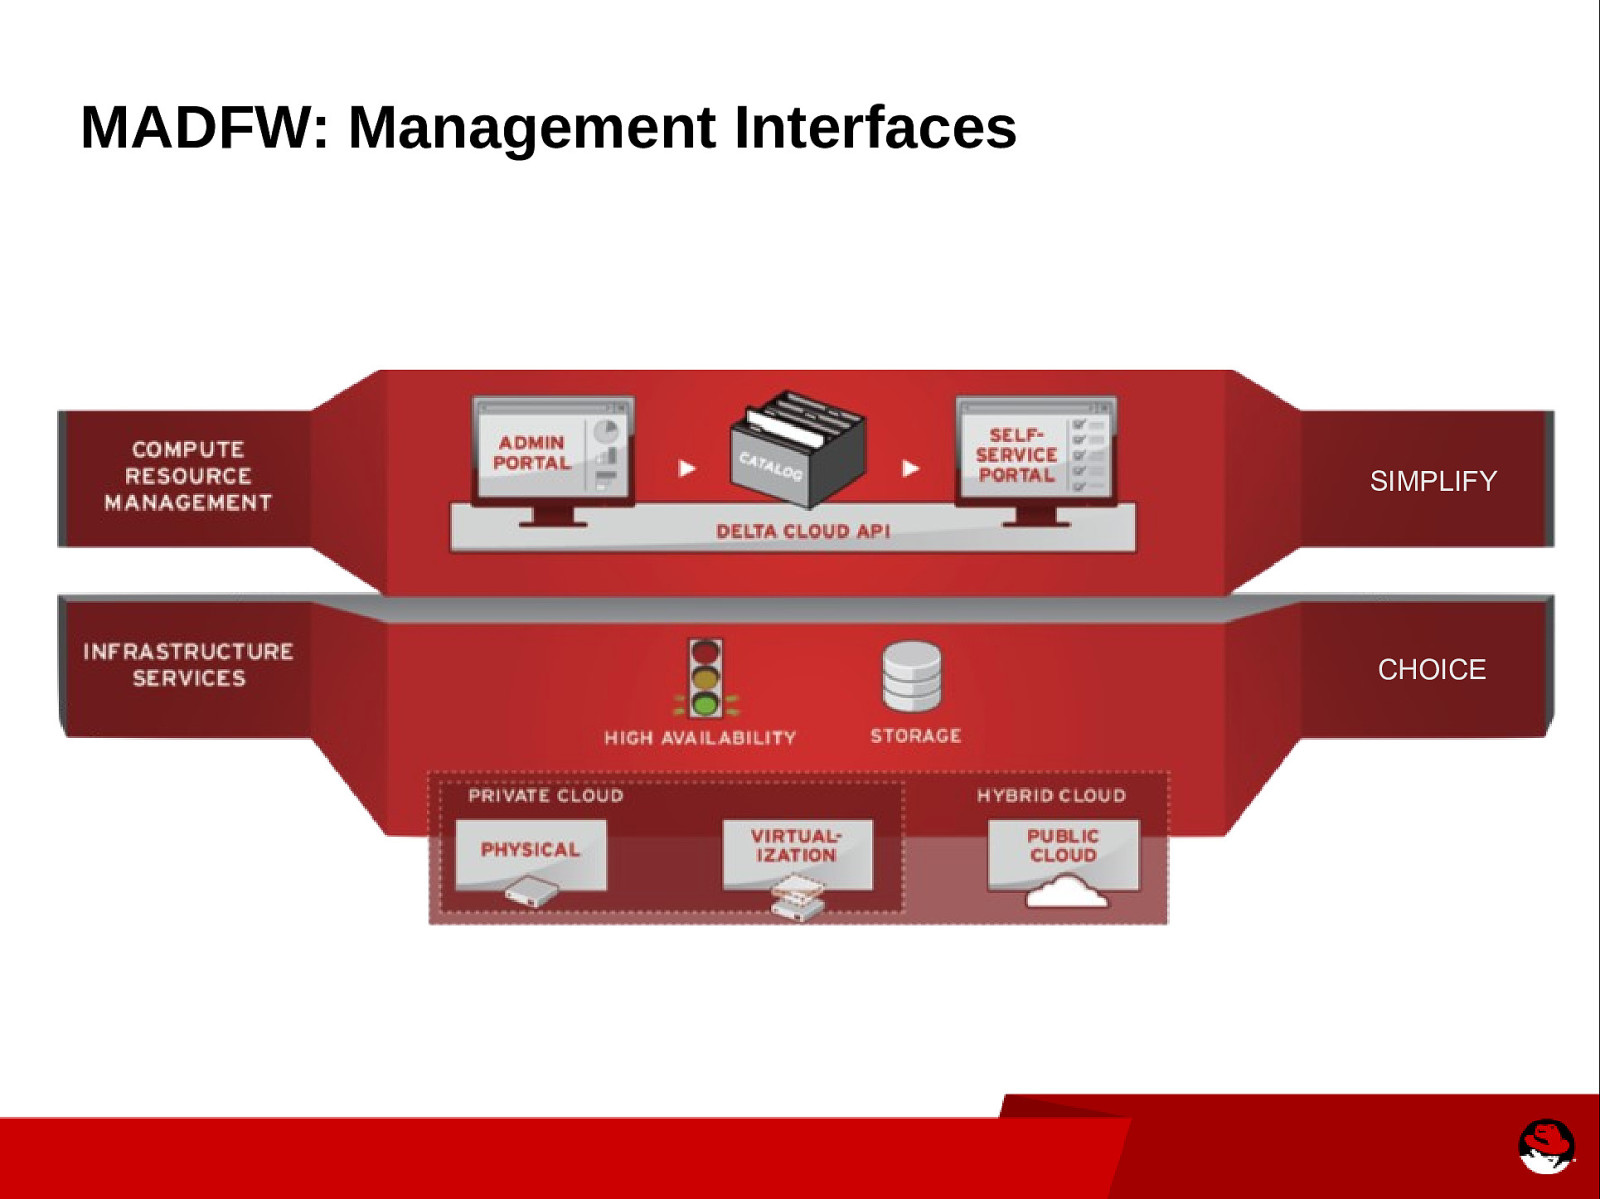
MADFW: Management Interfaces SIMPLIFY CHOICE
Slide 12
MADFW: Admin Portal
Slide 13
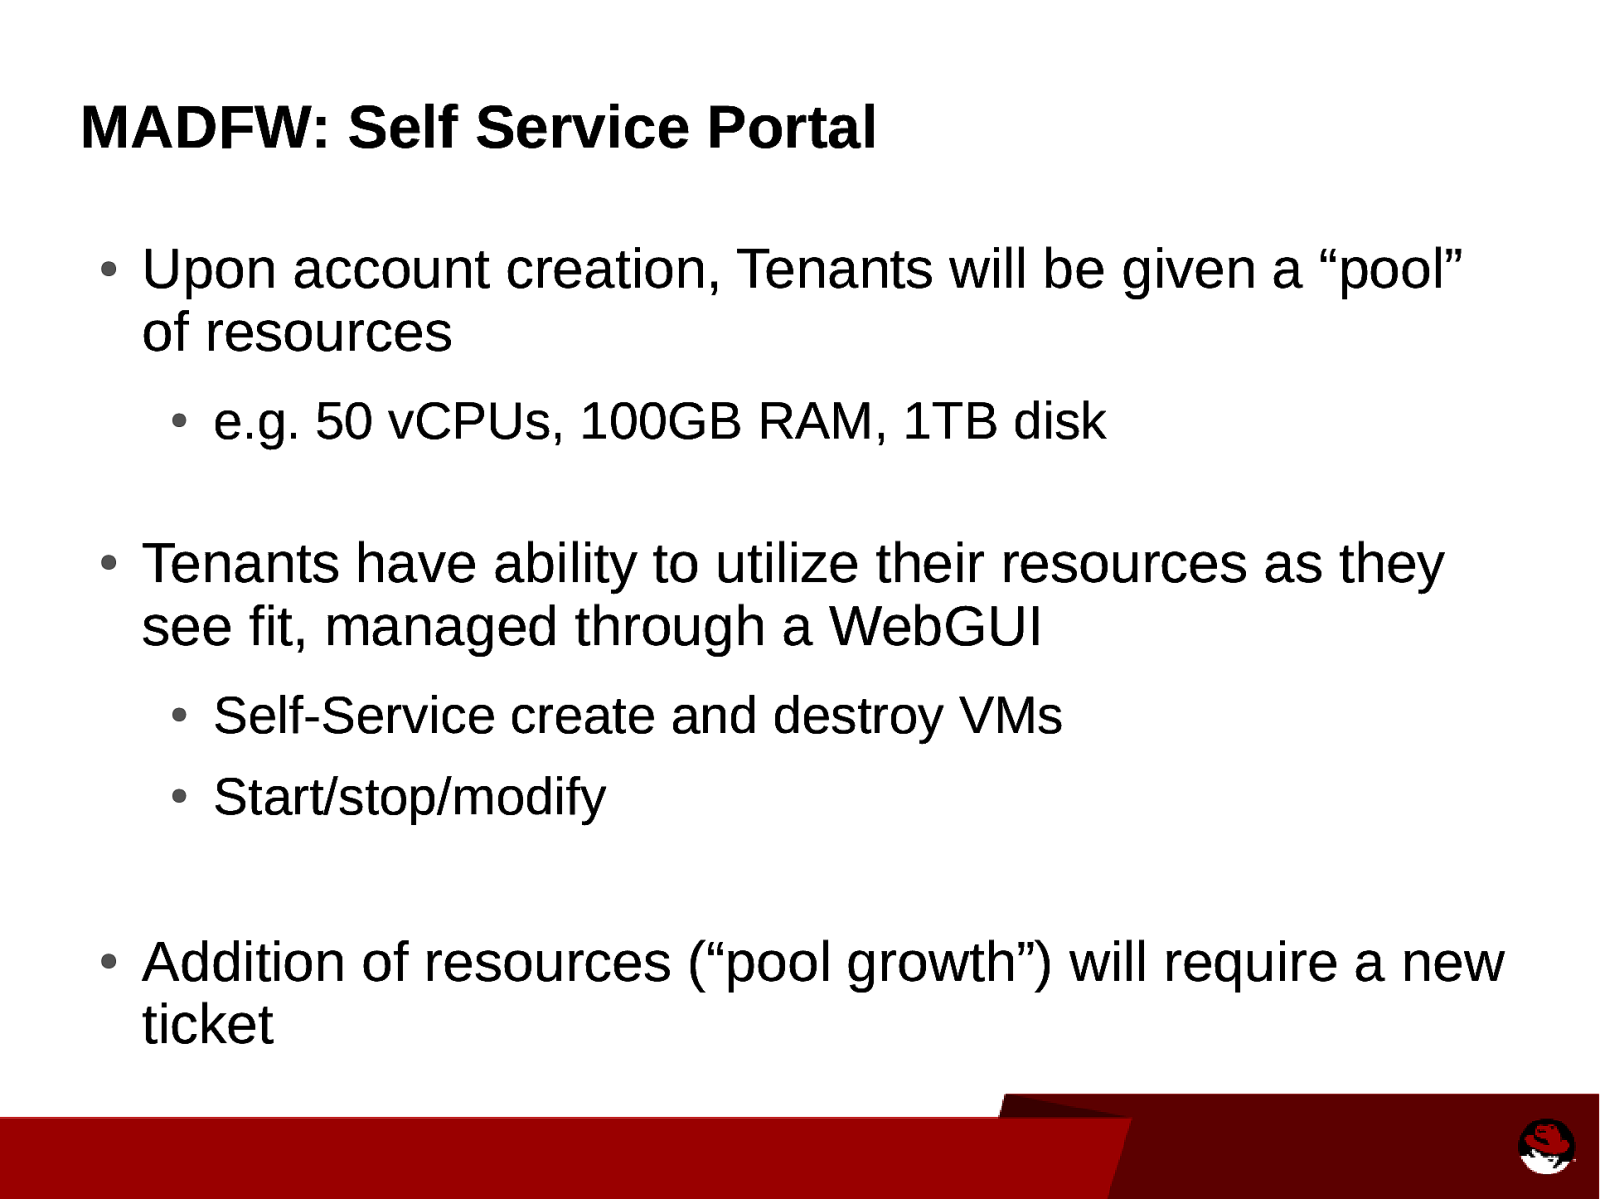
MADFW: Self Service Portal ● Upon account creation, Tenants will be given a “pool” of resources ● ● ● e.g. 50 vCPUs, 100GB RAM, 1TB disk Tenants have ability to utilize their resources as they see fit, managed through a WebGUI ● Self-Service create and destroy VMs ● Start/stop/modify Addition of resources (“pool growth”) will require a new ticket
Slide 14
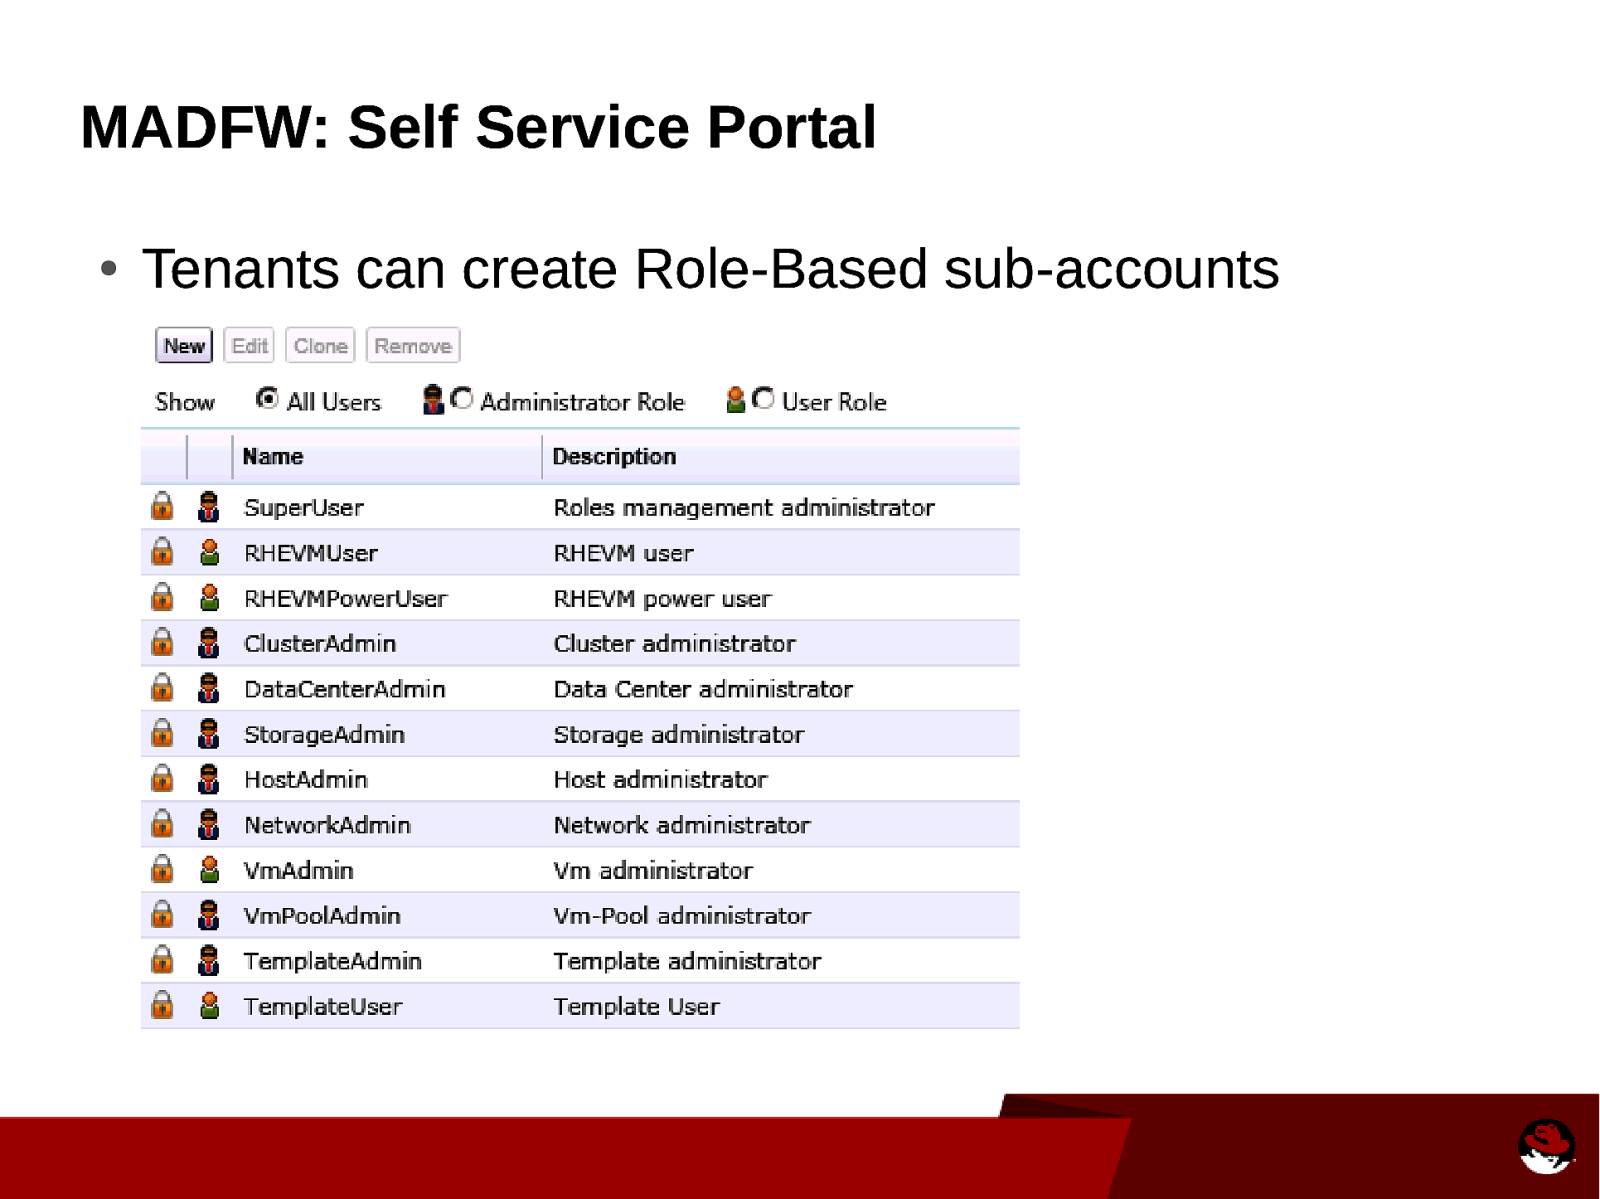
MADFW: Self Service Portal ● Tenants can create Role-Based sub-accounts
Slide 15

MADFW: Self Service Portal
Slide 16
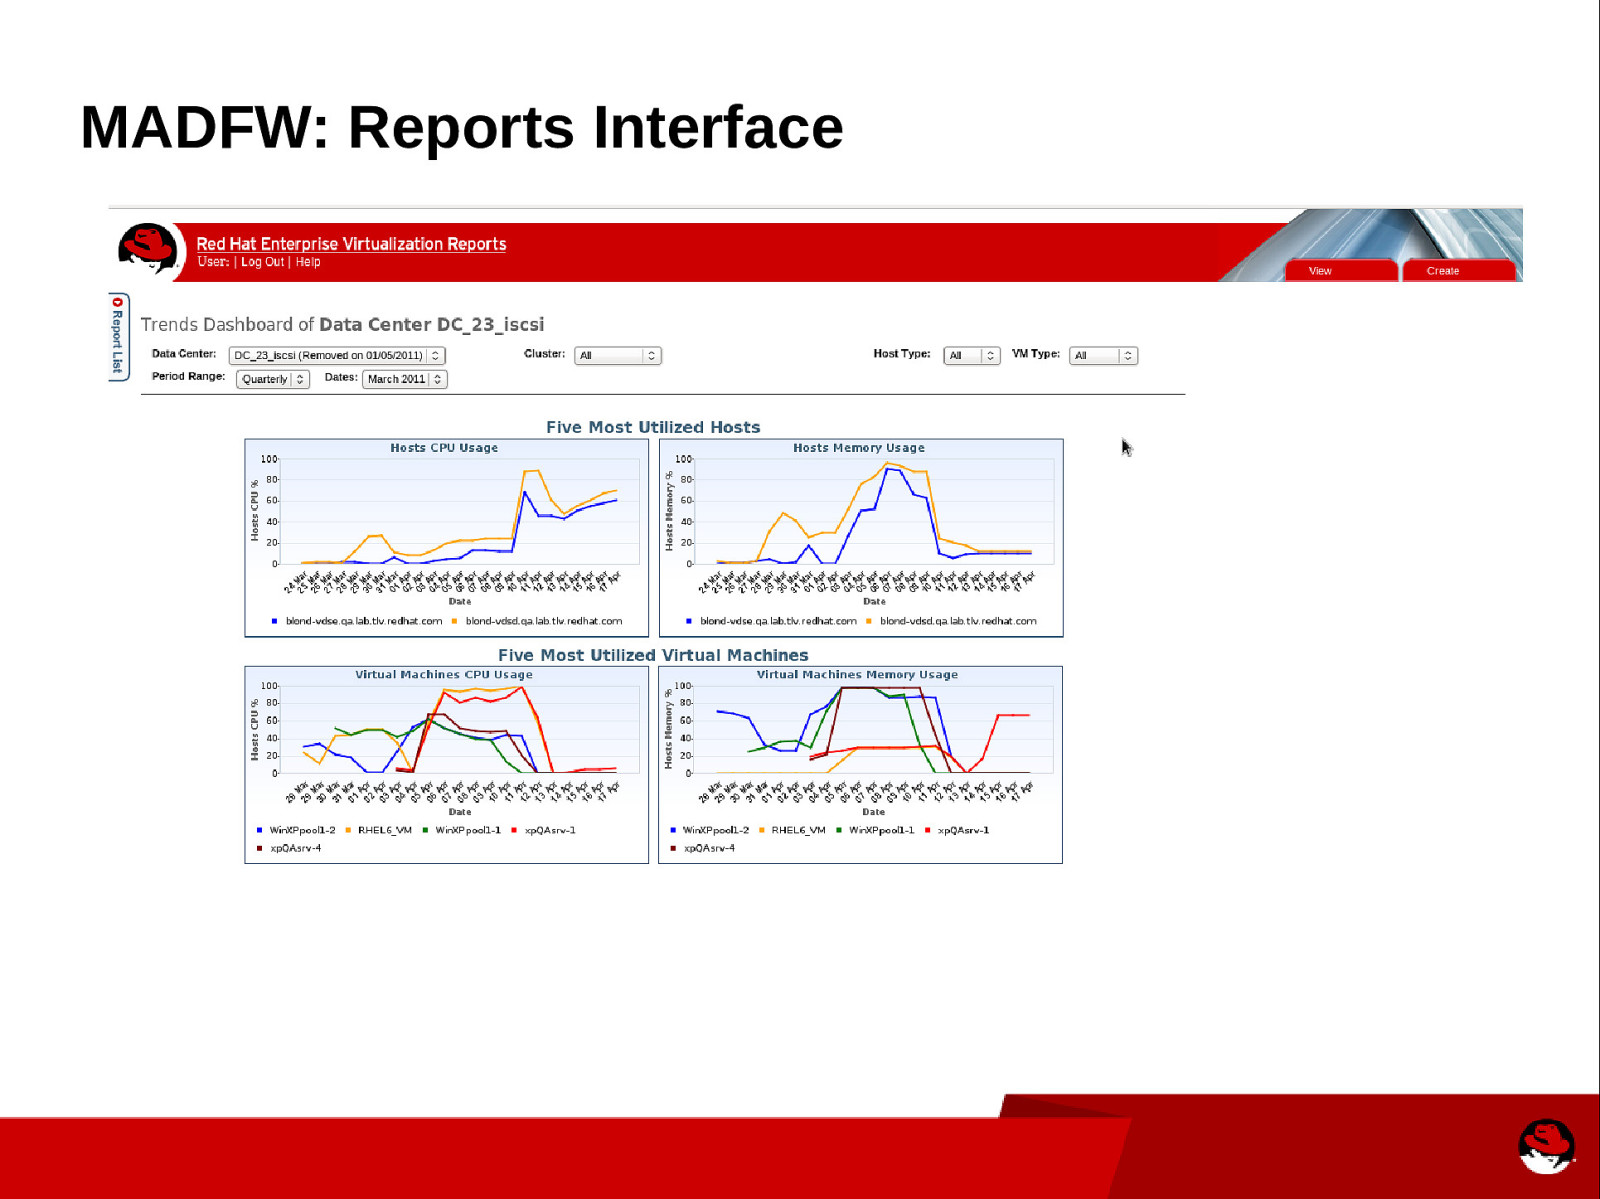
MADFW: Reports Interface
Slide 17
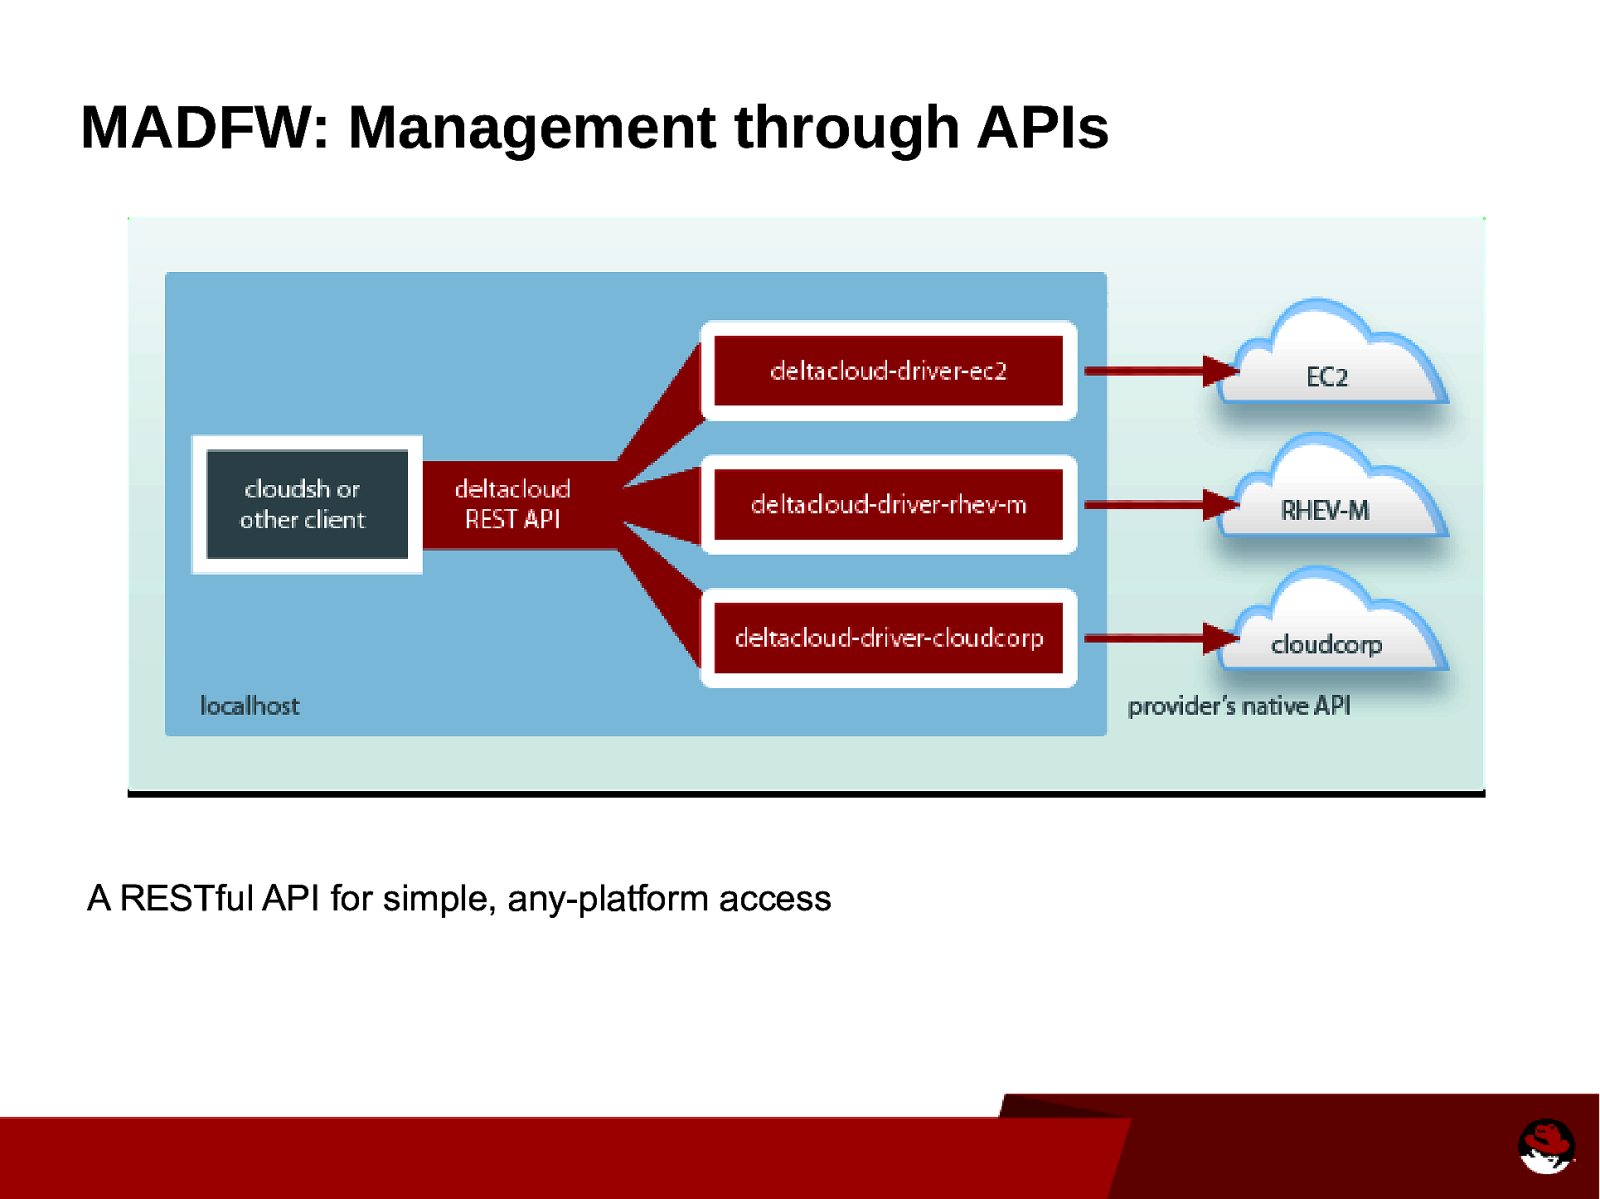
MADFW: Management through APIs A RESTful API for simple, any-platform access
Slide 18
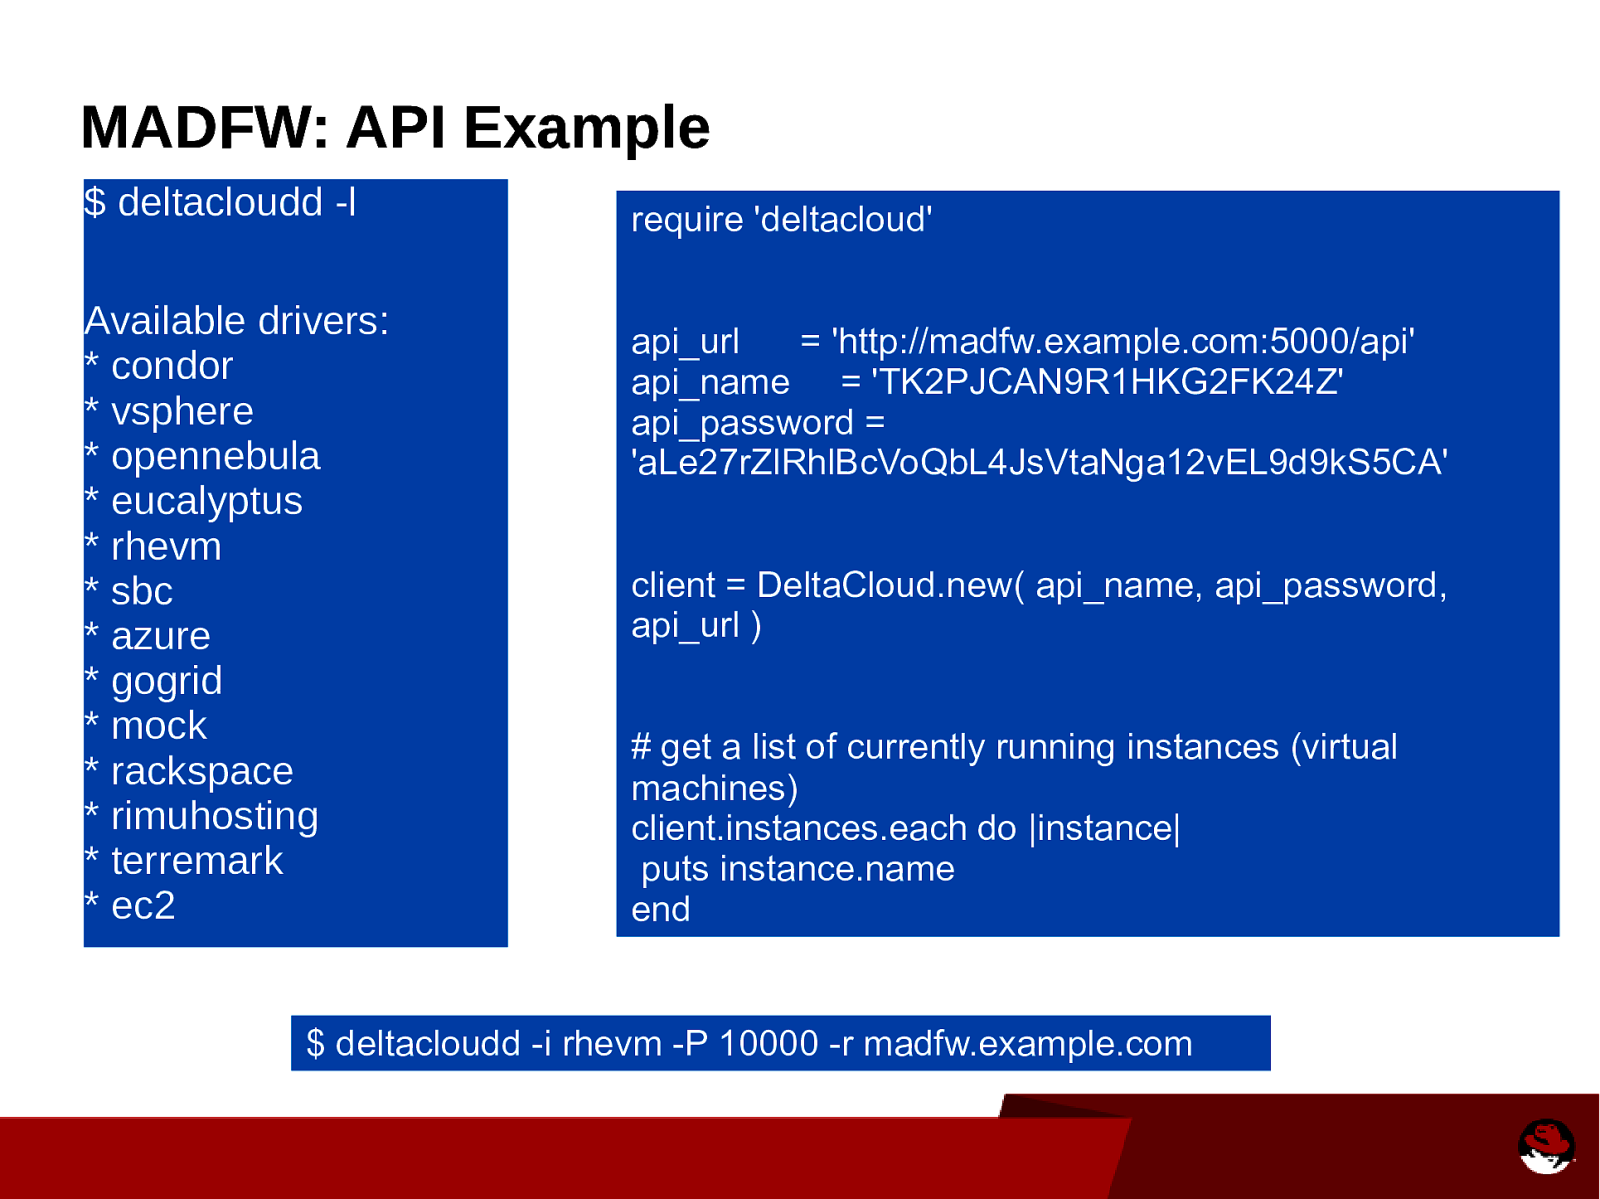
MADFW: API Example $ deltacloudd -l Available drivers: * condor * vsphere * opennebula * eucalyptus * rhevm * sbc * azure * gogrid * mock * rackspace * rimuhosting * terremark * ec2 require ‘deltacloud’ api_url = ‘http://madfw.example.com:5000/api’ api_name = ‘TK2PJCAN9R1HKG2FK24Z’ api_password = ‘aLe27rZlRhlBcVoQbL4JsVtaNga12vEL9d9kS5CA’ client = DeltaCloud.new( api_name, api_password, api_url ) # get a list of currently running instances (virtual machines) client.instances.each do |instance| puts instance.name end $ deltacloudd -i rhevm -P 10000 -r madfw.example.com
Slide 19
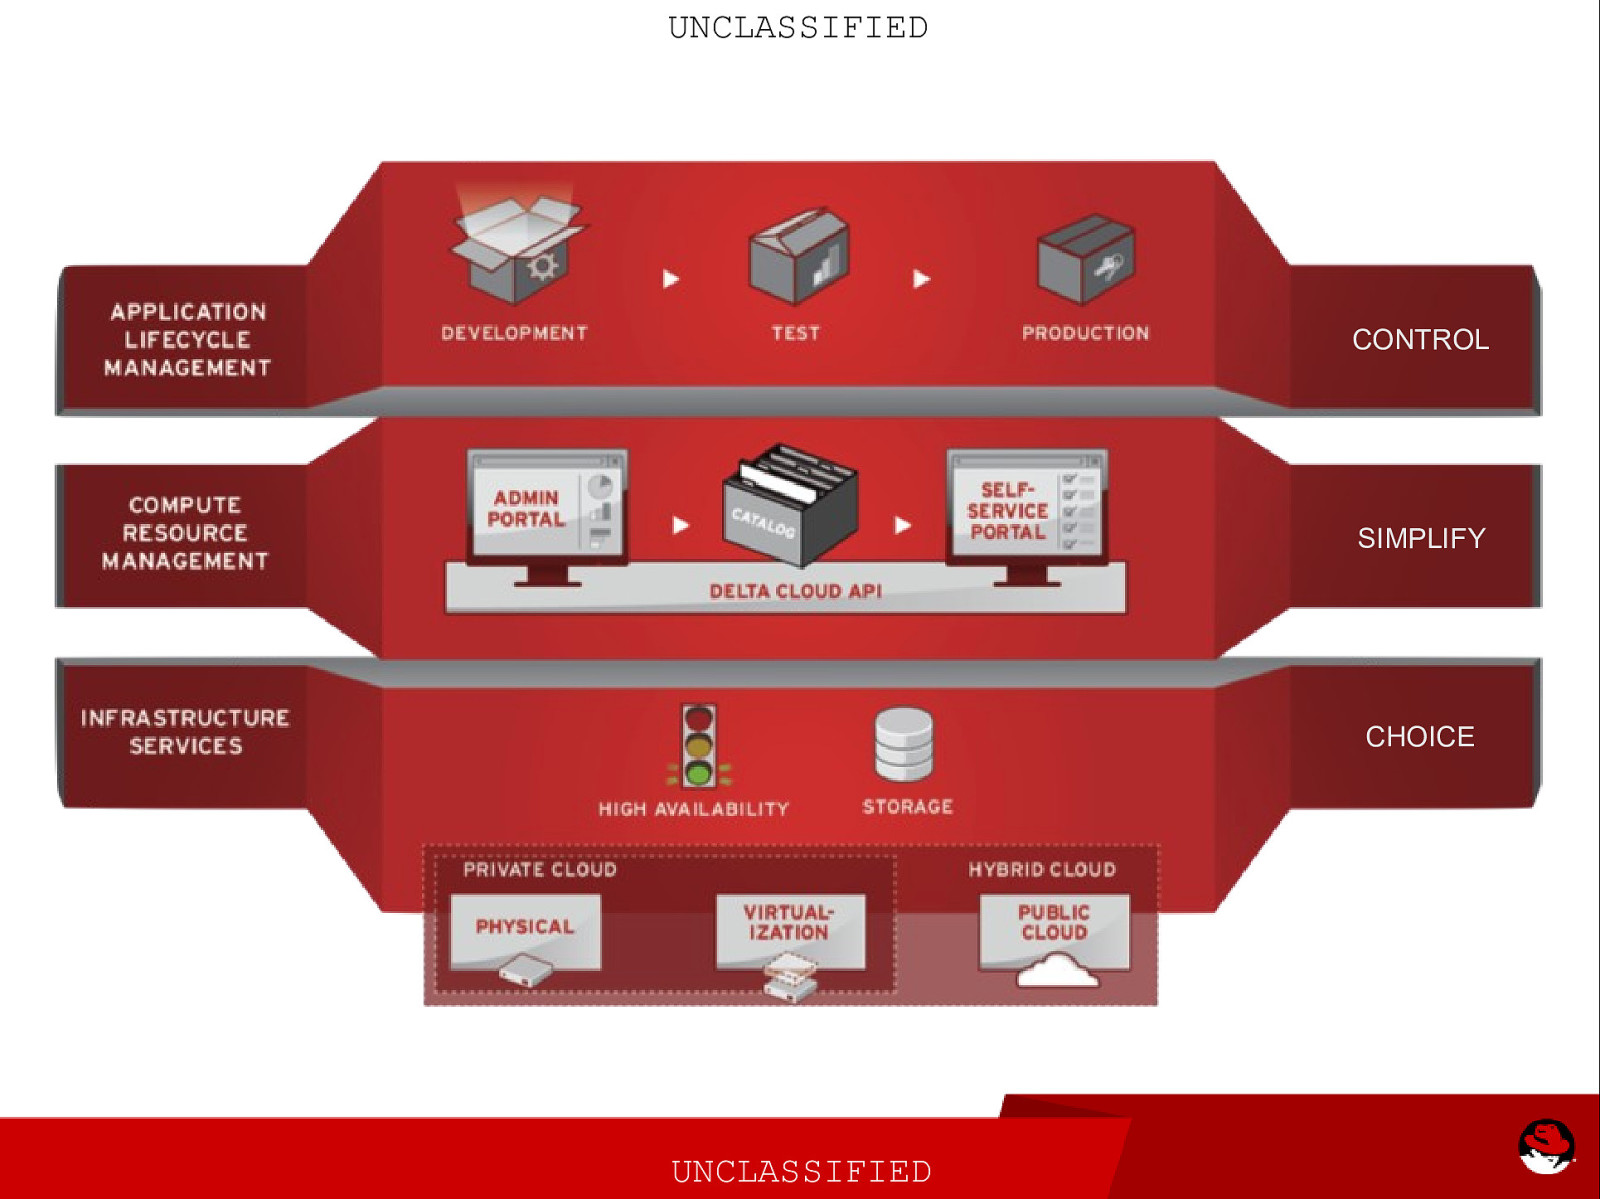
UNCLASSIFIED CONTROL SIMPLIFY CHOICE UNCLASSIFIED
Slide 20
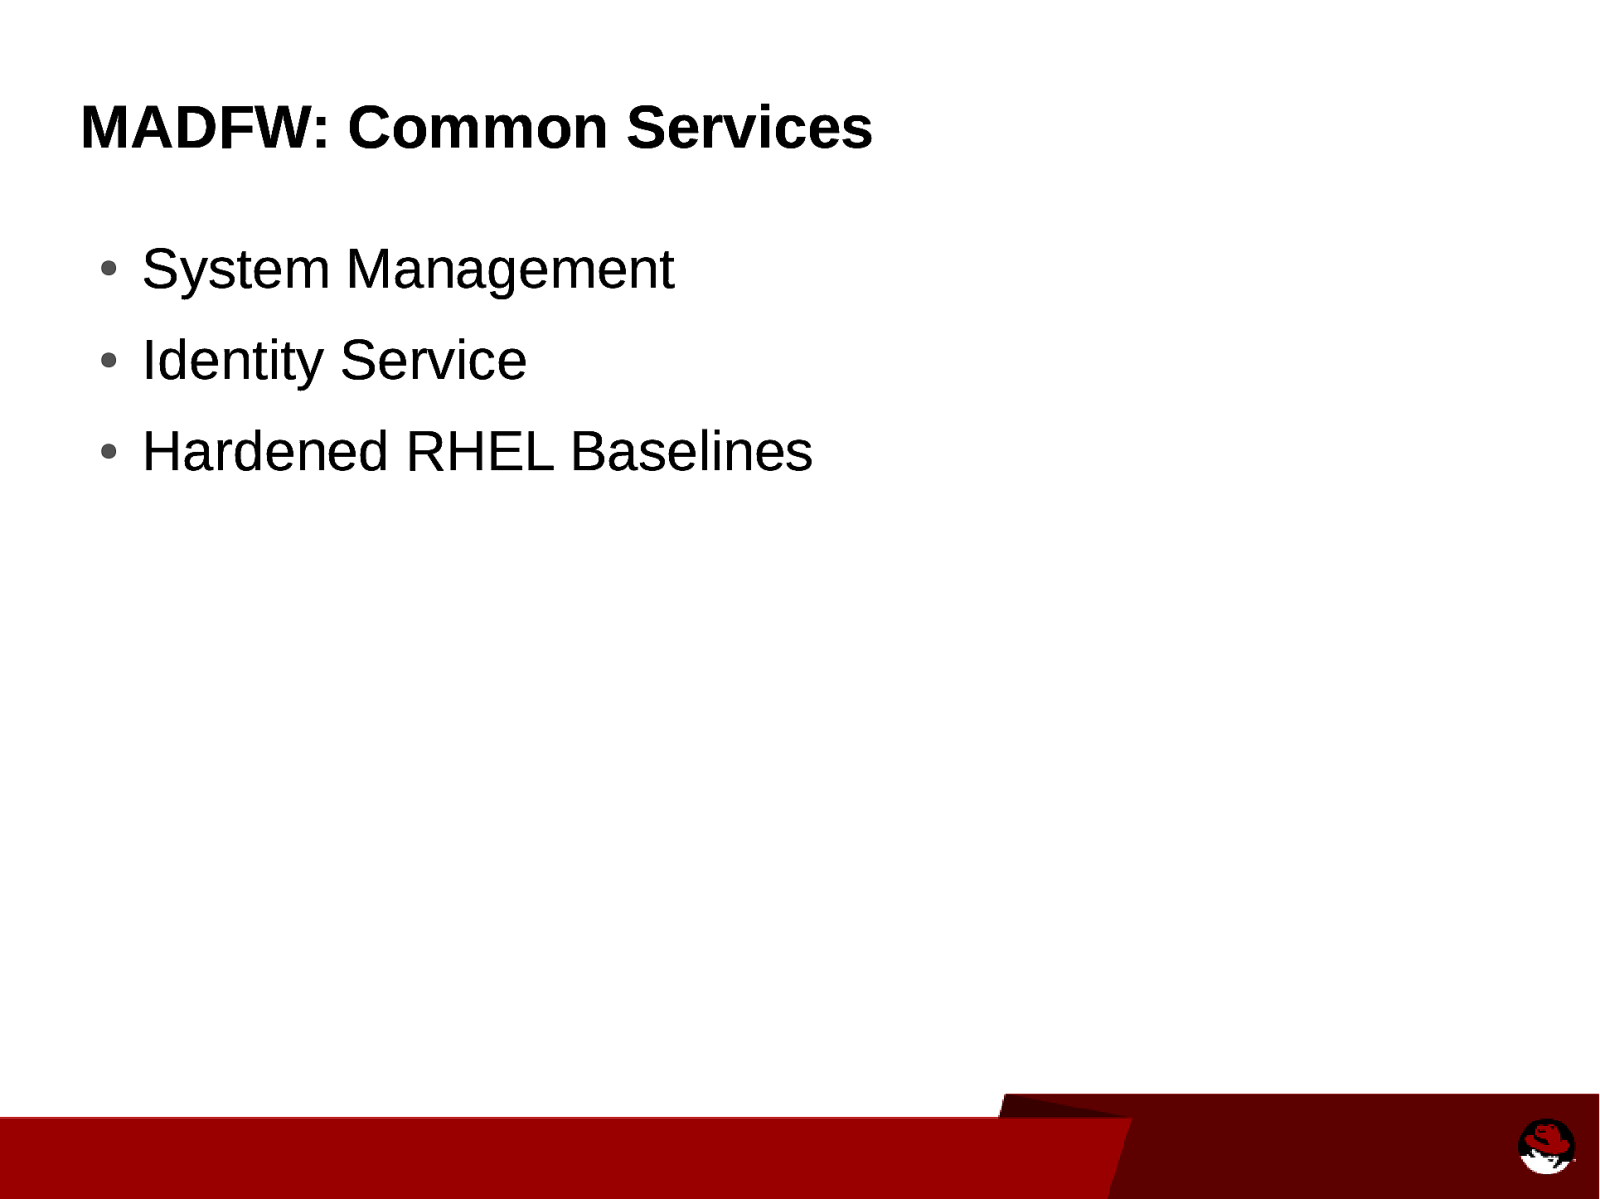
MADFW: Common Services ● System Management ● Identity Service ● Hardened RHEL Baselines
Slide 21
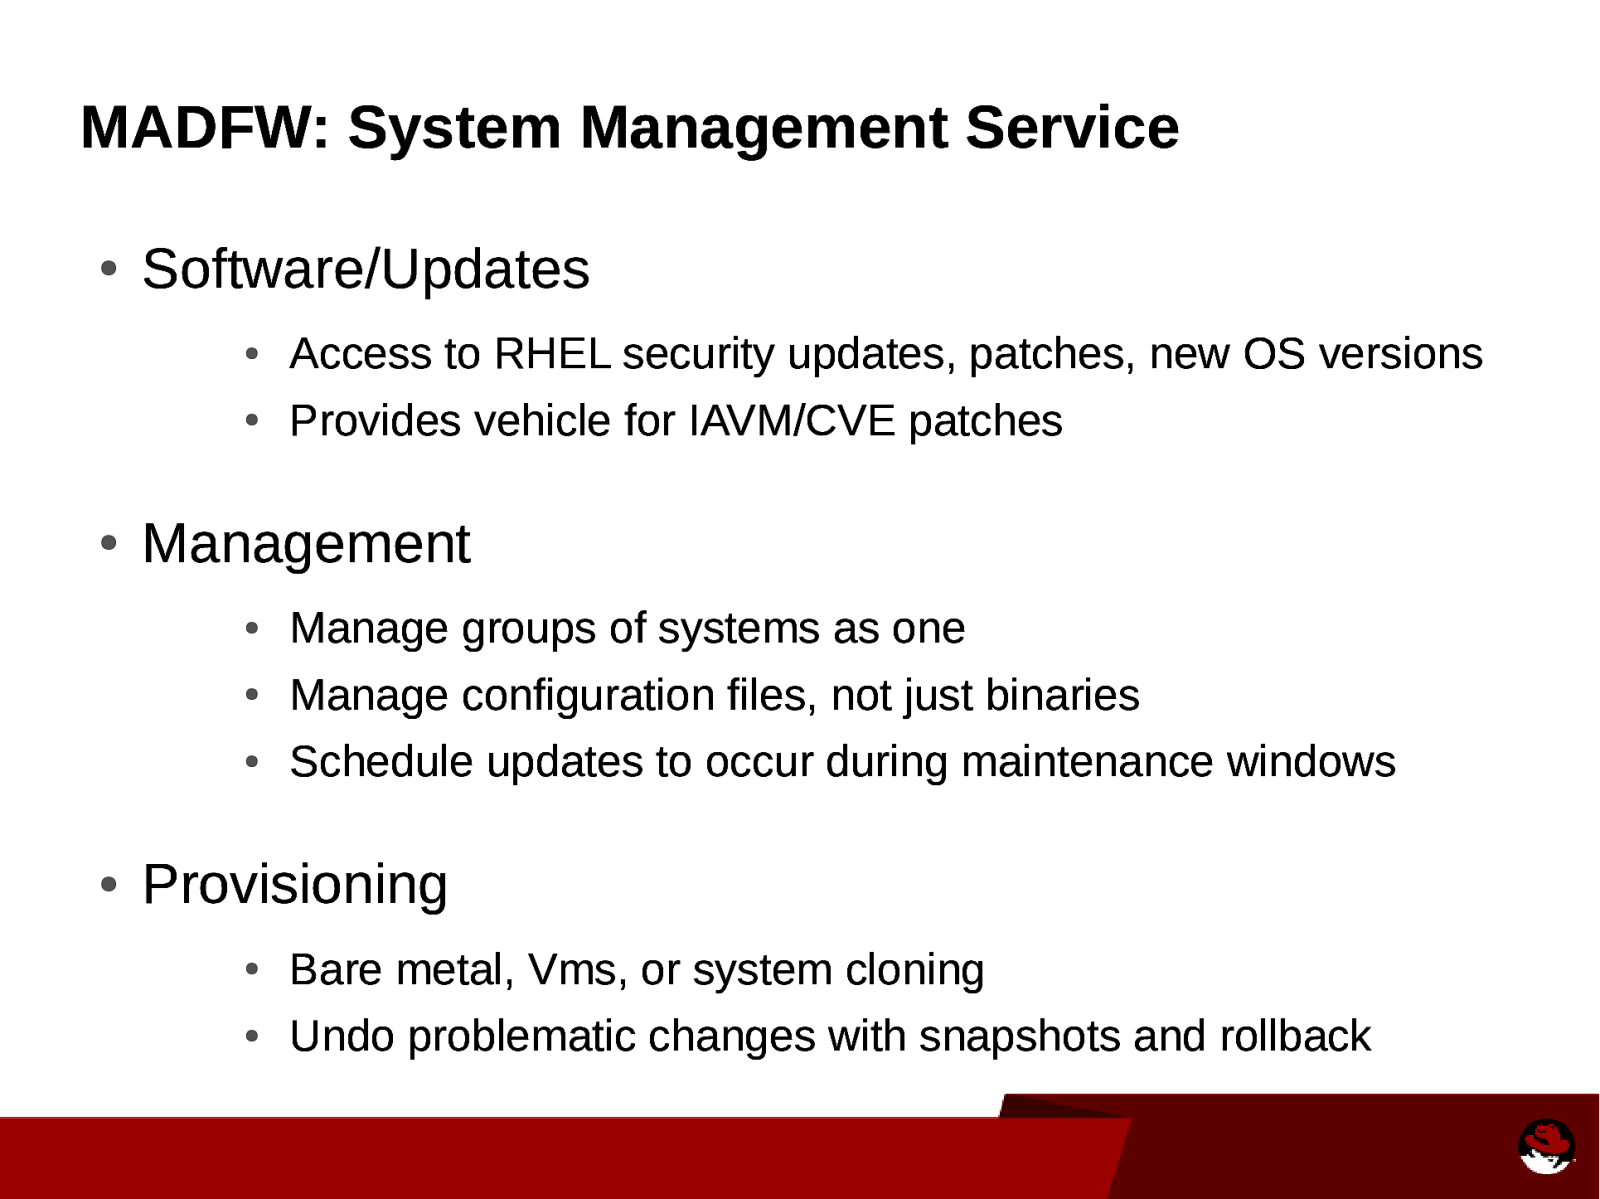
MADFW: System Management Service ● ● ● Software/Updates ● Access to RHEL security updates, patches, new OS versions ● Provides vehicle for IAVM/CVE patches Management ● Manage groups of systems as one ● Manage configuration files, not just binaries ● Schedule updates to occur during maintenance windows Provisioning ● Bare metal, Vms, or system cloning ● Undo problematic changes with snapshots and rollback
Slide 22
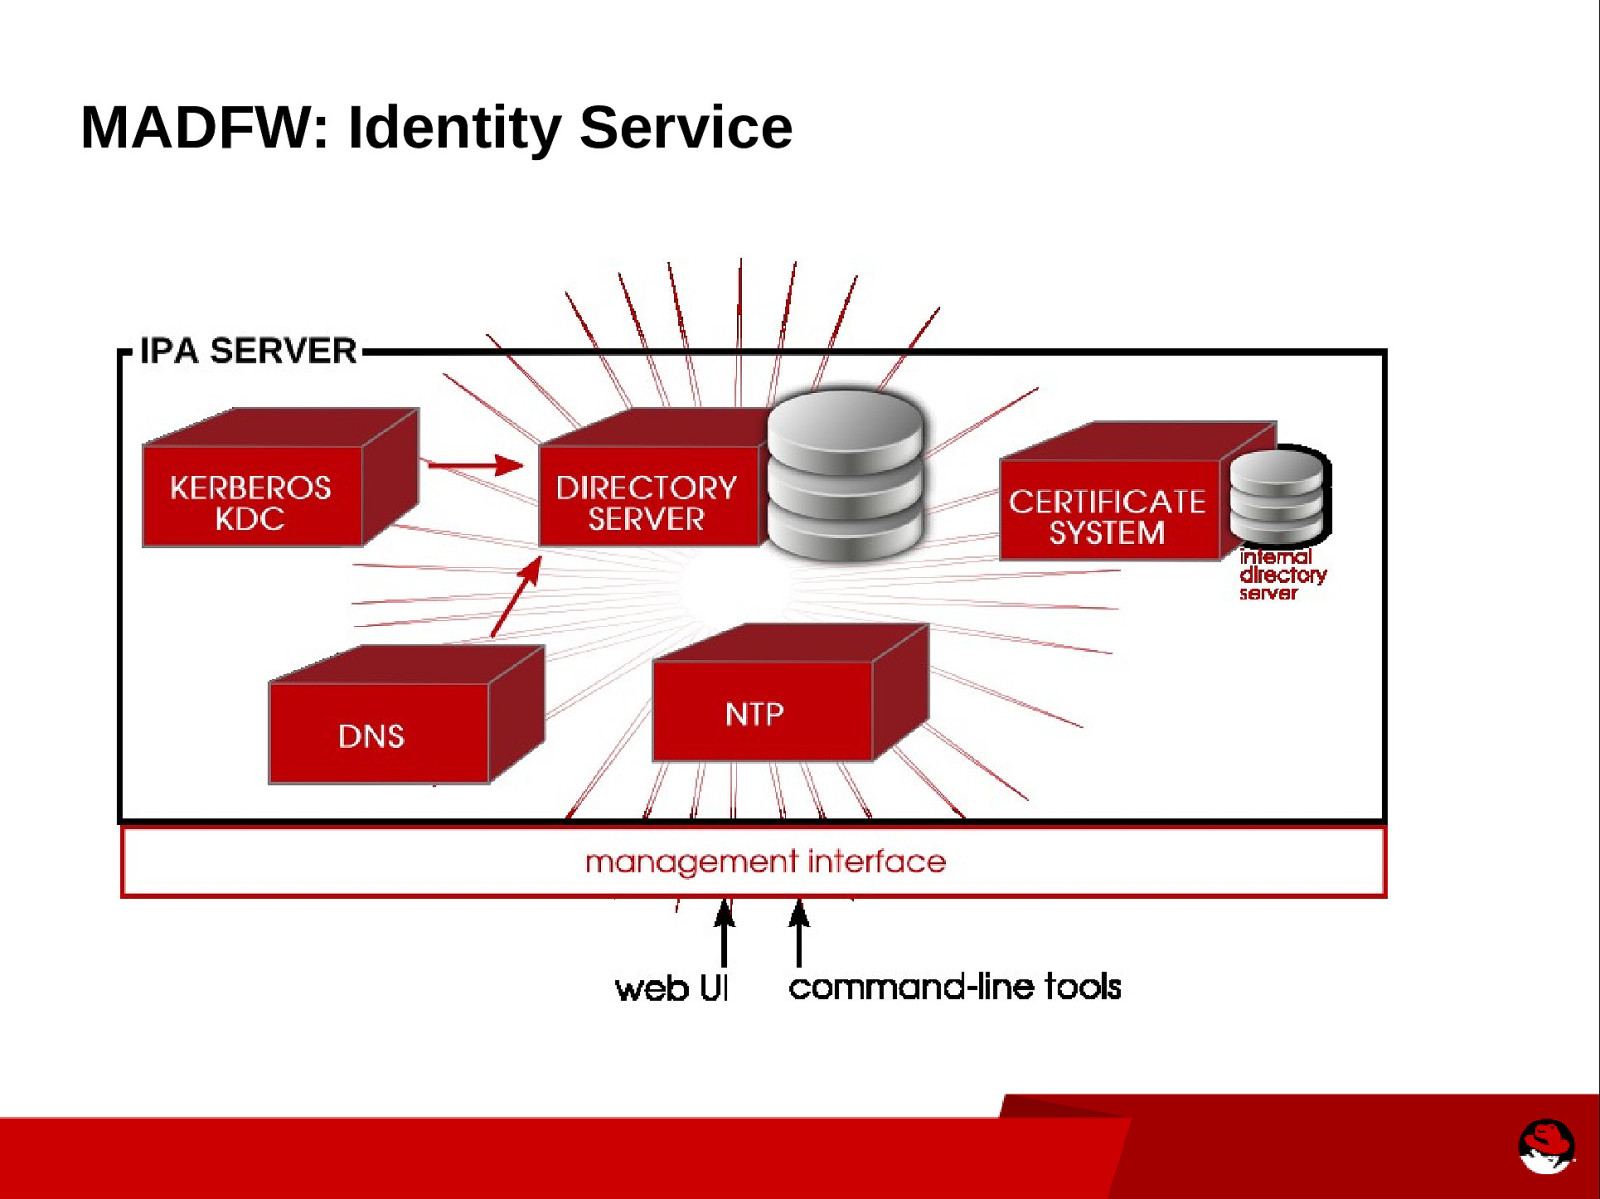
MADFW: Identity Service
Slide 23

MADFW: Hardened RHEL Baselines ● ● Initial offering of hardened RHEL6 baselines ● STIG, NIST 800-53 ● Common Criteria once announced (est. September) RHEL5 offered by mid-September ● STIG, NIST 800-53, Common Criteria
Slide 24
MADFW: Limitations ● 10G network ● NAS storage (not block level through SAN) ● Limited Backup
Slide 25
UNCLASSIFIED MADFW Demo UNCLASSIFIED
Slide 26
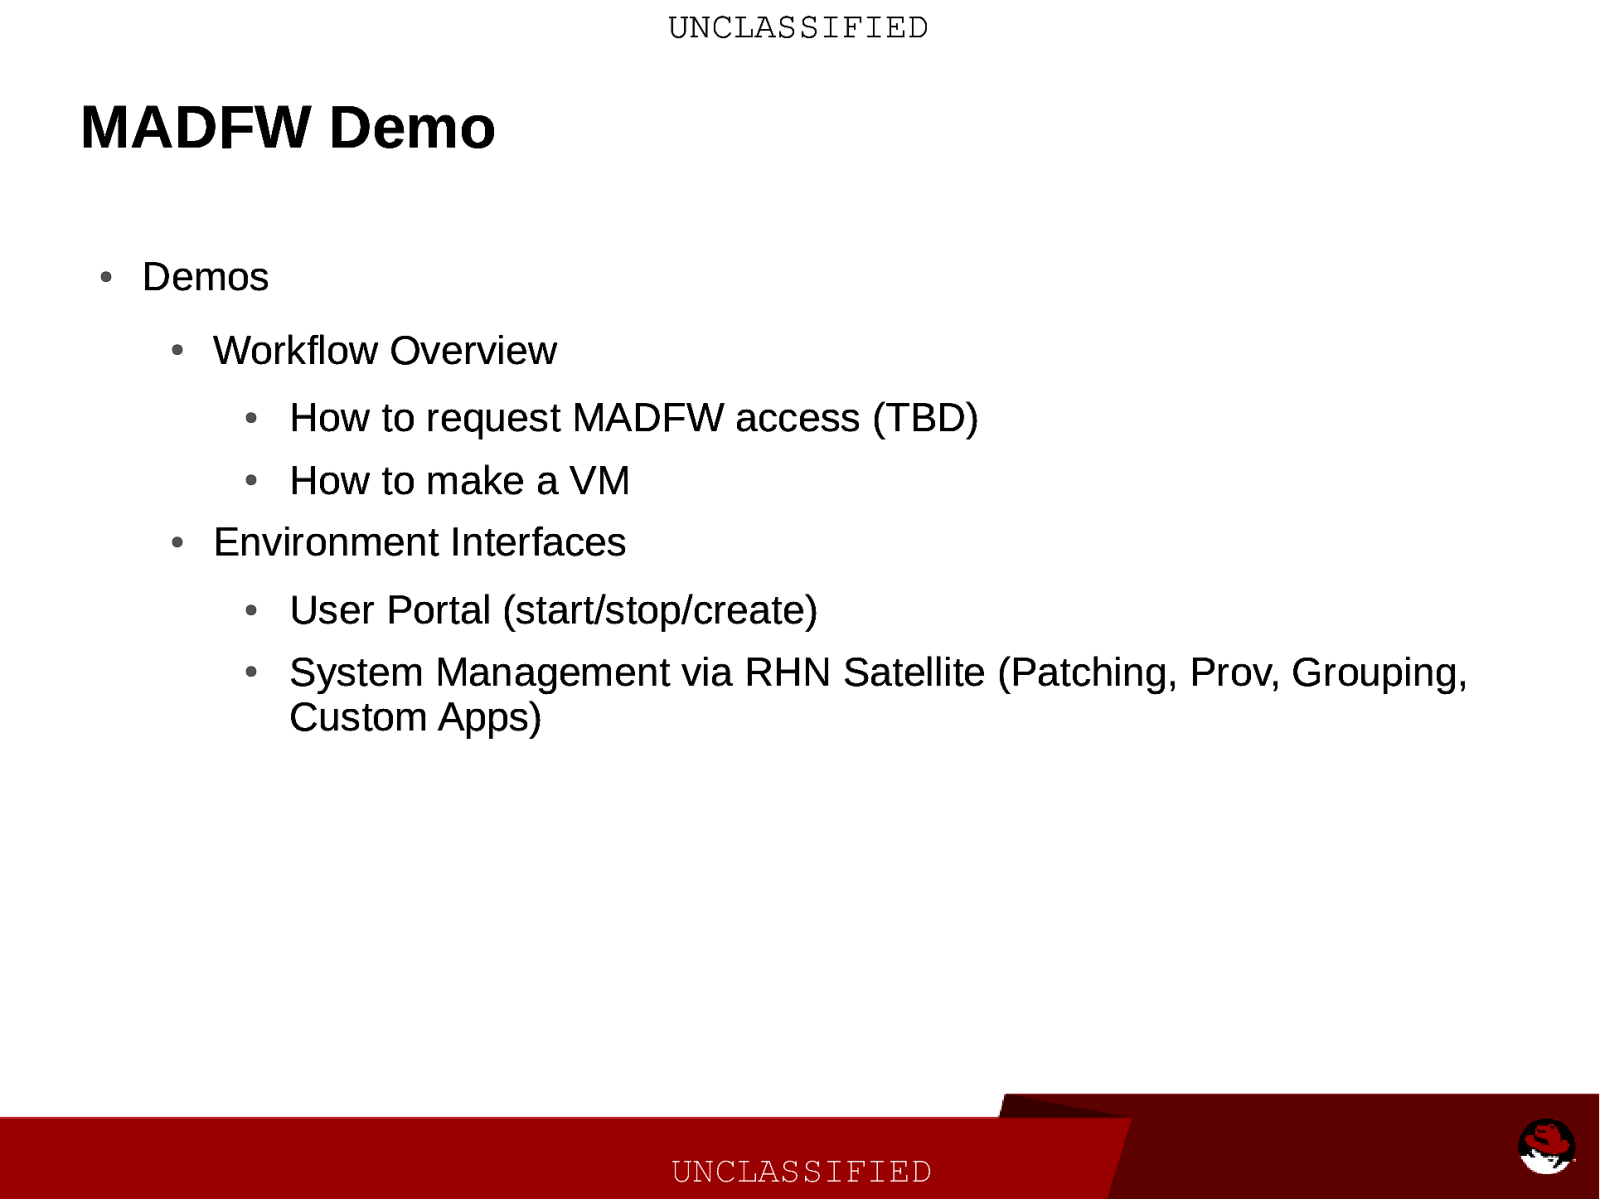
UNCLASSIFIED MADFW Demo ● Demos ● ● Workflow Overview ● How to request MADFW access (TBD) ● How to make a VM Environment Interfaces ● ● User Portal (start/stop/create) System Management via RHN Satellite (Patching, Prov, Grouping, Custom Apps) UNCLASSIFIED
Slide 27
UNCLASSIFIED How to Make a Virtual Machine in RHEV Overview ● Login to RHEV User Portal (https://userportal.example.com:8443) ● Create a New Server ● Add Network and Disk to VM ● Begin installation UNCLASSIFIED
Slide 28
UNCLASSIFIED RHEV User Portal: Create a New Server ● Virtual Machines Menu, click “New Server” ● Fill out New Server Virtual Machine (if not stated below then use defaults) ● General ● ● Name ● Description ● Template (If applicable) ● Memory ● CPU’s ● Operating System Boot Options ● Second Device: CD-ROM ● Select “Attach CD” and select version UNCLASSIFIED
Slide 29
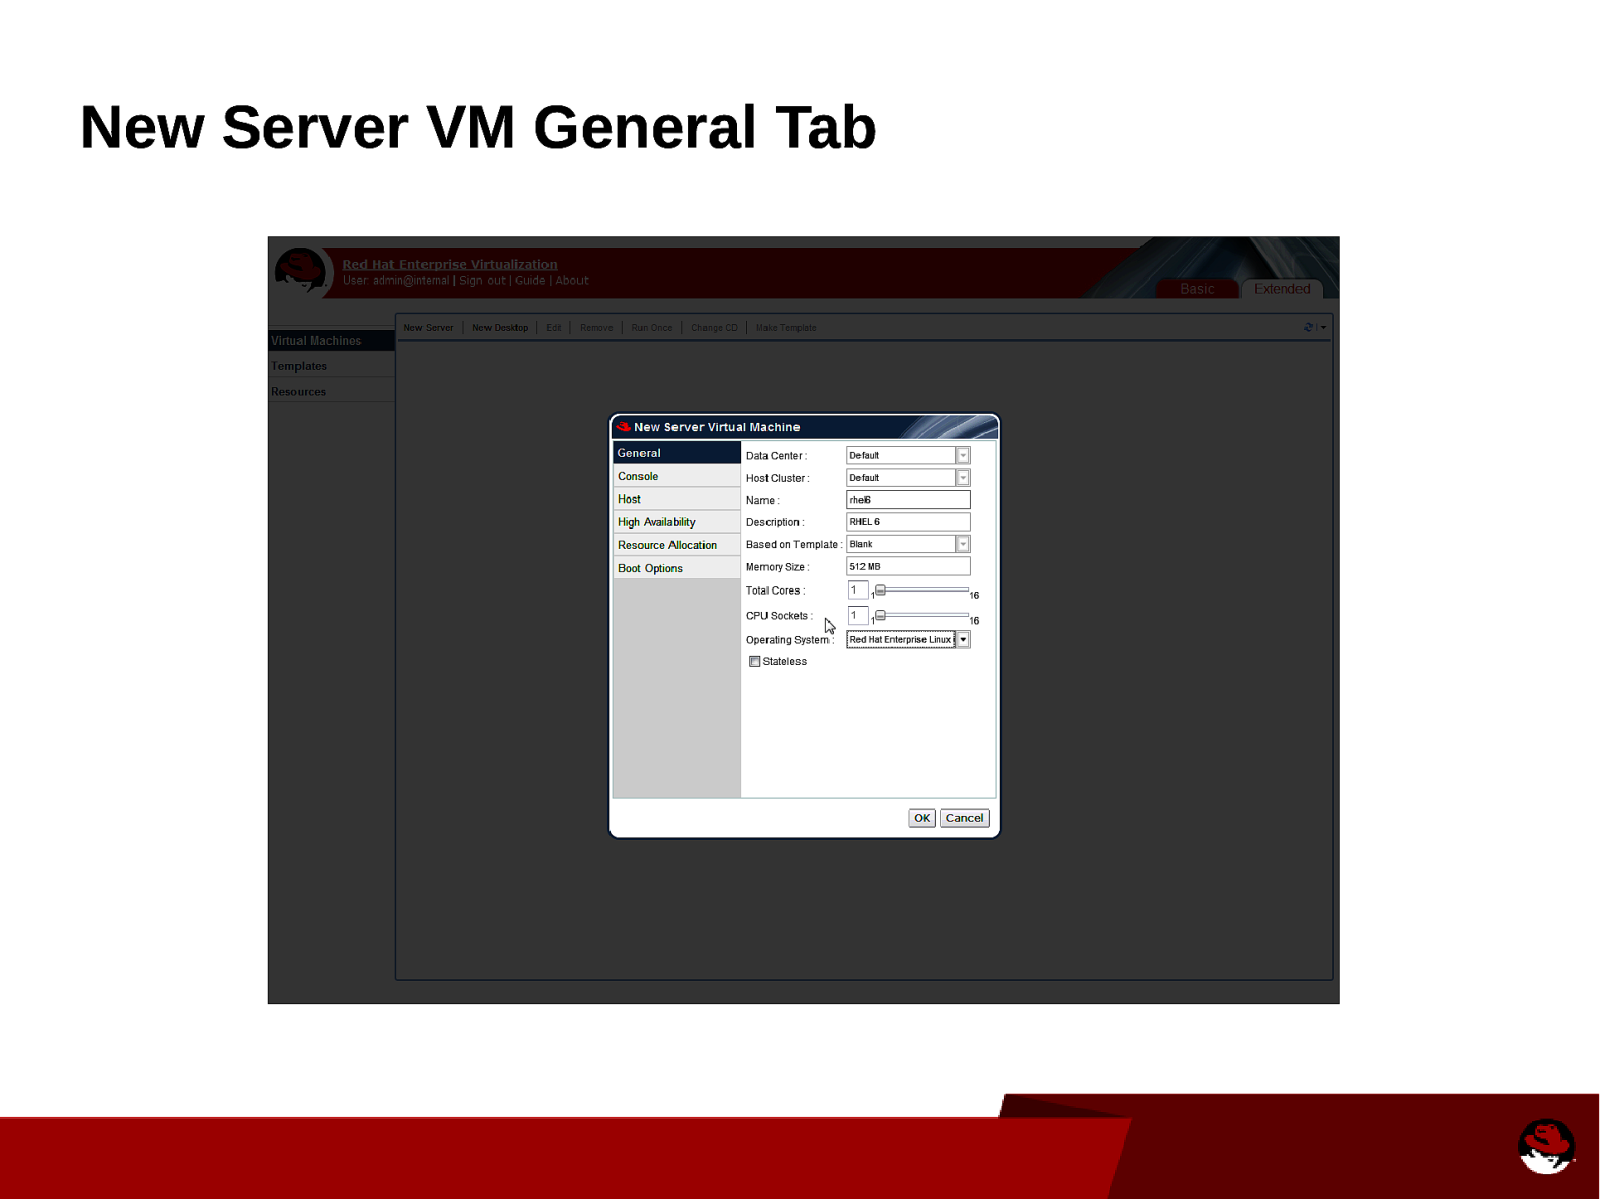
New Server VM General Tab
Slide 30
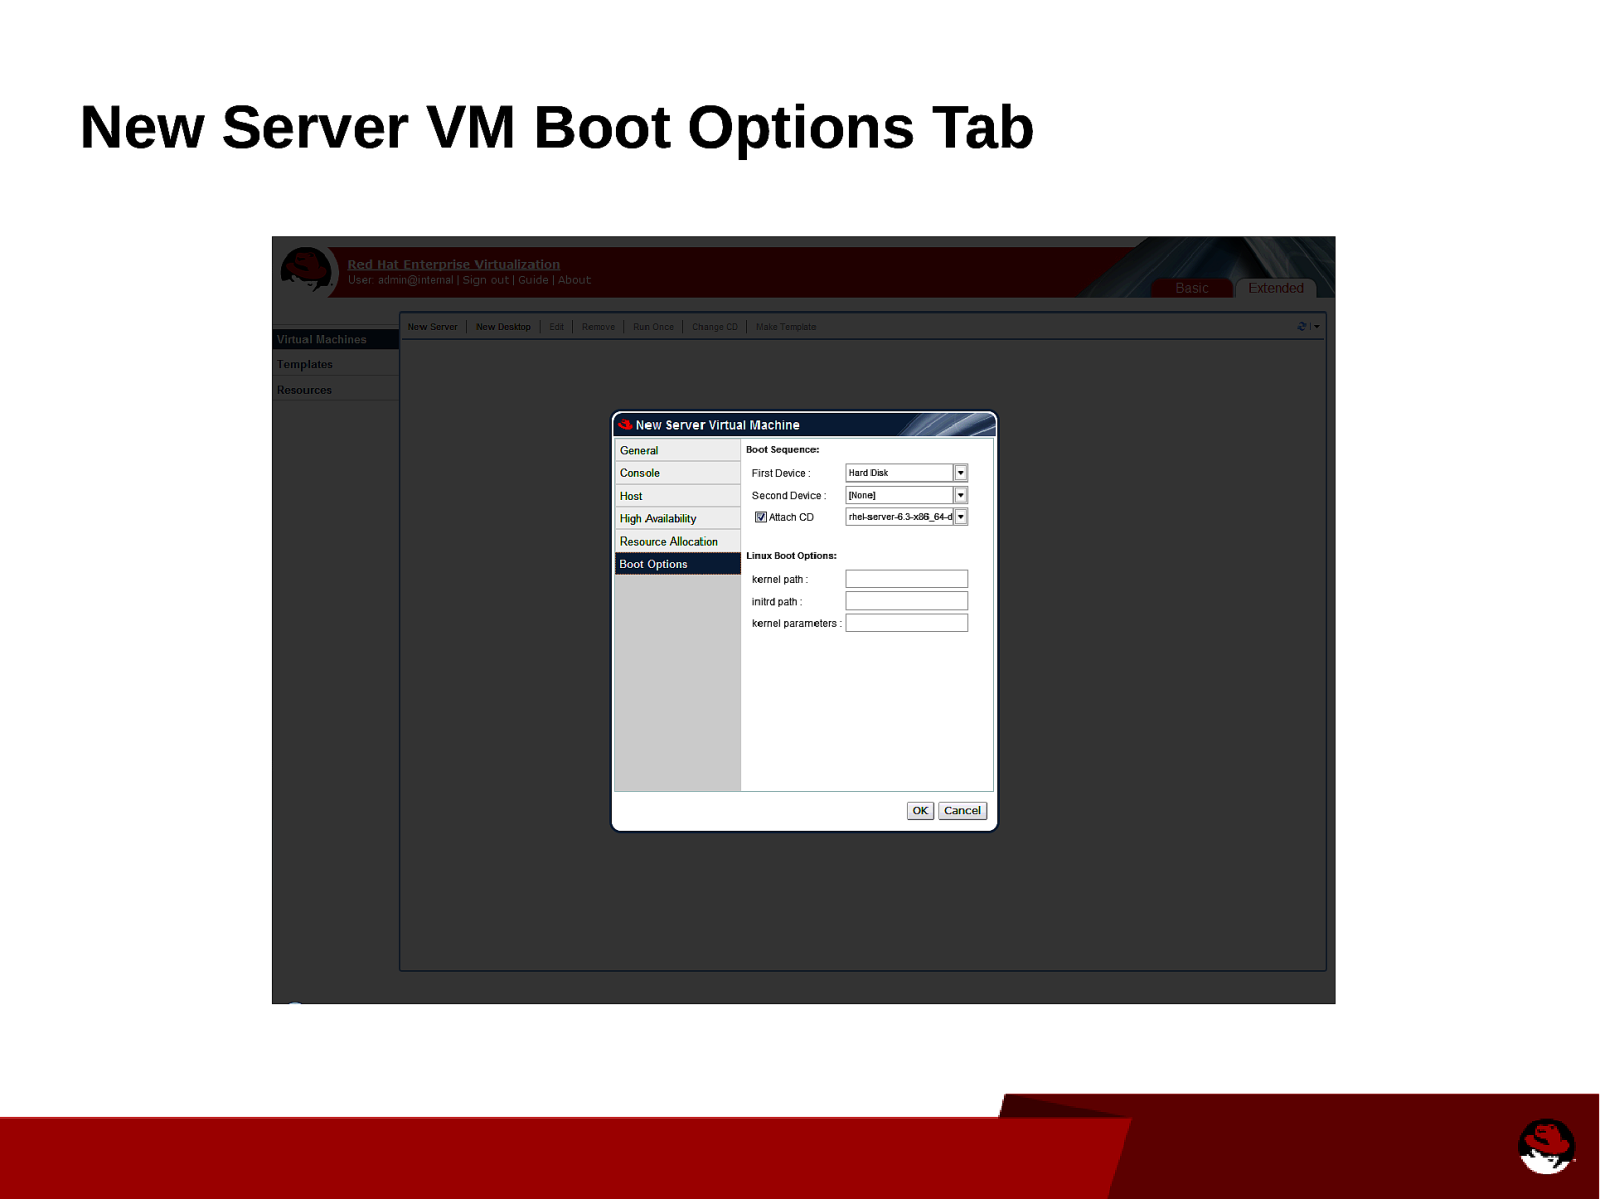
New Server VM Boot Options Tab
Slide 31
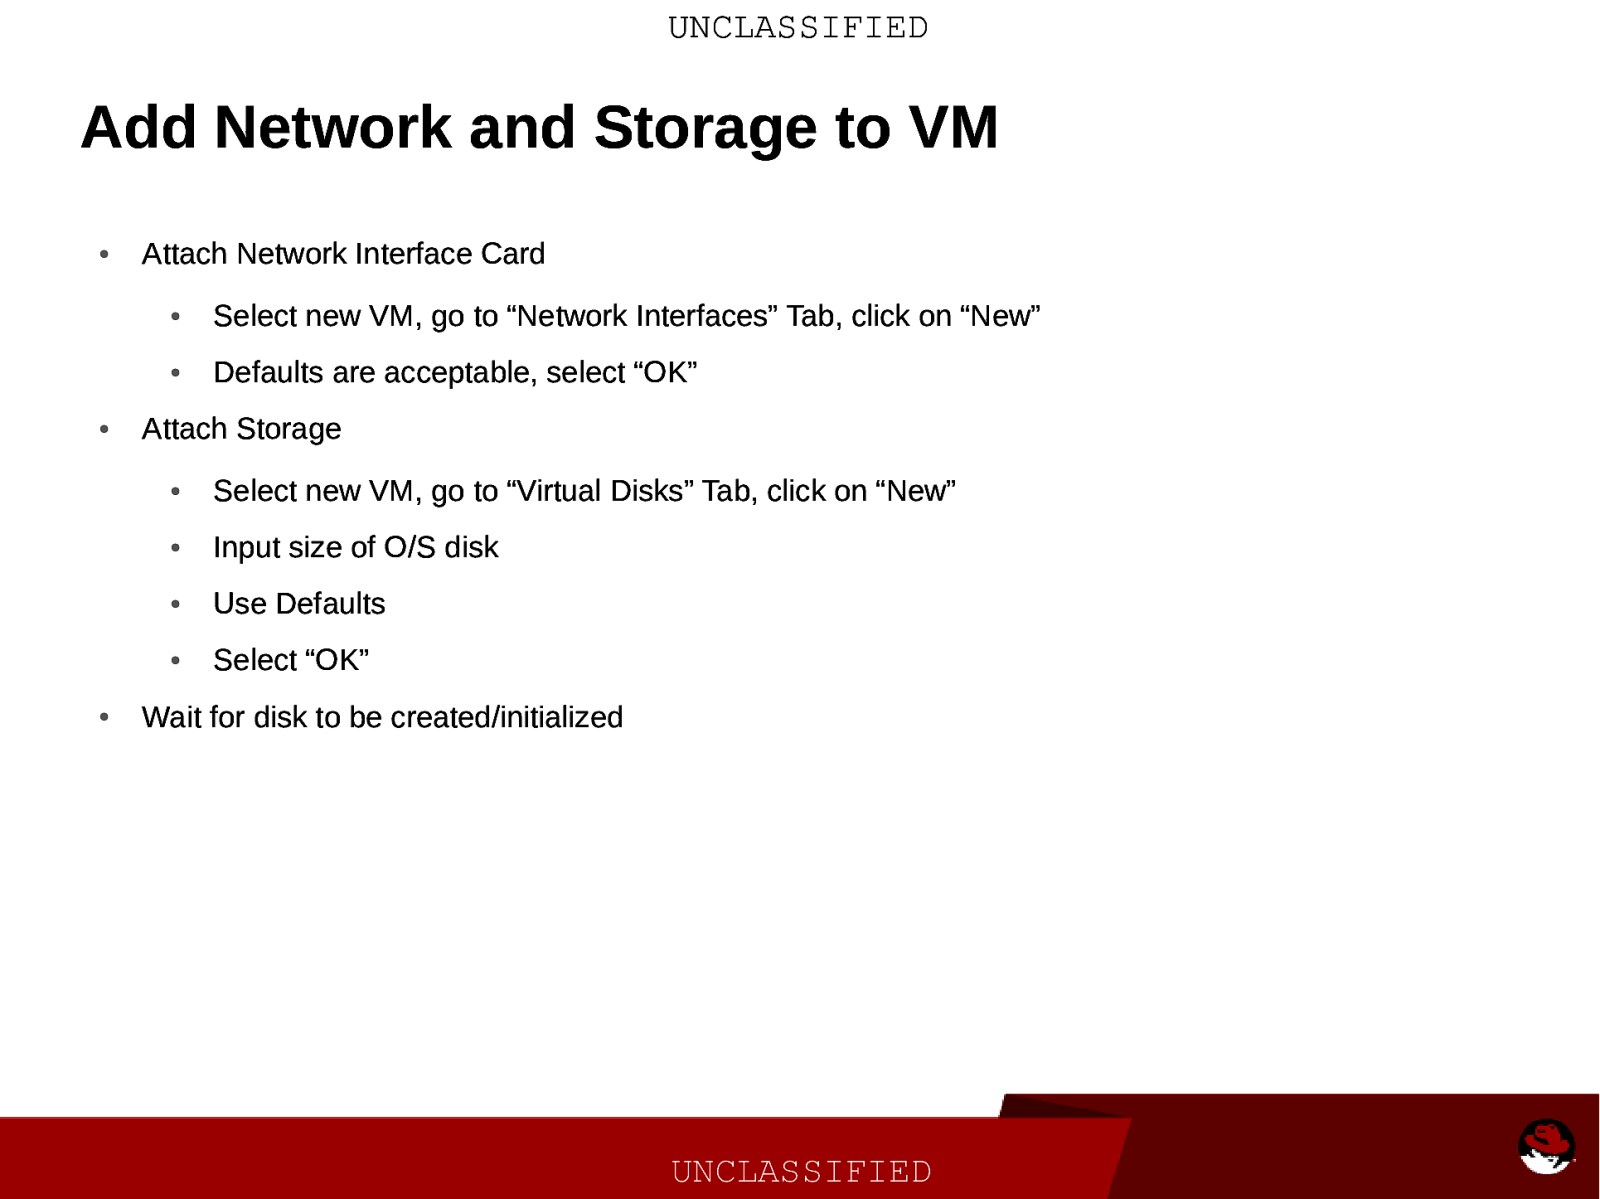
UNCLASSIFIED Add Network and Storage to VM ● ● ● Attach Network Interface Card ● Select new VM, go to “Network Interfaces” Tab, click on “New” ● Defaults are acceptable, select “OK” Attach Storage ● Select new VM, go to “Virtual Disks” Tab, click on “New” ● Input size of O/S disk ● Use Defaults ● Select “OK” Wait for disk to be created/initialized UNCLASSIFIED
Slide 32
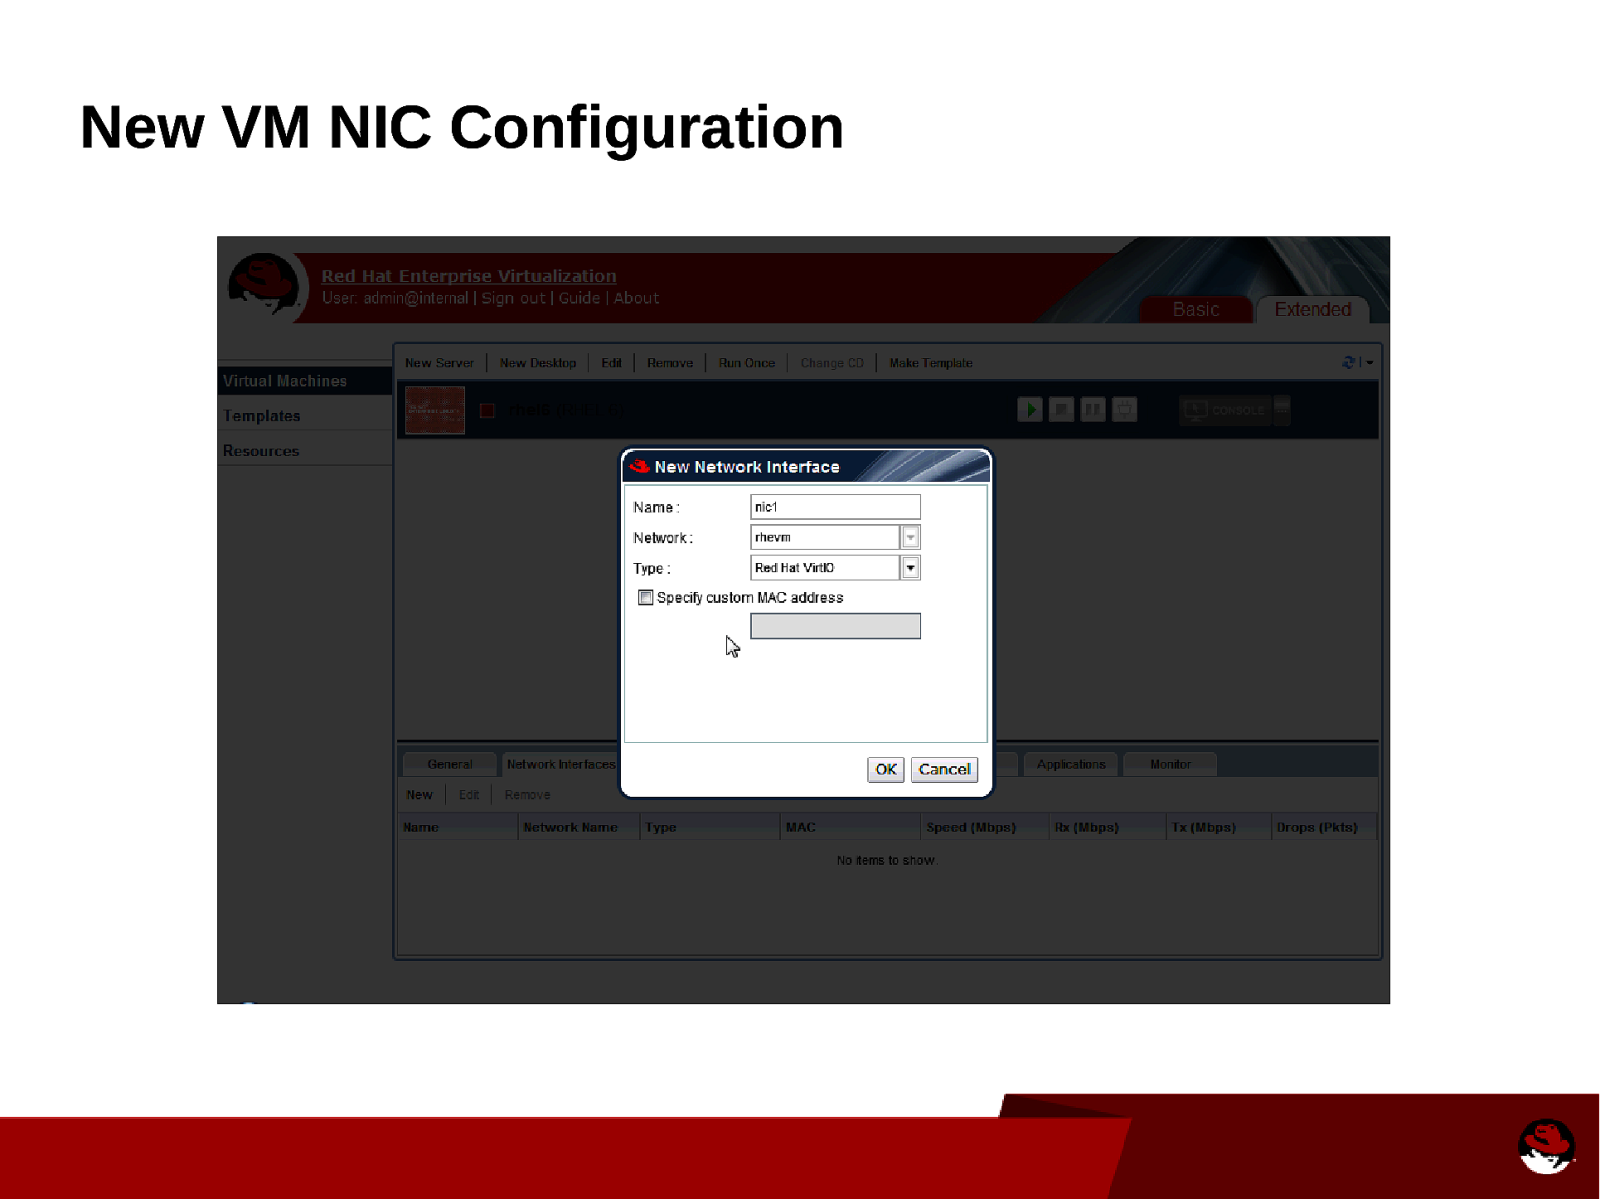
New VM NIC Configuration
Slide 33
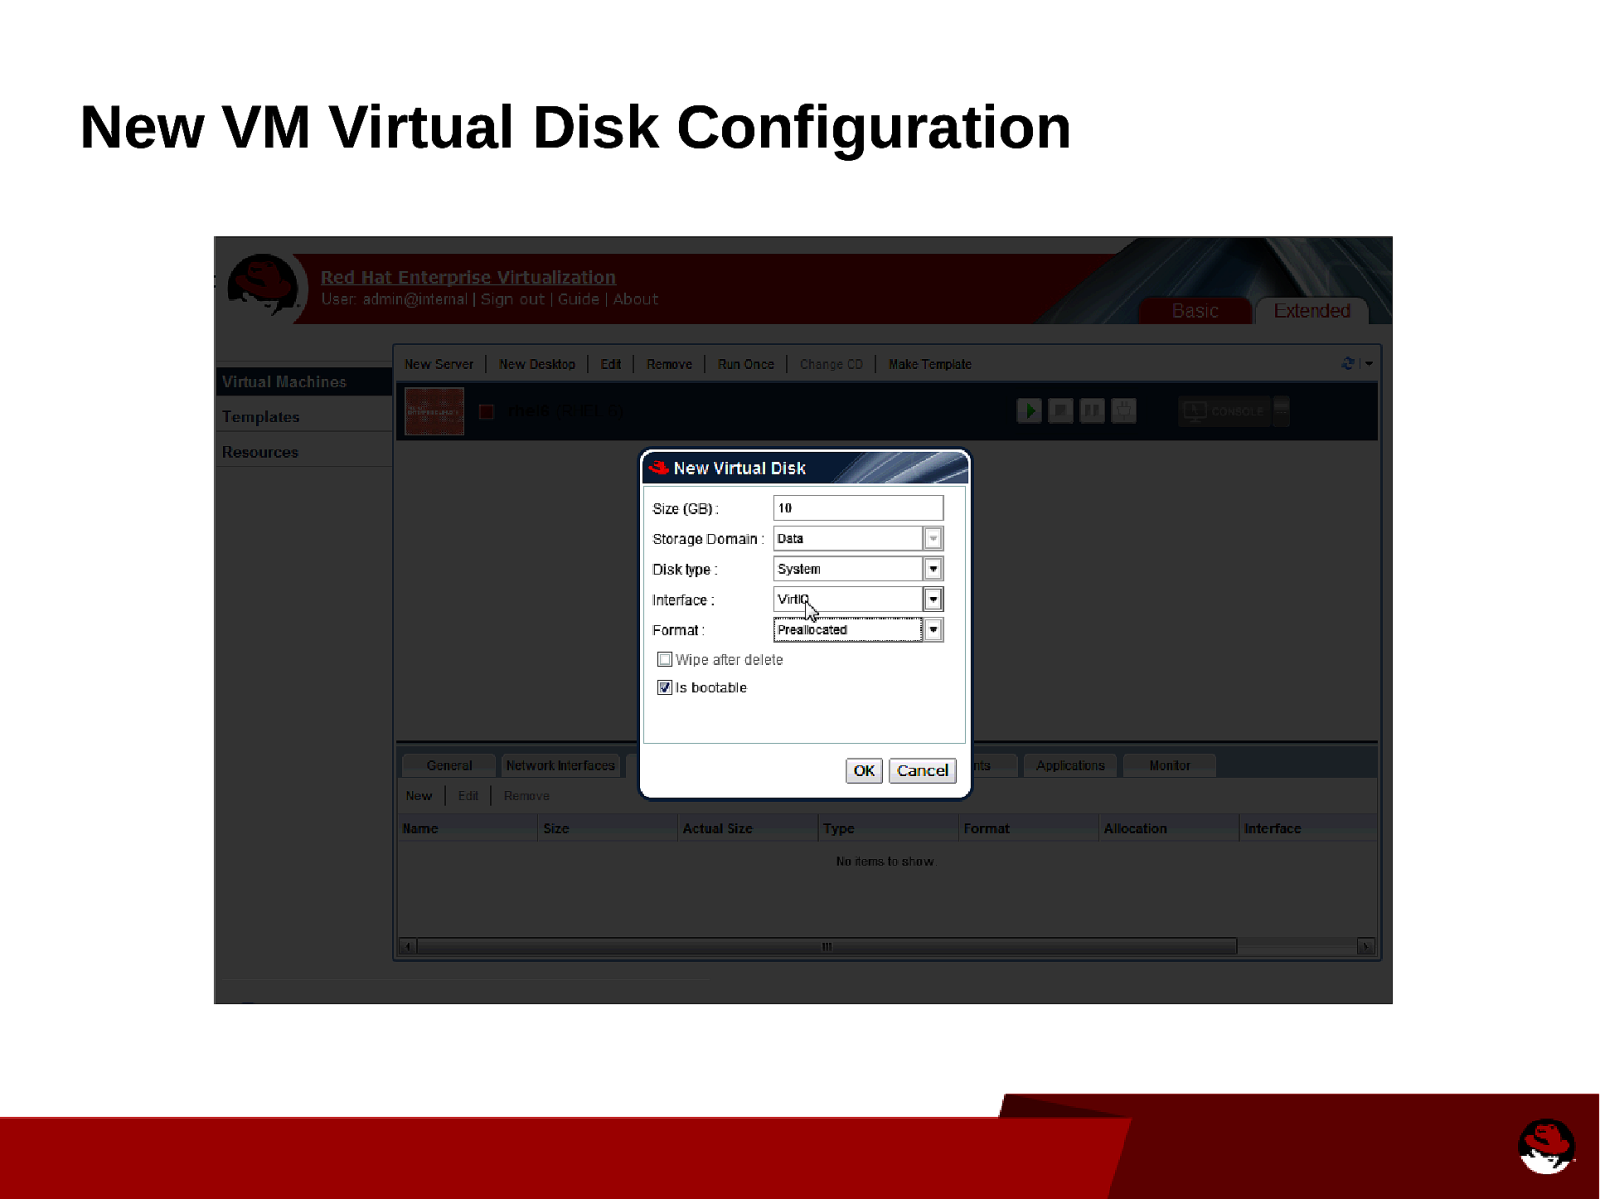
New VM Virtual Disk Configuration
Slide 34
Open New VM ● Now that you have created a virtual machine in the power user portal, you can turn it on and connect to it. ● ● ● Select rhel6 in the listing and click on “Play”, this will turn the VM on. Click on the “Console” button to view the VM A SPICE console window of the virtual machine displays. You can now use the virtual machine in the same way you would use a physical desktop. ● You might have to install the SPICE app first ● The VM will boot to the CD ISO of RHEL 6 x86_64 ● Begin normal installation
Slide 35
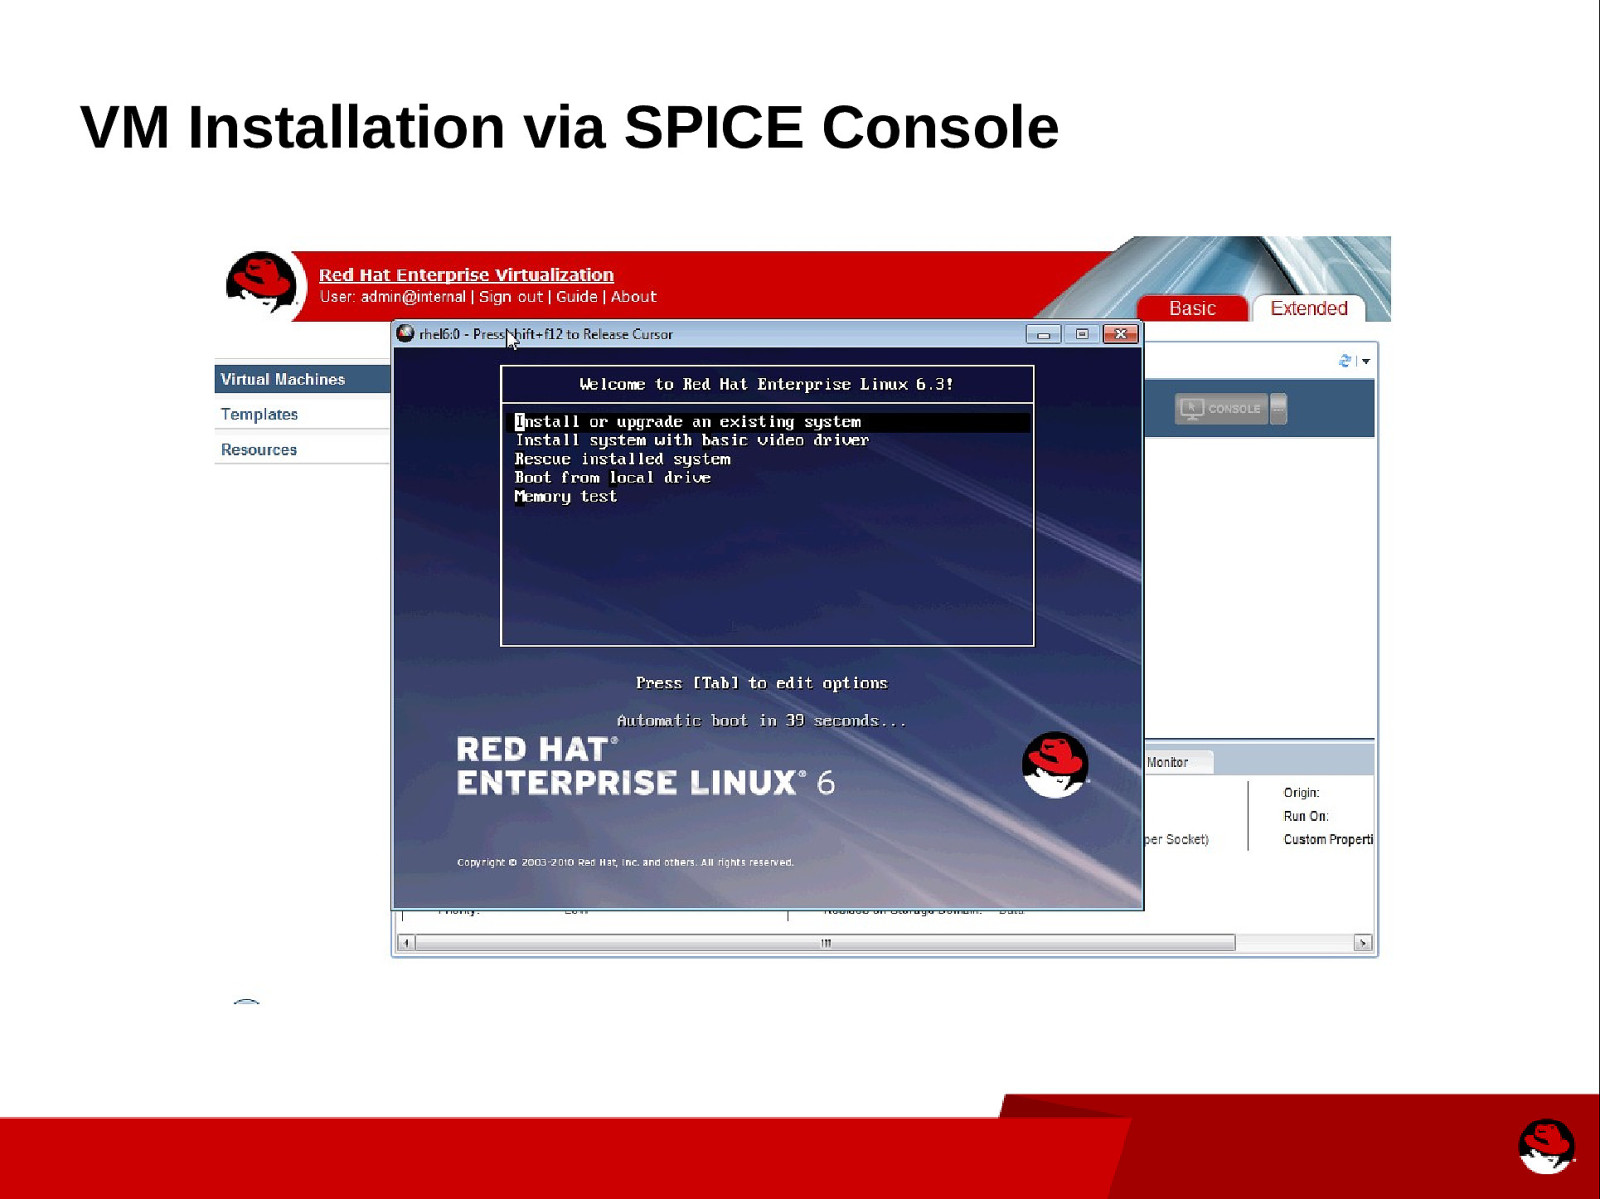
VM Installation via SPICE Console
Slide 36
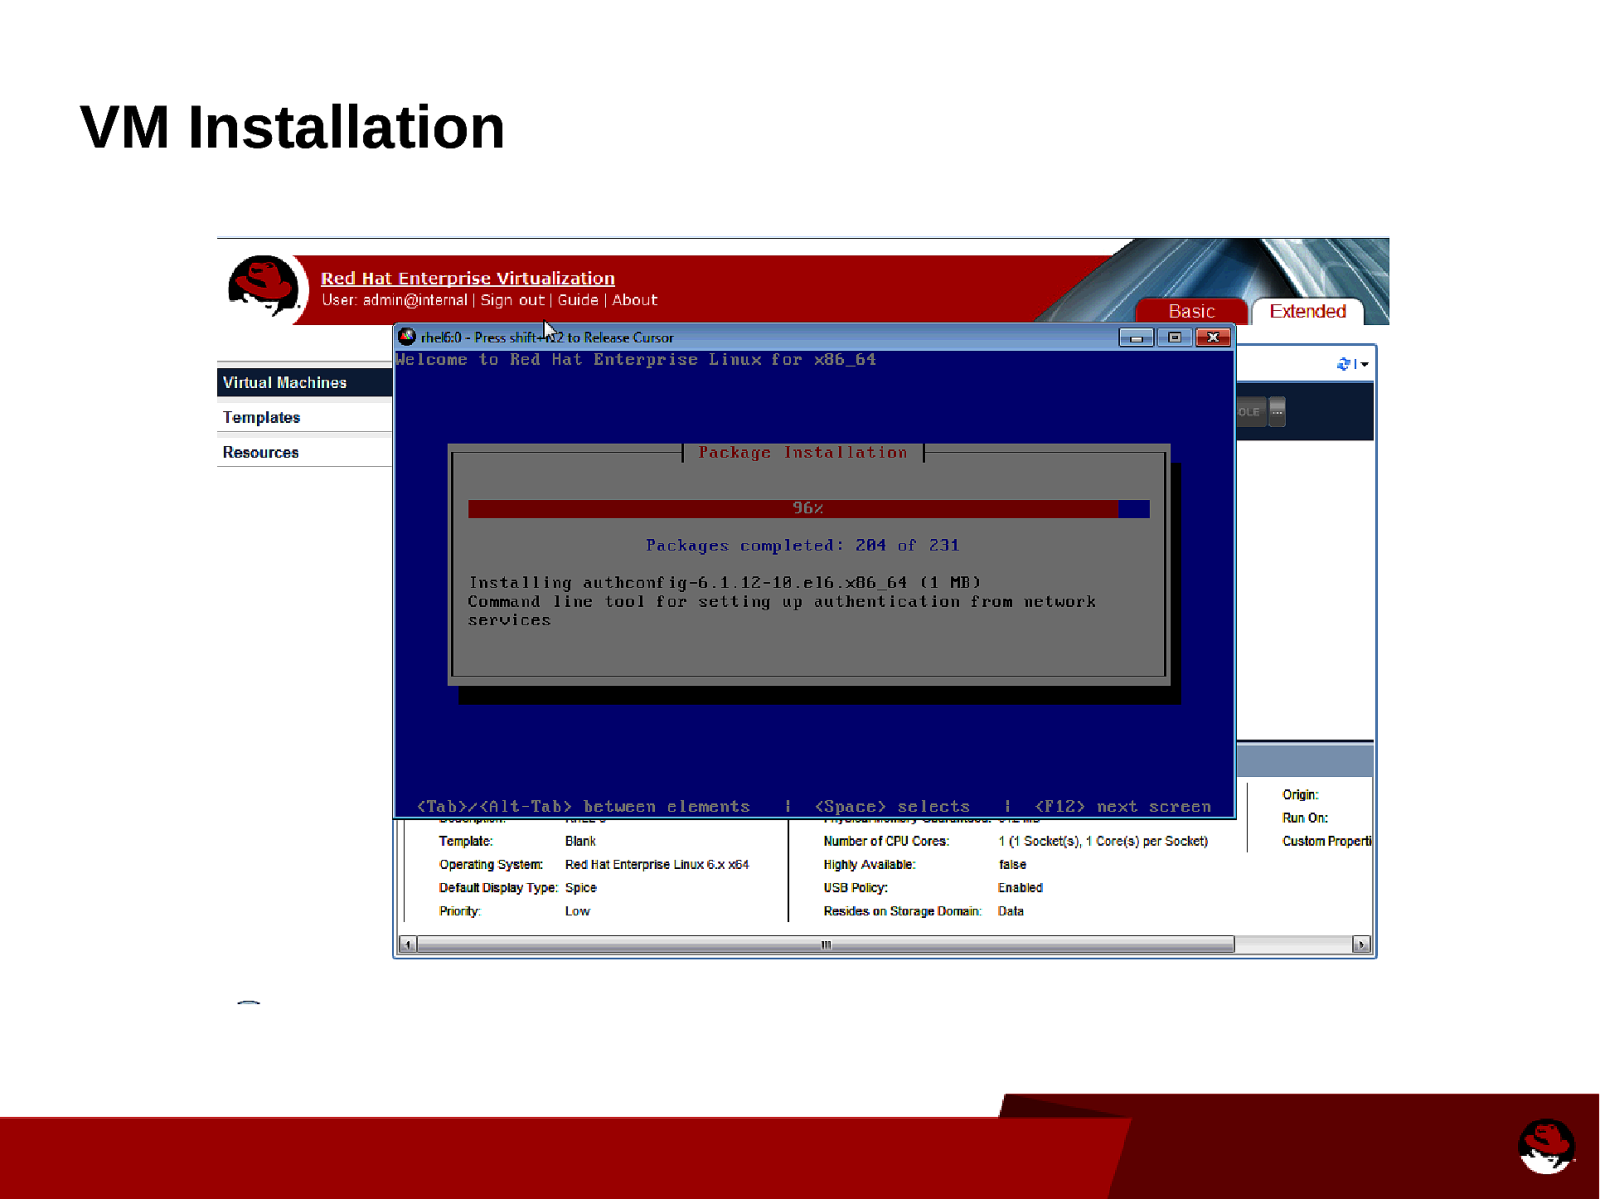
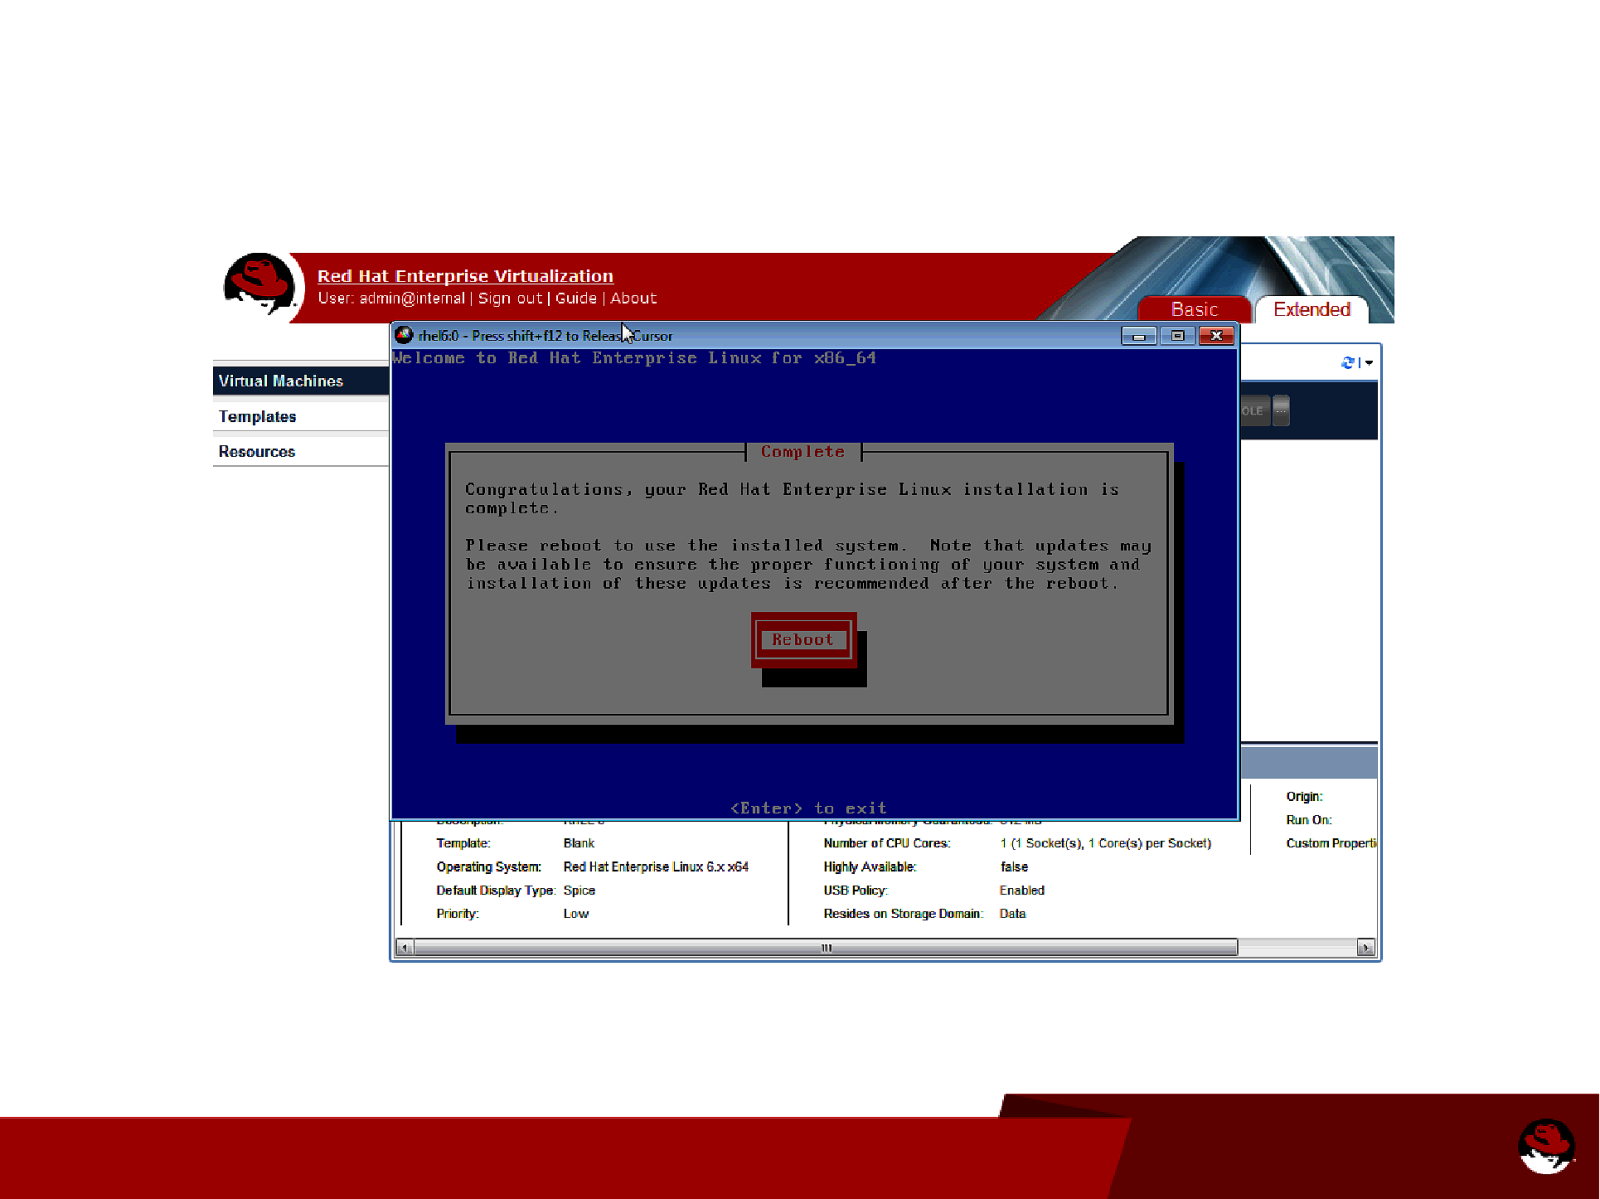
VM Installation
Slide 37
Slide 38
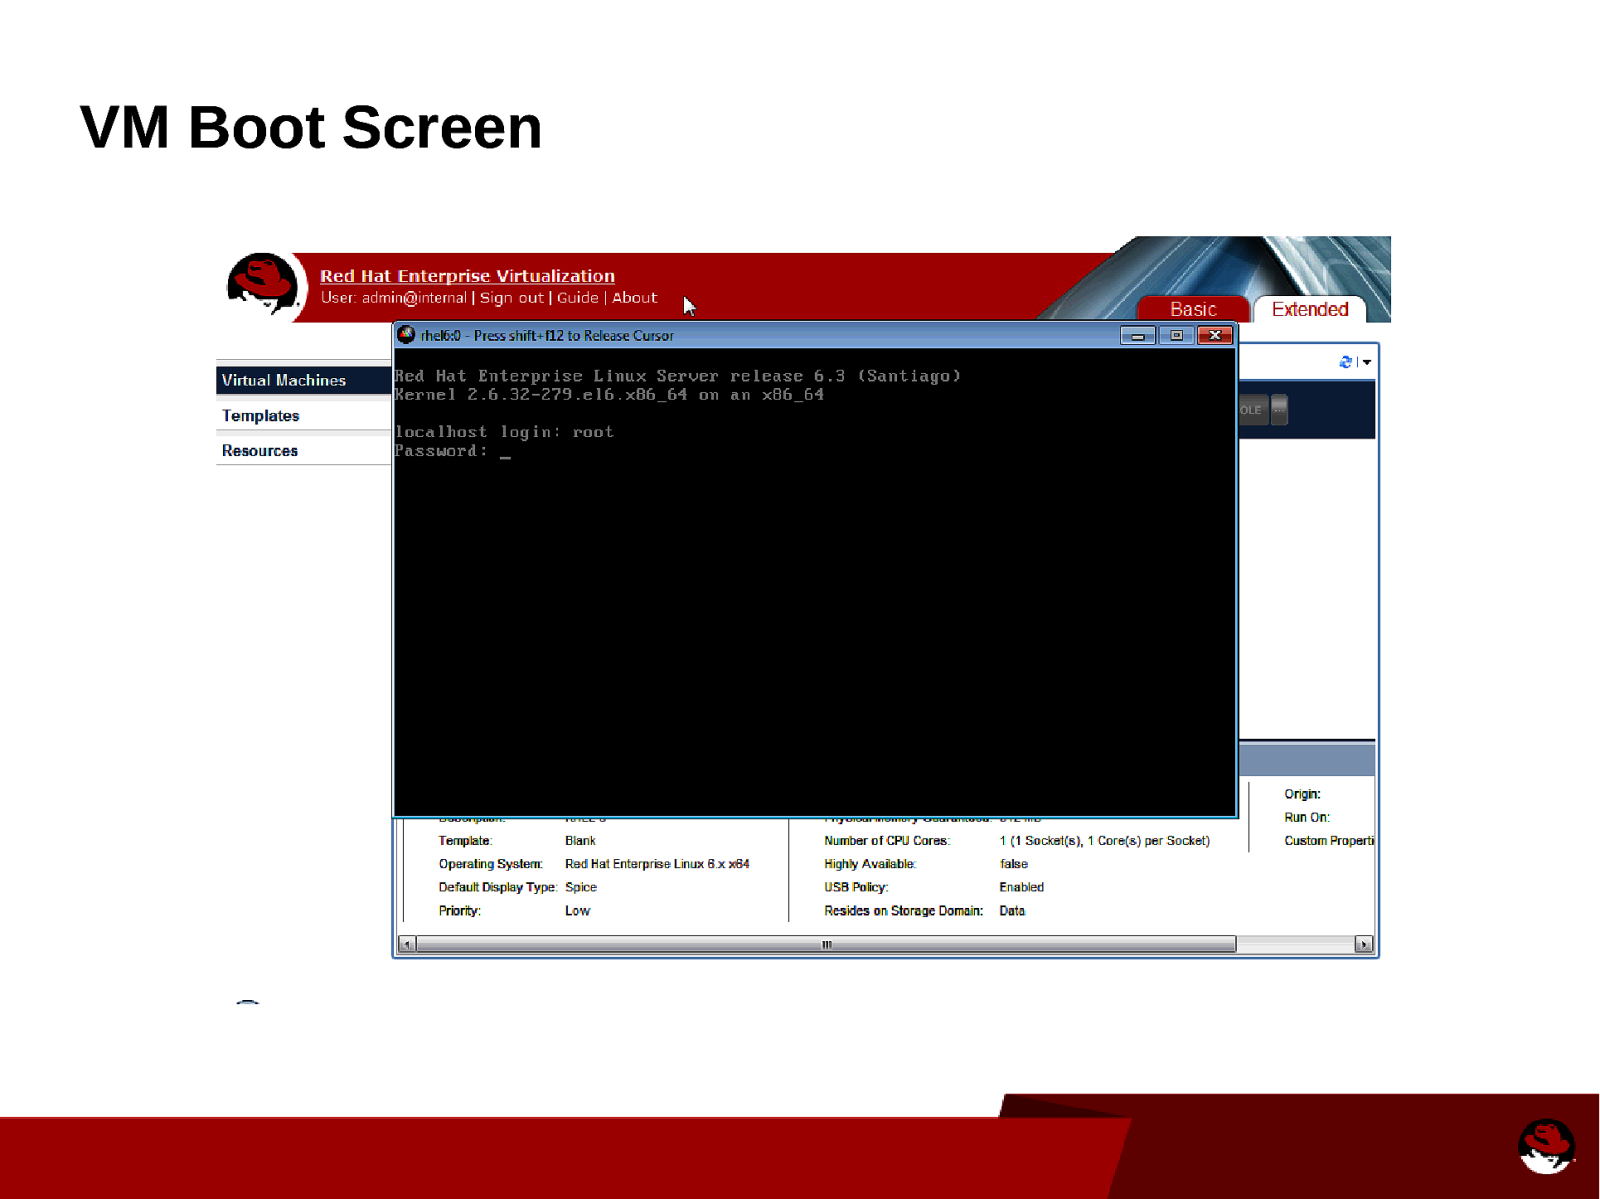
VM Boot Screen
Slide 39

Templates ● What is a template ● ● Templates are model virtual machines that are used as a convenient and efficient way to create new virtual machines of the same type and content. Templates provide a shortcut that reduces the time required to build virtual machines. Sealing a Linux Template ● ● Templates that have been created for Linux virtual machines must be generalized (sealed) before use. This ensures that machine-specific settings are not propagated through the template. Login to the virtual machine to be used as a template and flag the system for reconfiguration by running the following command as root: ● ● Remove ssh host keys. Run: ● ●
rm -rf /etc/ssh/ssh_host_*
Shut down the virtual machine. Run: ● ●
touch /.unconfigured
poweroff
The Linux virtual machine has now been sealed, and can be used as a template for Linux virtual machines.
Slide 40
Build a Template ● ● Build Template ● Select VM to template ● Turn off VM ● Click “Make Template” ● Fill out Name and Description ● Use other defaults ● Click “OK” View templates under “Templates” Menu
Slide 41
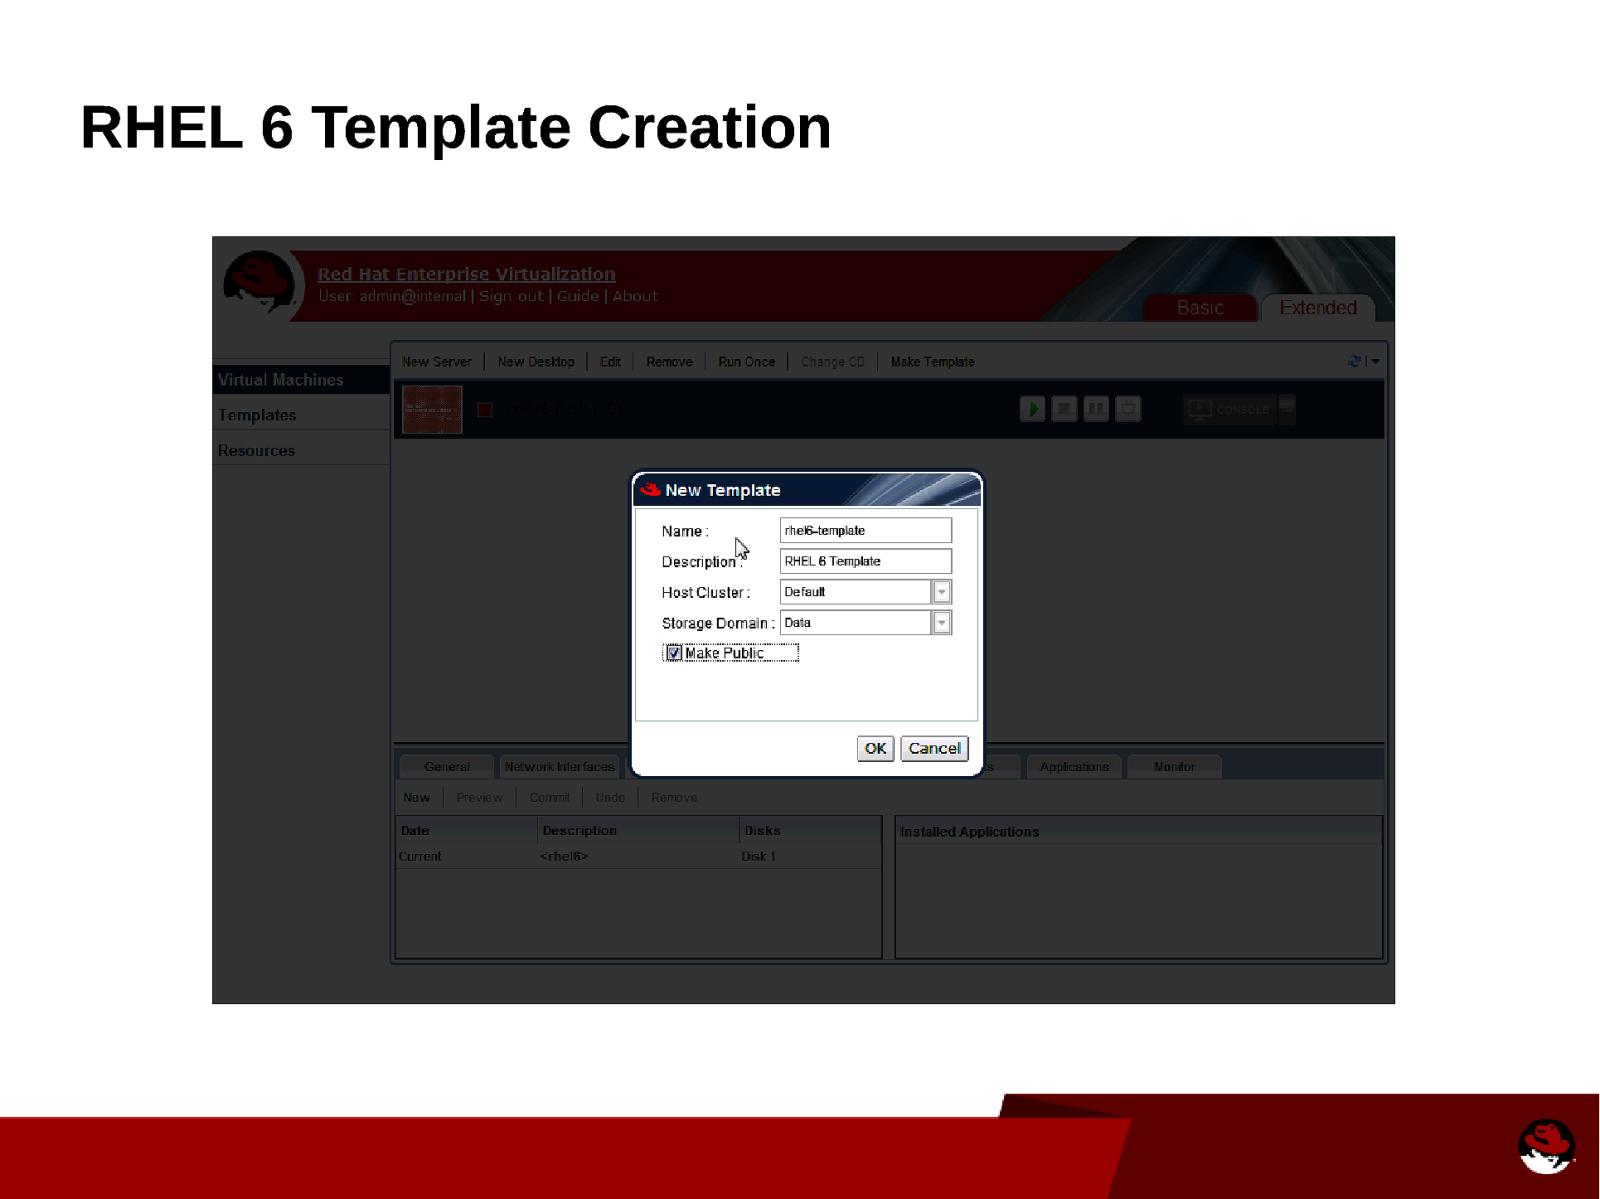
RHEL 6 Template Creation
Slide 42

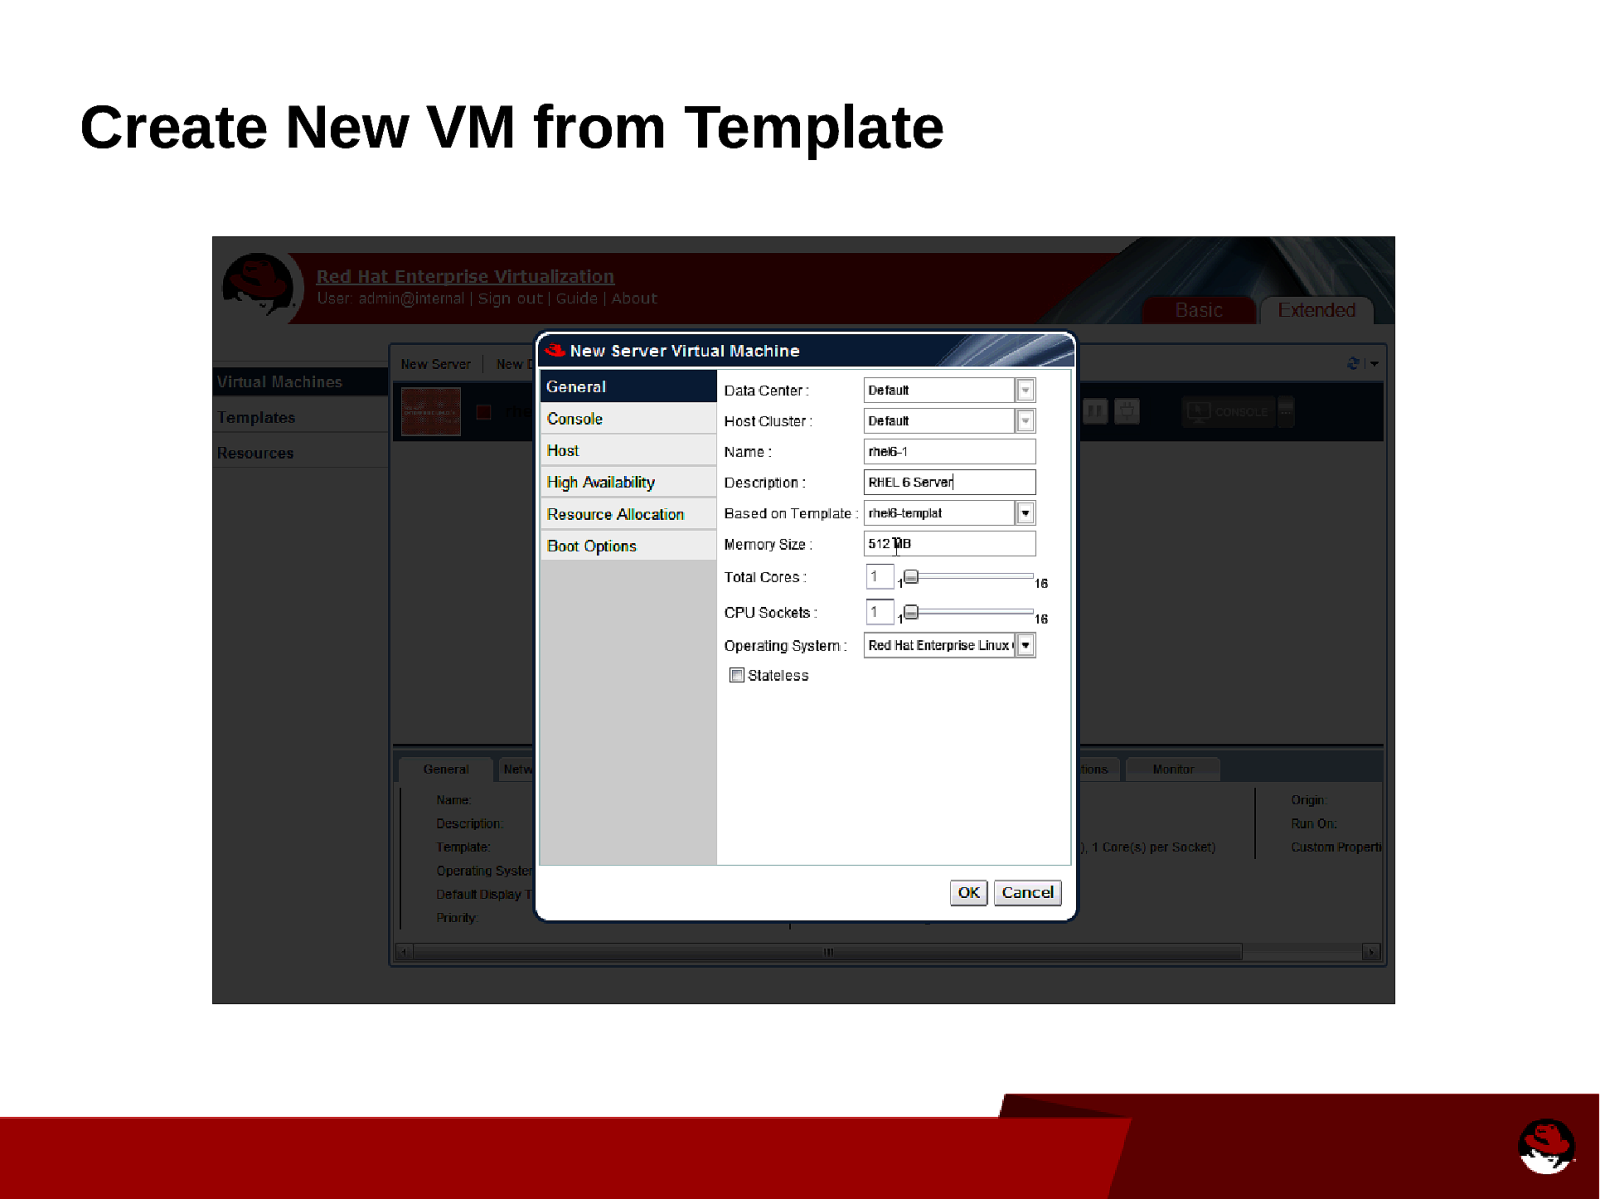
Create New VM from Template ● ● Same steps as creating a VM but select the template to use General > Based on Template: rhel6-template
Slide 43
Create New VM from Template
Slide 44
RHEV User Portal ● ● ● ● The User Portal Graphical Interface enables you to view and use all the virtual machines that are available to you. Two main views: Basic and Extended The screen consists of three areas: the title bar, a virtual machines area, and a details pane. Access to RHEV User Portal: https://server.example.com:8443/UserPortal
Slide 45
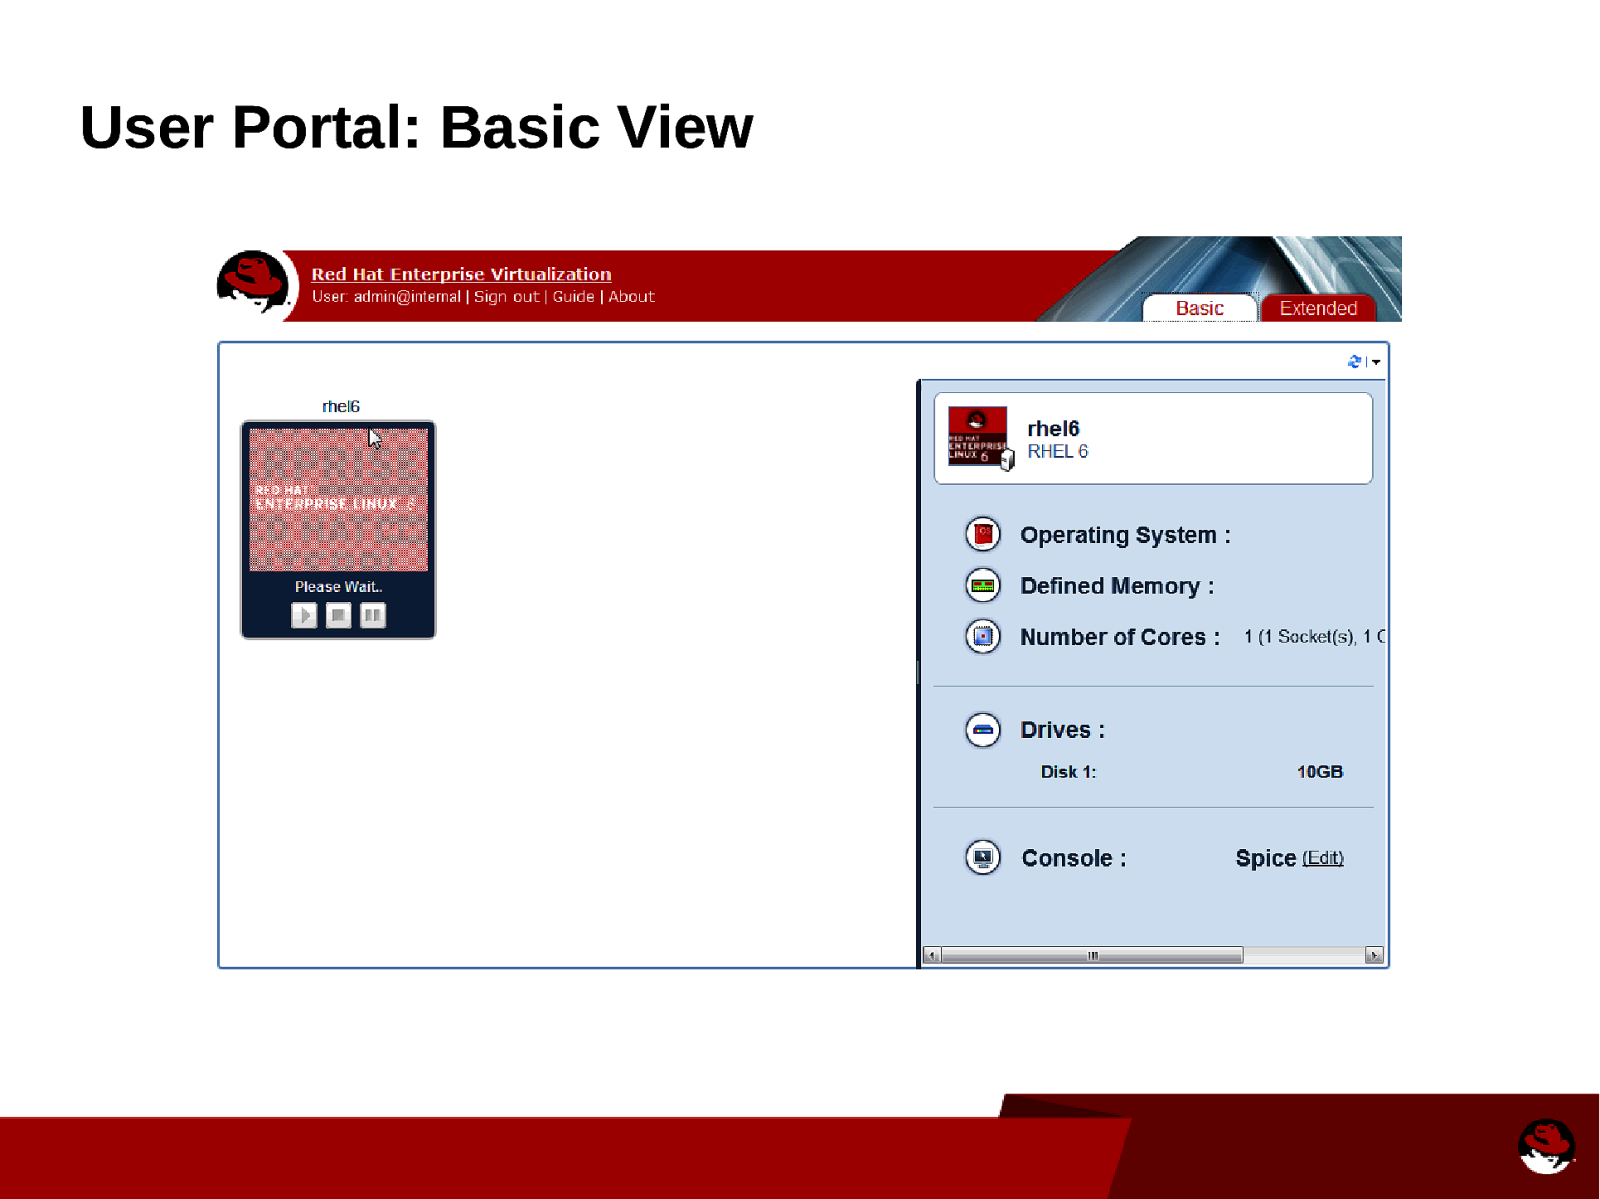
User Portal: Basic View
Slide 46

User Portal: Extended View
Slide 47
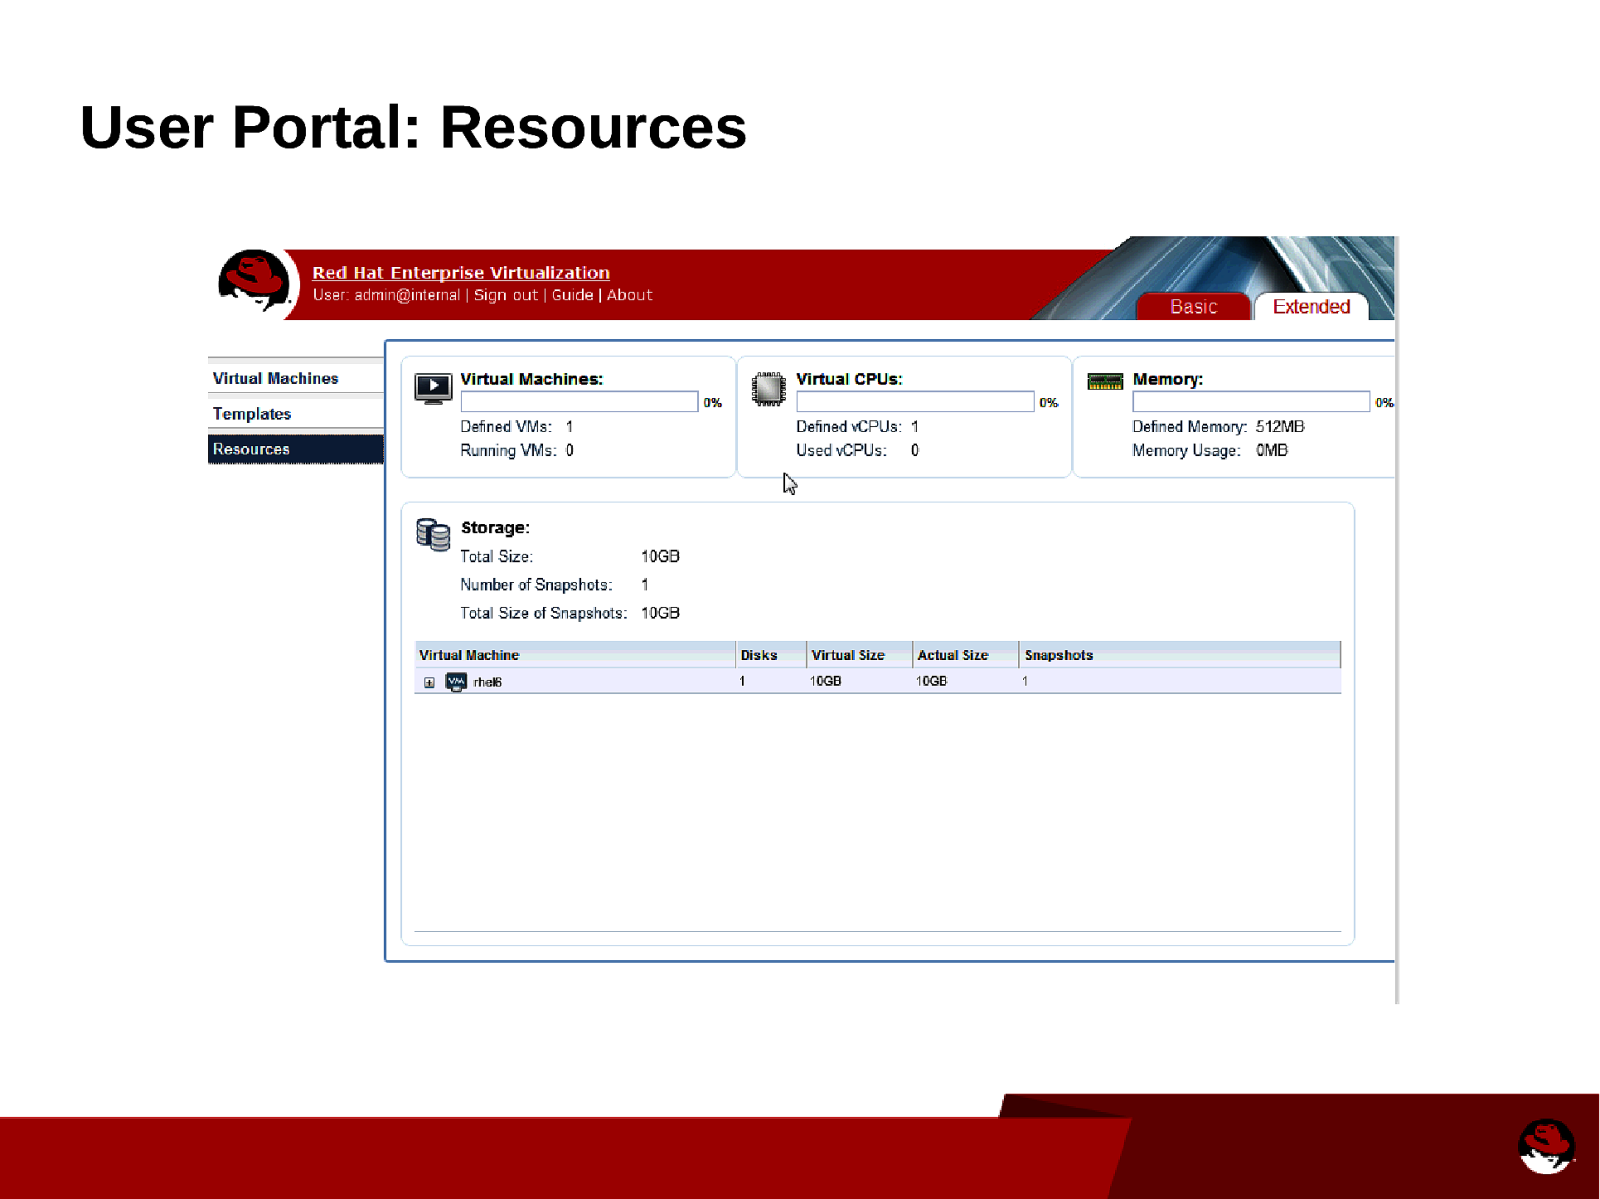
User Portal: Resources
Slide 48
RHN Satellite ● ● RHN Satellite provides a solution to organizations requiring absolute control over and privacy of the maintenance and package deployment of their servers. It allows Red Hat Network customers the greatest flexibility and power in keeping servers secure and updated.
Slide 49
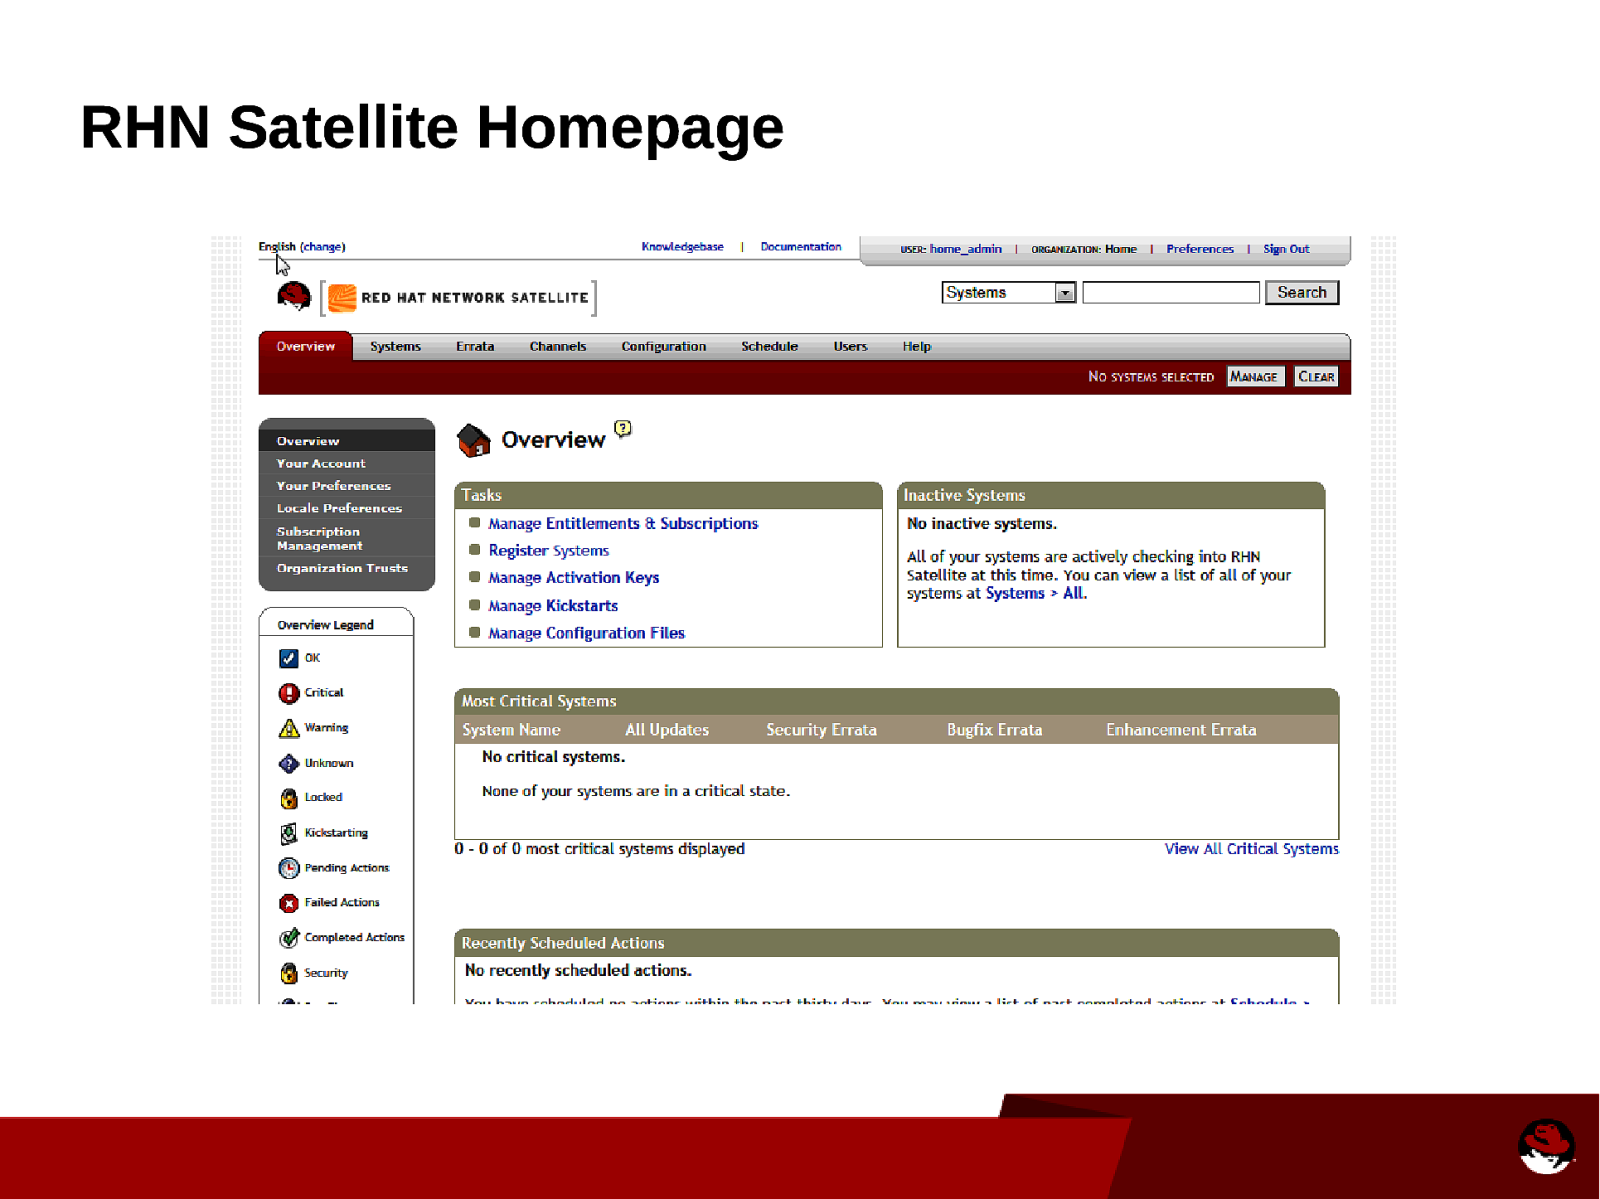
RHN Satellite Homepage
Slide 50
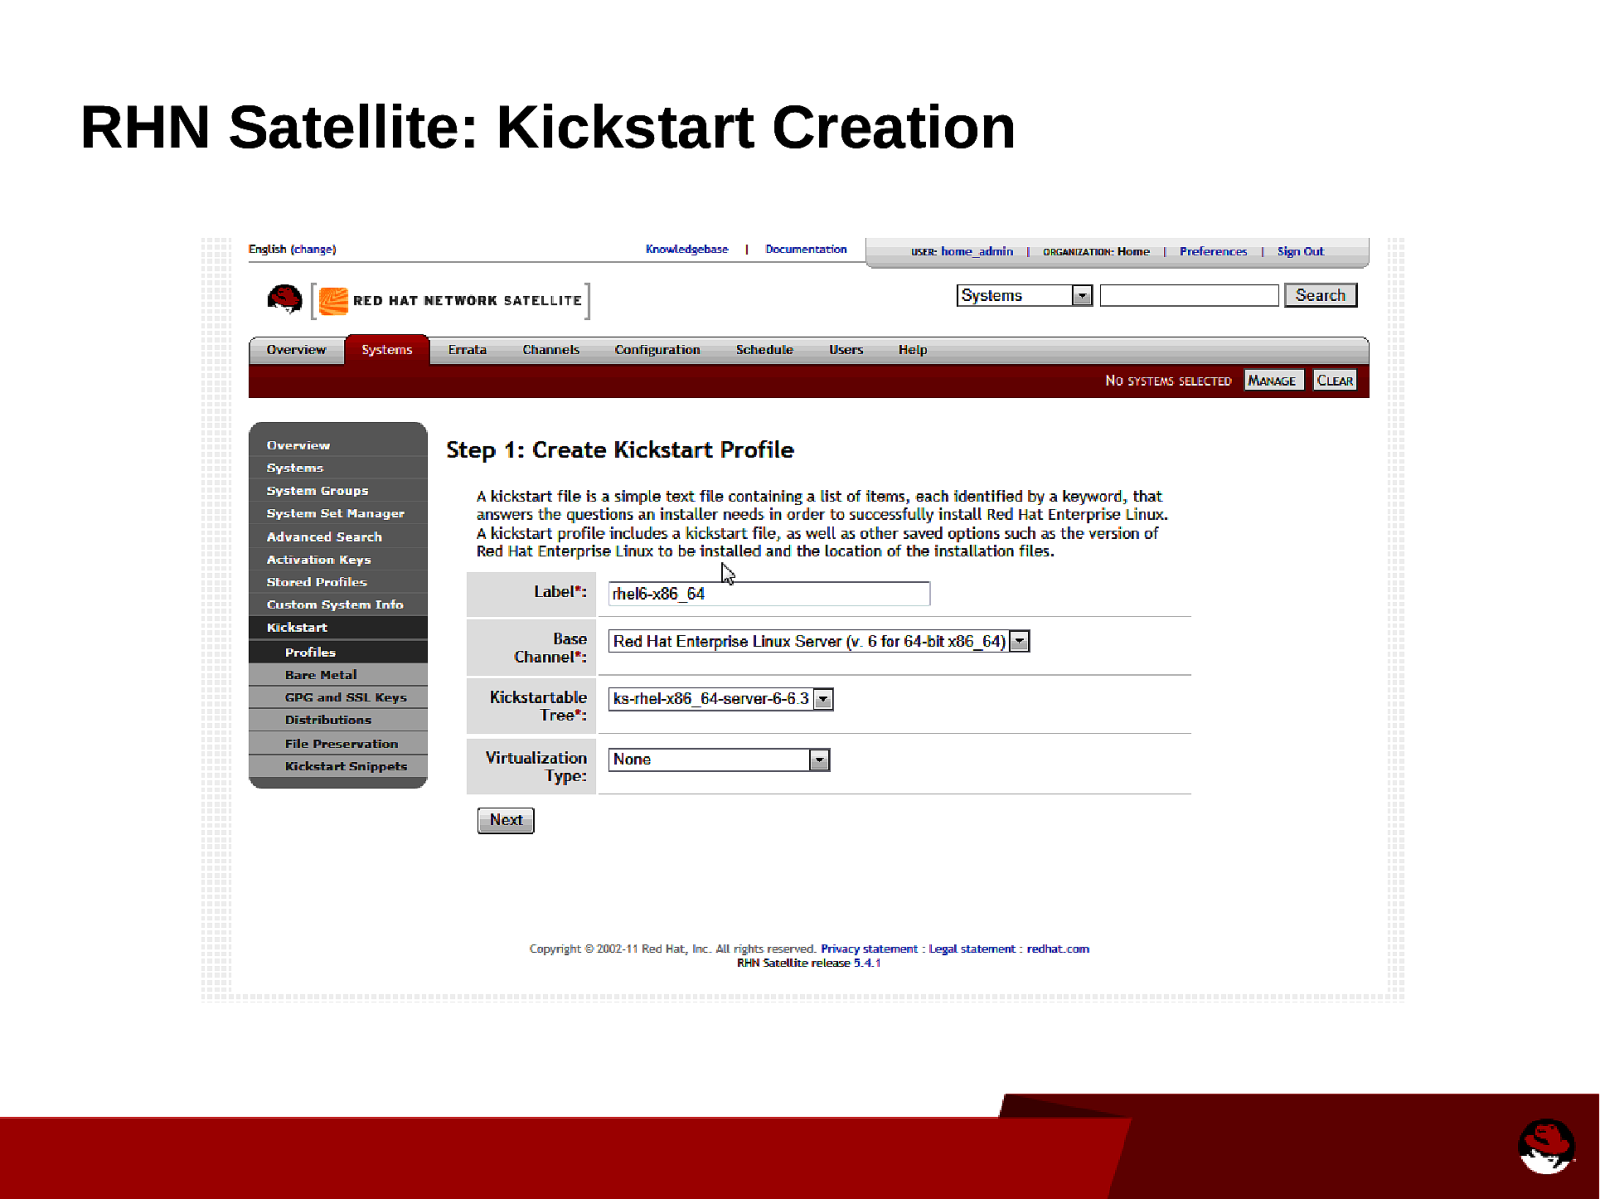
RHN Satellite: Kickstart Creation
Slide 51

RHN Satellite: Systems
Slide 52
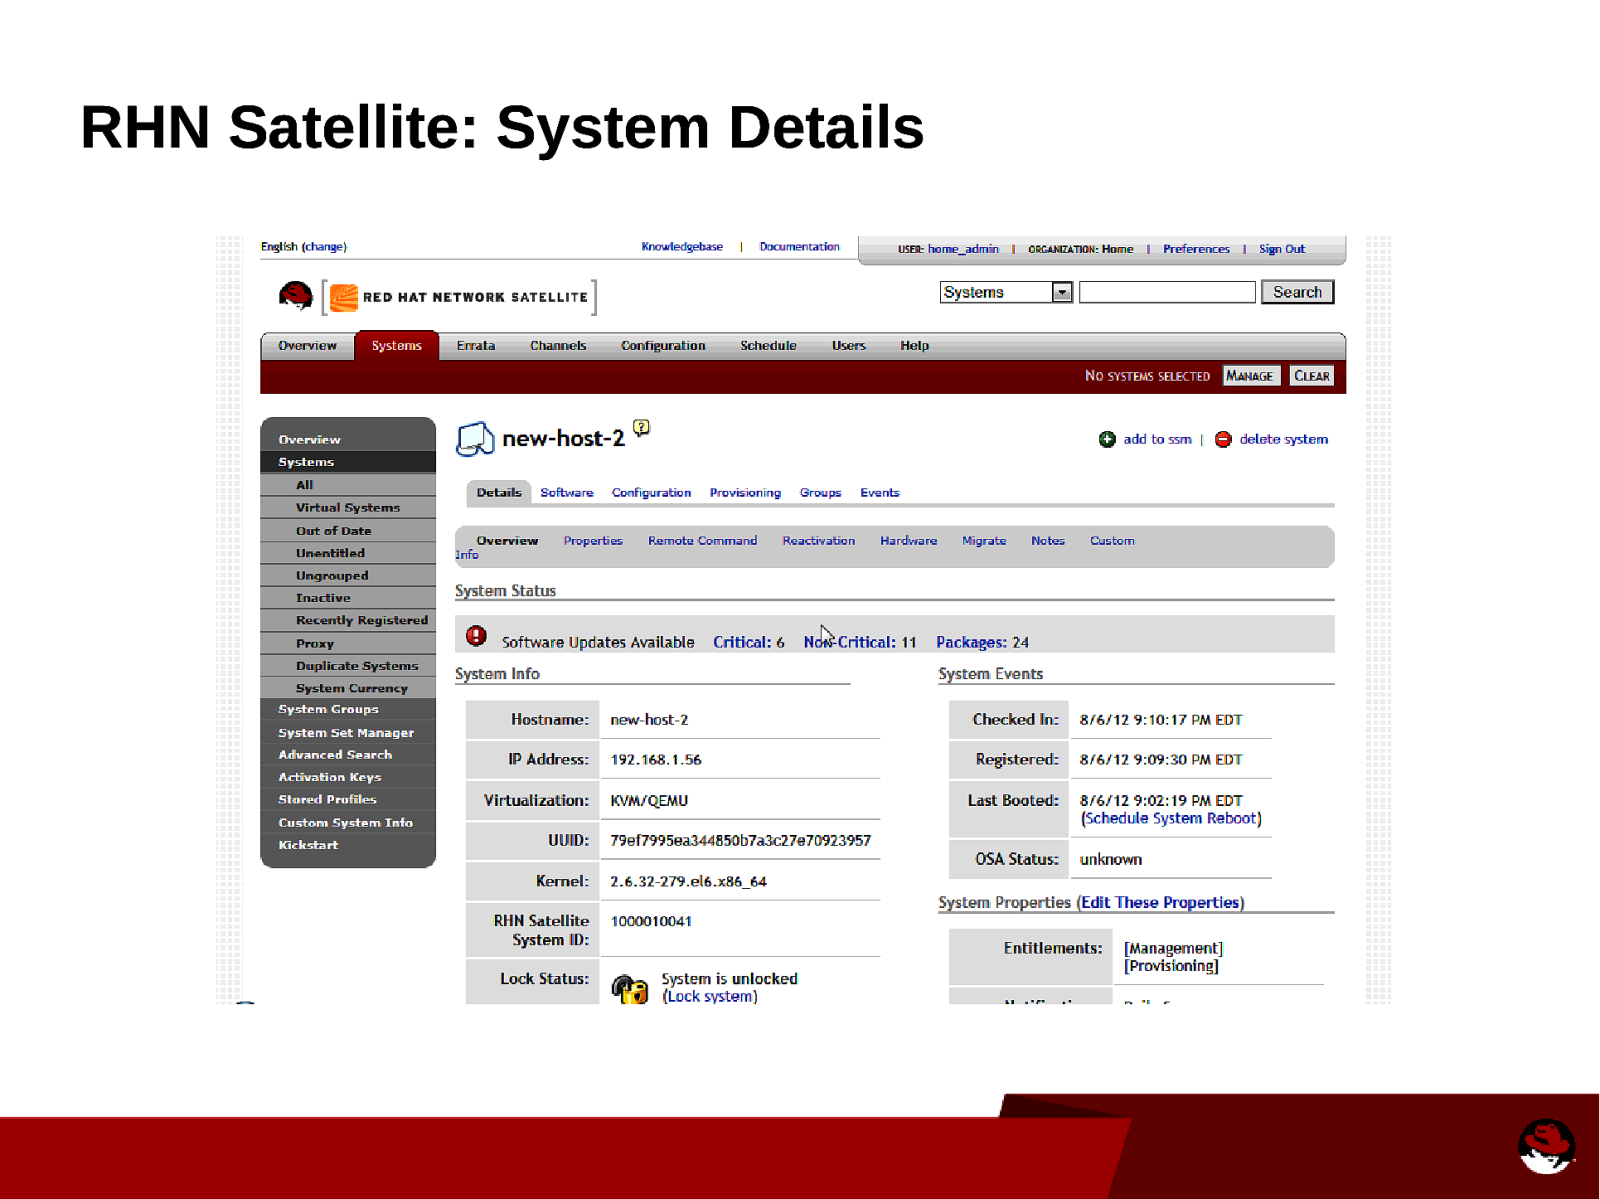
RHN Satellite: System Details
Slide 53
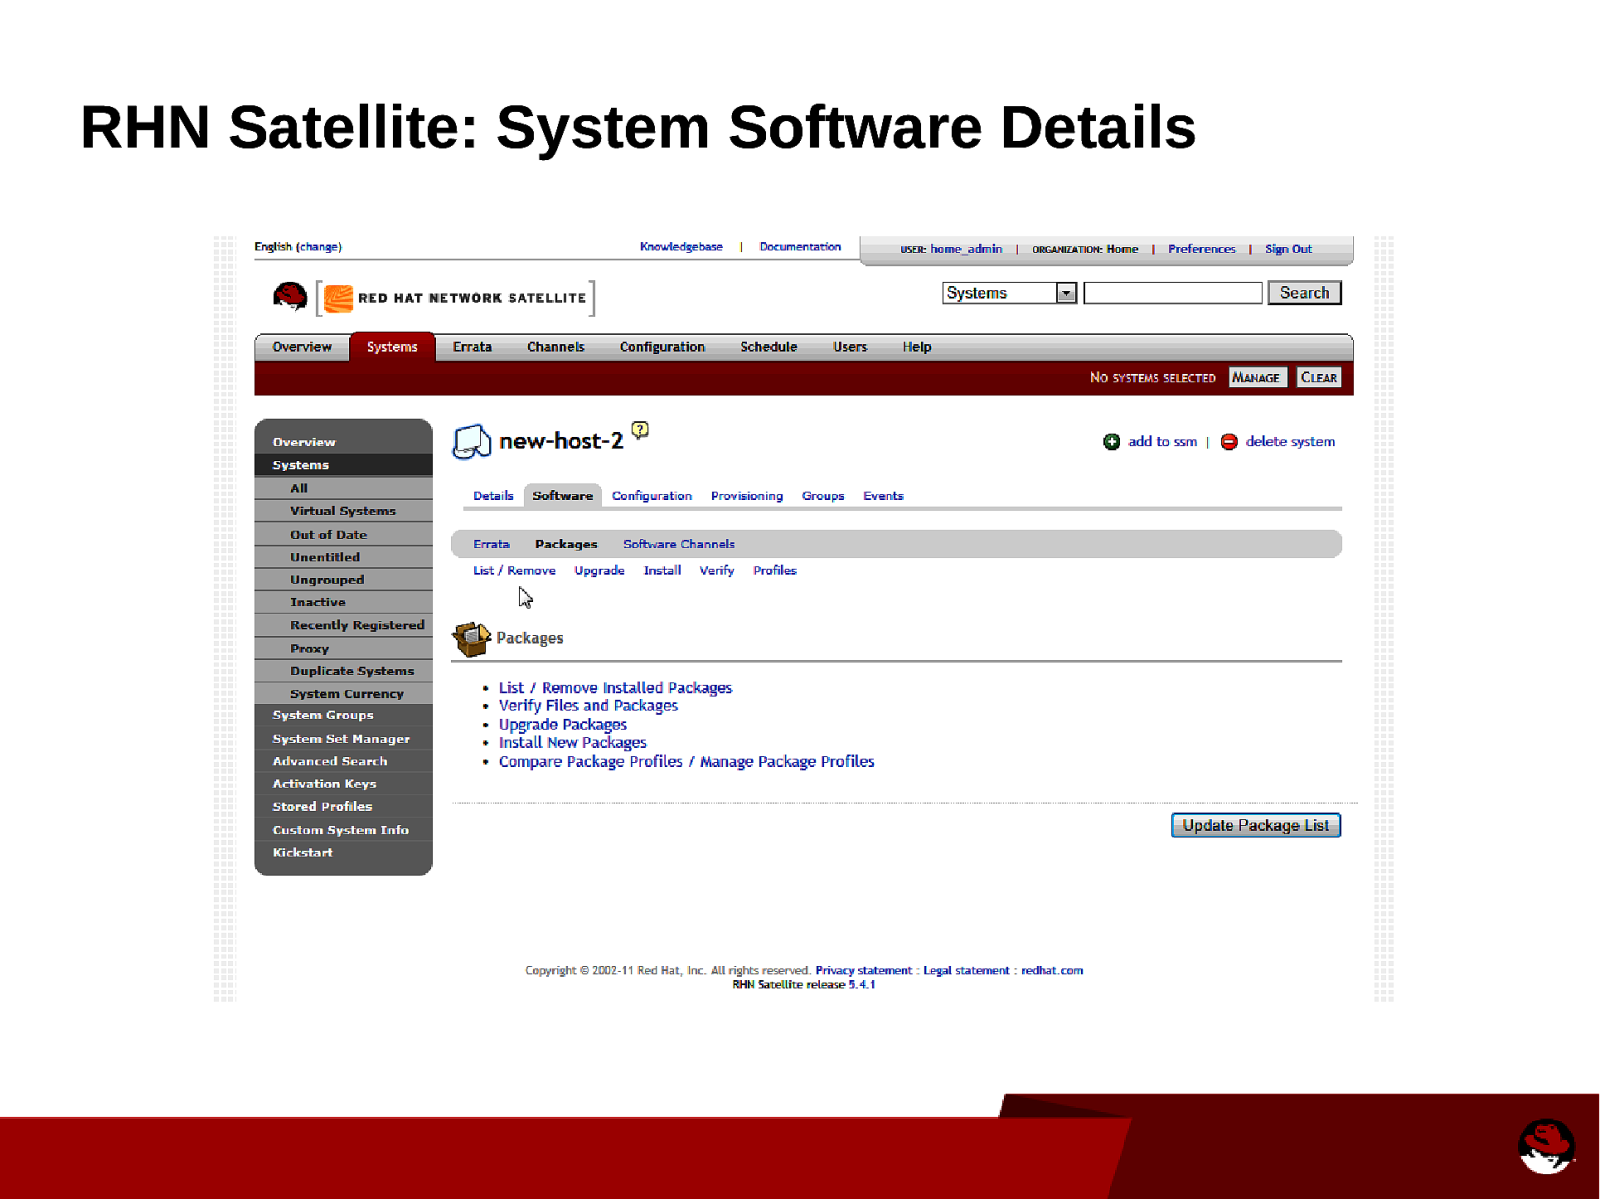
RHN Satellite: System Software Details
Slide 54
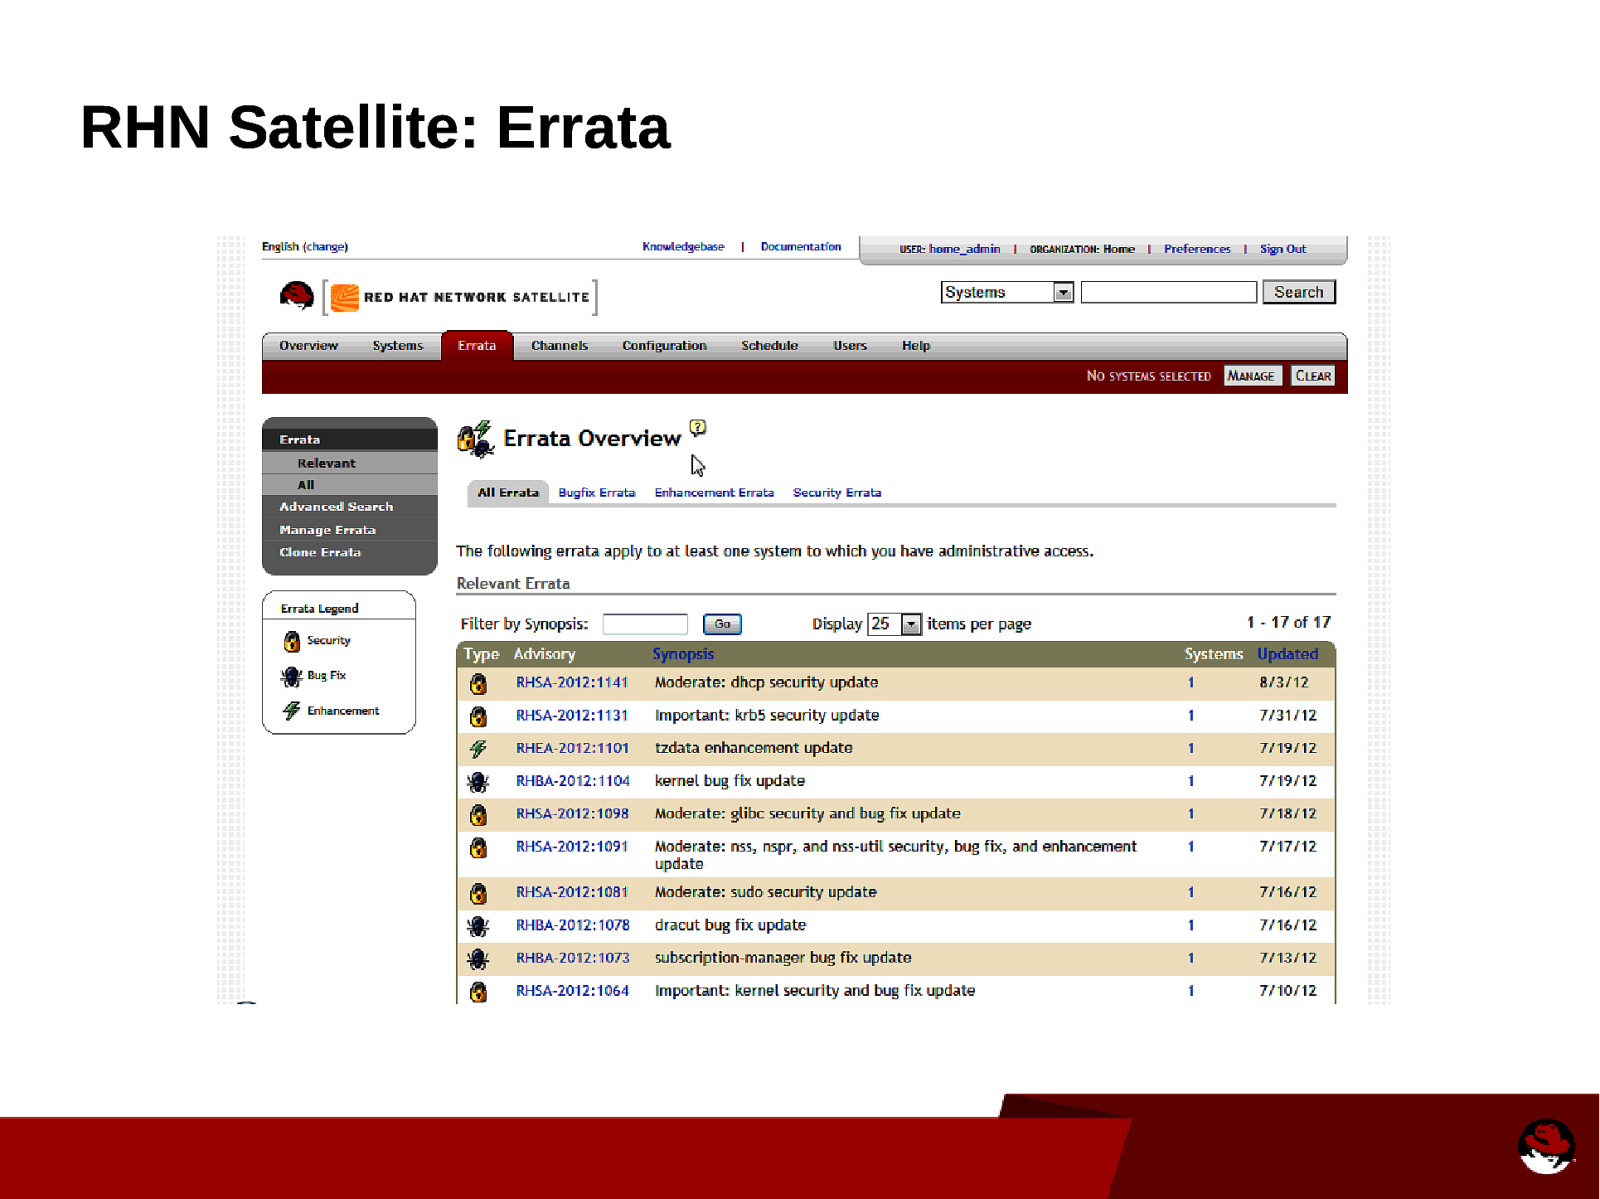
RHN Satellite: Errata
Slide 55
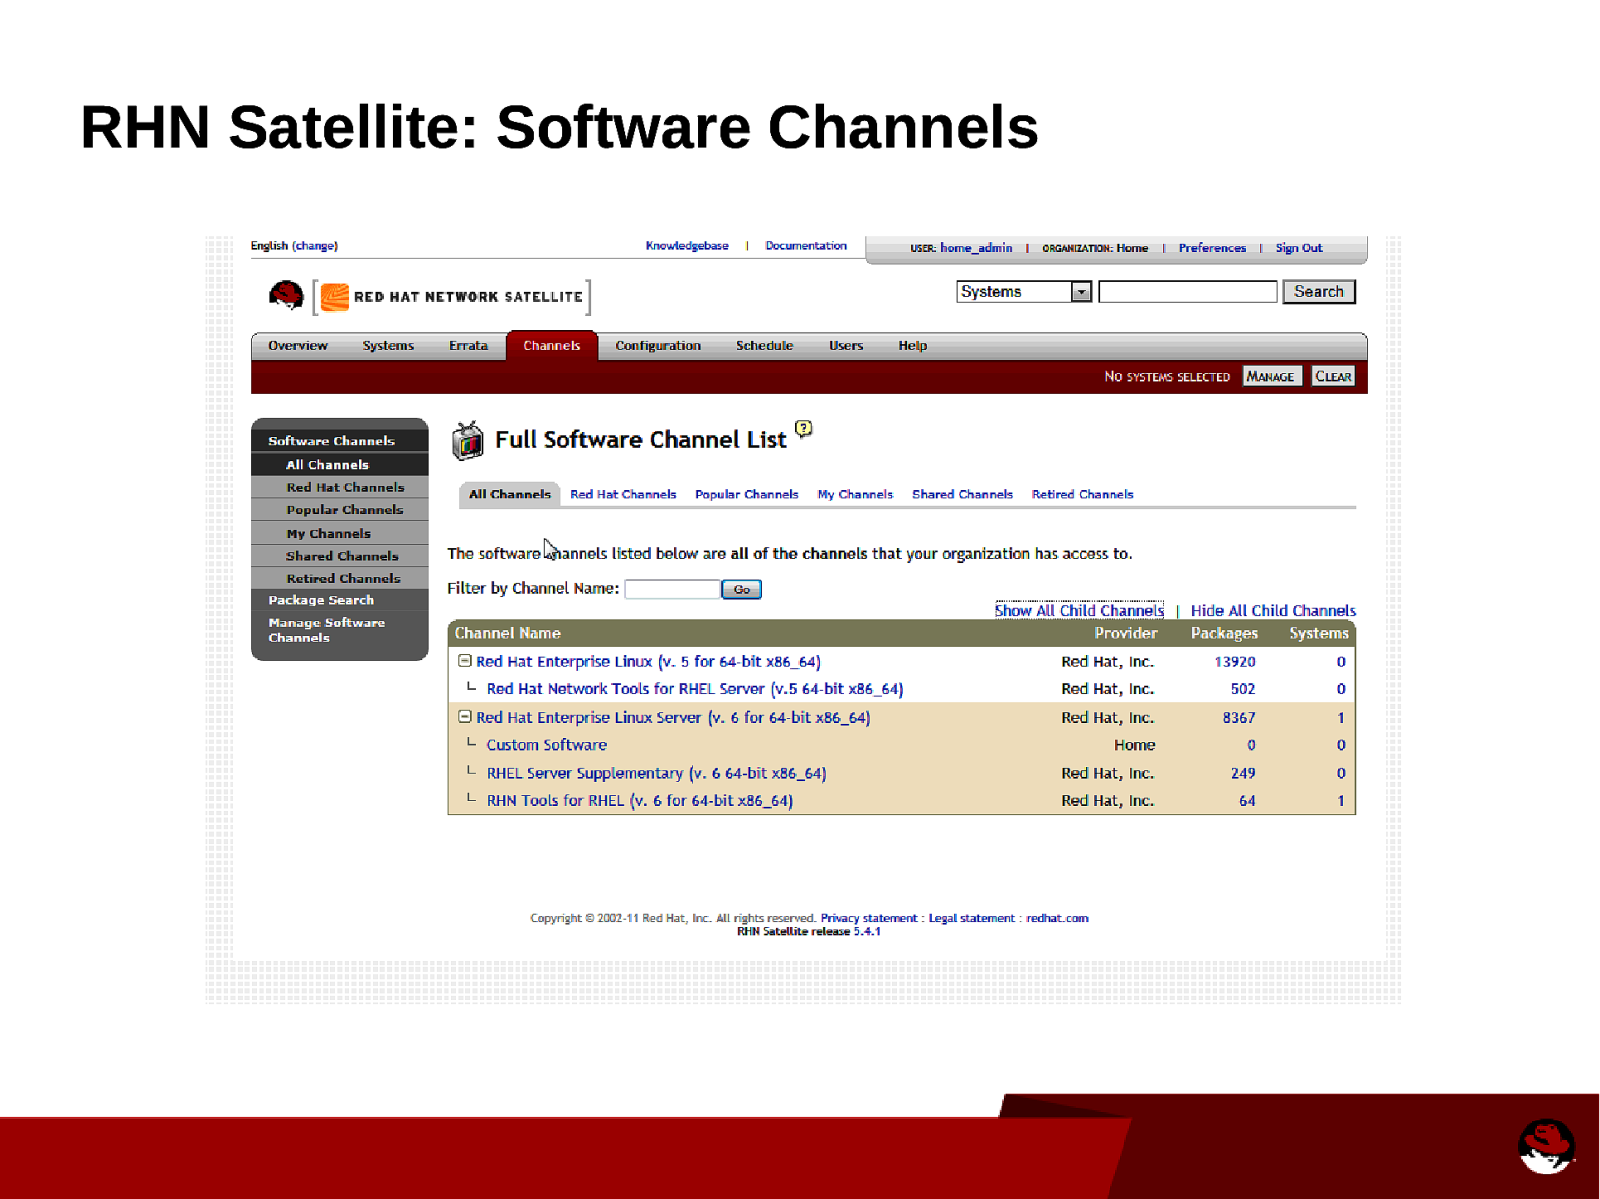
RHN Satellite: Software Channels
Slide 56
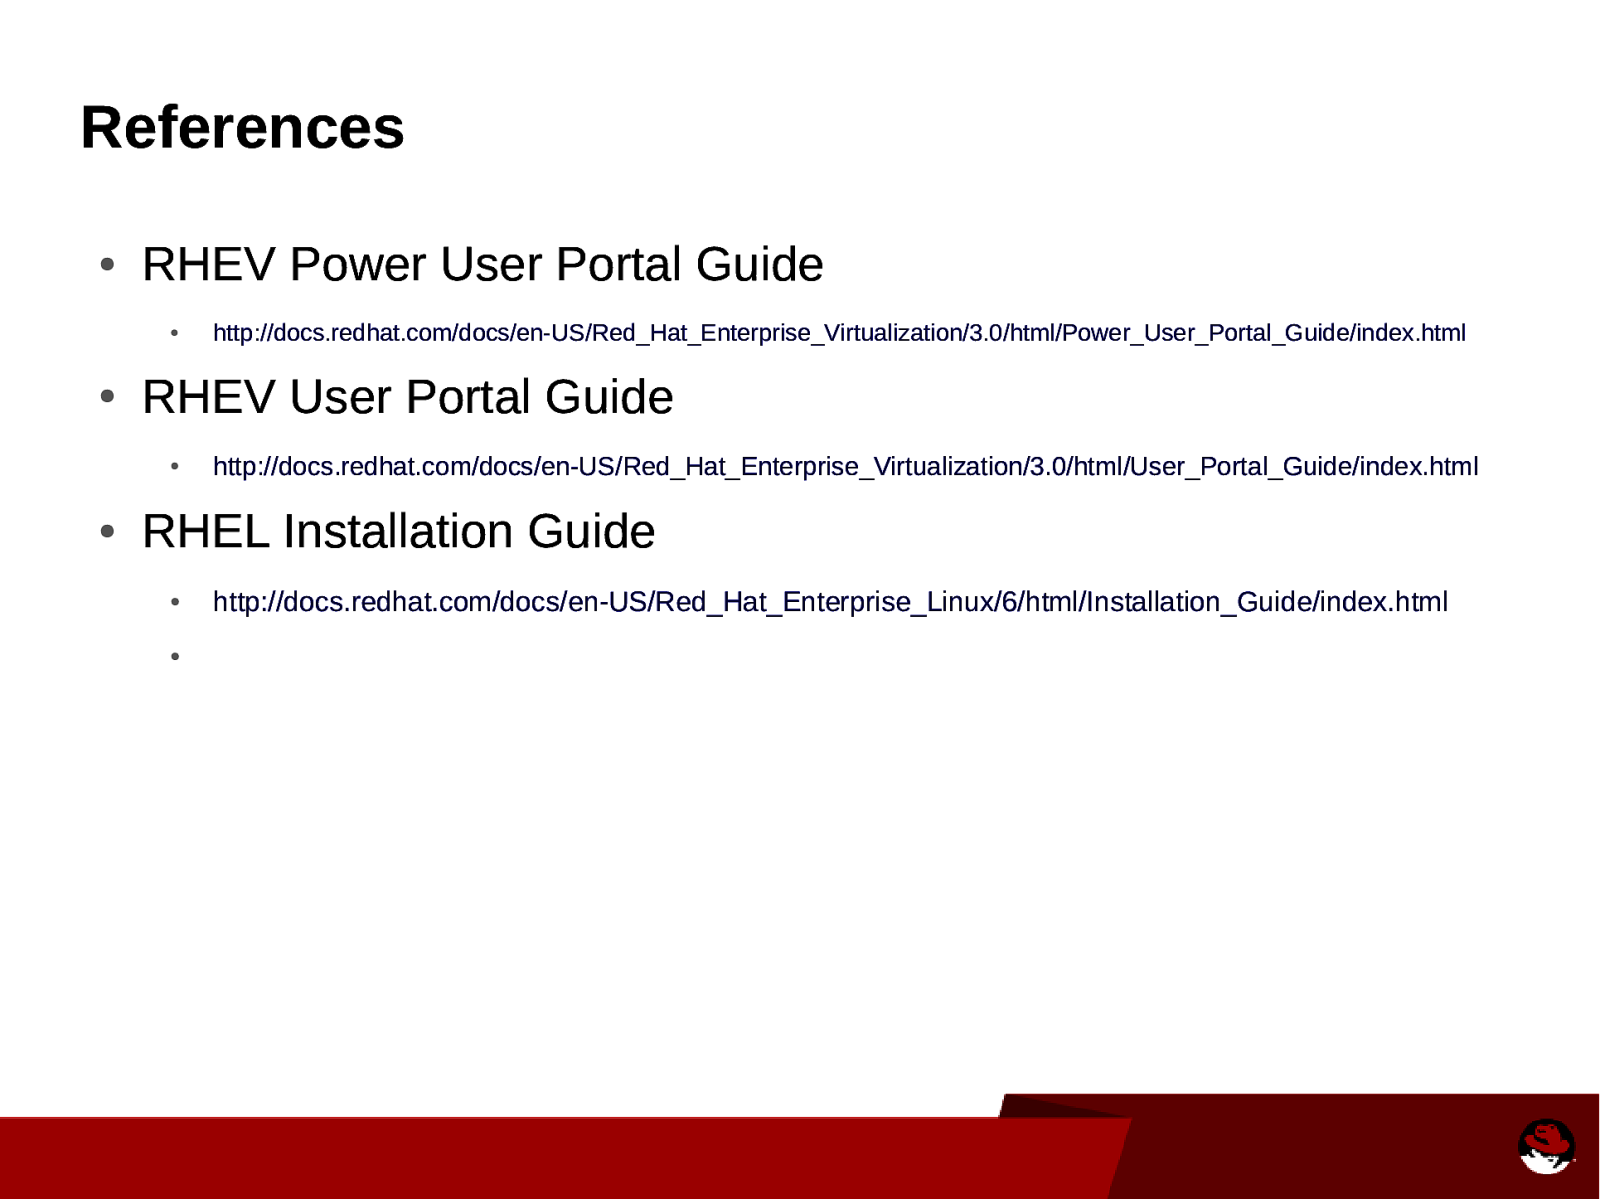
References ● RHEV Power User Portal Guide ● ● RHEV User Portal Guide ● ● http://docs.redhat.com/docs/en-US/Red_Hat_Enterprise_Virtualization/3.0/html/Power_User_Portal_Guide/index.html http://docs.redhat.com/docs/en-US/Red_Hat_Enterprise_Virtualization/3.0/html/User_Portal_Guide/index.html RHEL Installation Guide ● ● http://docs.redhat.com/docs/en-US/Red_Hat_Enterprise_Linux/6/html/Installation_Guide/index.html